How to Enable the Ultimate Performance Power Plan in Windows 10. Electronic devices always perform better than before when they consume more energy. This example is not to say that the higher the power consumption of a device, the better its performance. Think of this as an overclocking function, except that it has no overclocking risks and you are comfortable with the life of your computer’s electronics.
In this article, we will teach you how to Enable the Ultimate Performance Power Plan in Windows 10.
Buy Windows Virtual Private Server in Eldernode
Ultimate Performance Power Plan
The Ultimate Performace power plan is designed to give an extra boost to high-power systems (think workstations and servers) by optimizing the High-Performance power plan. It’s geared toward reducing or eliminating micro-latencies associated with fine-grained power management techniques.
A micro-latency is just the slight delay between when your OS recognizes that a piece of hardware needs more power and when it delivers that power. Although this may only be a fraction of a second, it can make a difference.
The Ultimate Performance plan eliminates the polling of hardware to see if it needs more juice and lets the hardware to consume all the power it needs. Also, any power-saving features are disabled to improve performance even more.
Because of this, machines that operate on battery power aren’t given this option by default, as it can consume more power and kill your battery much faster.
The Ultimate Performance plan improves speed on systems where hardware continually goes to and from an idle state. But when you’re running a game, all your hardware already works together to populate the environment around you.
The only real improvement might come upon initial startup, and you might only see a boost of a couple of frames per second. However, if you are running video editing or 3D design software that are putting occasional heavy loads on your hardware, you might see more of an improvement.
Note: Enabling this plan will increase the amount of power your system consumes, so if you do plan on using this profile on your laptop, make sure you are plugged in at all times.
Enable the Ultimate Performance Power Plan
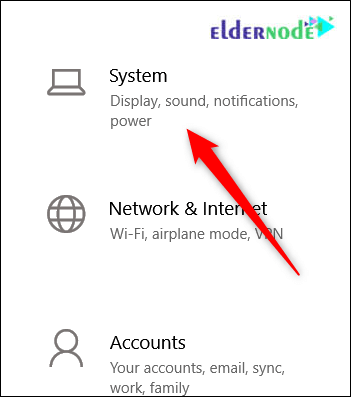
1. Hit Windows+I to open the Settings app and then click the System category.
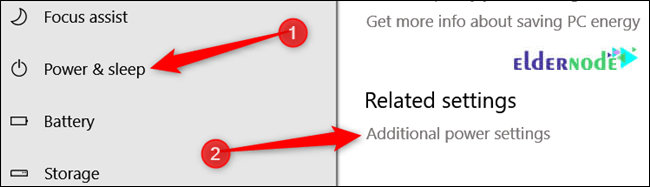
2. On the System page, click the Power & Sleep tab on the left.
3. Then on the right, click the Additional Power Settings link under the Related Settings section.
4. In the window that pops up, click Show Additional Plans and then click the Ultimate Performance option.
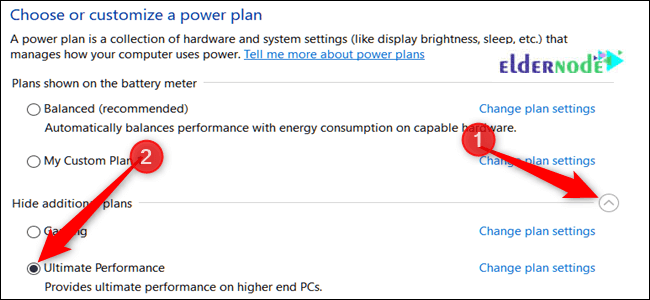
Note: If you’re using a laptop, this option may not appear under this section.

What to Do if You Don’t See the Ultimate Performance Plan
On some systems (mostly on laptops, but also on some desktops), you might not see the Ultimate Performance plan in your settings app. If you don’t, you can add it with a quick Command Prompt or PowerShell command.
The command is the same for either shell, so use whichever one you want.
You’ll need to open the Command Prompt or PowerShell with administrative privileges.
For Command Prompt, hit Start, type cmd into the search box, right-click the Command Prompt result, and choose Run As Administrator.
For PowerShell, hit Windows+X and choose the Windows PowerShell (Admin) option.
At the prompt, type (or copy and paste) the following command and then hit Enter:
powercfg -duplicatescheme e9a42b02-d5df-448d-aa00-03f14749eb61

Note: If you already have the Power Options window open, you might have to close and reopen it before you see the plan appear, but it should be there.
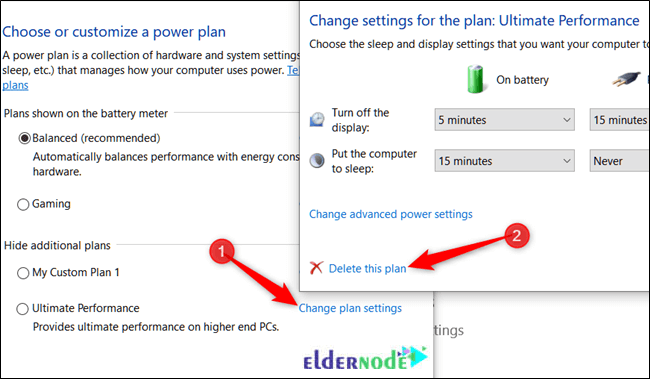
Note: If you don’t want to see the plan anymore, you can remove it from the Settings app. First, switch to a different plan. If you try to delete a plan you’re currently using, you can run into errors.
Next, click the Change Plan Settings link to the right of the plan and then click Delete This Plan.
The Ultimate Performance plan is only really useful in specific cases, but it can make a difference.
Also, see:
How to Add Files to Startup in Windows 10
Dear user, we hope you would enjoy this tutorial, you can ask questions about this training in the comments section, or to solve other problems in the field of Eldernode training, refer to the Ask page section and raise your problem in it as soon as possible. Make time for other users and experts to answer your questions.
Goodluck.