[Updated on Date: 2021-01-27] Do you want to migrate to the new version of Windows Server? Since Windows Server 2016 offers new features compared to Windows Server 2012, your answer is probably yes. These new features have greatly improved the management of Windows Server. That’s why we decided to learn you How to upgrade Windows Server 2012 to 2016. You can choose your perfect Windows VPS Server Packages from Eldernode to install your required windows server.
Table of Contents
Tutorial upgrade Windows Server 2012 to 2016
Unlike upgrading previous versions of Windows Server to 2012, Windows Server 2016 only supports 64-bit architecture. In addition, Windows Server 2012 and 2016 have only 4 versions. Upgrading Windows Server is a complicated process. So, Microsoft recommends that instead of updating the entire Windows server, it upgrades the roles and settings of the Windows 2016 server.
Requirements for upgrading Windows 2012 to 2016
In order to be able to upgrade Windows Server 2012 to 2016, you must follow the following requirements:
1. All versions of Windows Server 2016 are 64-bit (upgrading from 32-bit to 64-bit is not possible.)
2. Only Windows Server 2012 can be upgraded to 2016, other versions cannot be upgraded.
3. Upgrades are not supported from one version to another. For example, you can’t upgrade the standard version of Windows Server 2012 to the Data Center version of Windows Server 2016.
4. It is not possible to upgrade from one language to another. For example, you can’t upgrade the German version of Windows Server to Chinese.
5. The upgrade from Server Core to Desktop version (or vice versa) is not supported.
6. Upgrading from older versions of Windows Server to trial versions of Windows Server is not supported. Trial versions must be installed manually.
7. Disable antivirus, because it scans every file that is copied to the disk and slows down the processing speed.
8. If this server uses NIC Teaming, disable it and reactivate it.
9. Make a full backup of the server, as you may have a problem during the upgrade and want to go back to the previous version.
10. Check that the server has no problems, if you see any problems, try to solve them. Otherwise, you may encounter an error that will cause the entire installation process to fail.
Upgrade with Step By Step :
Now that you understand the rules of the upgrade, let’s move on.
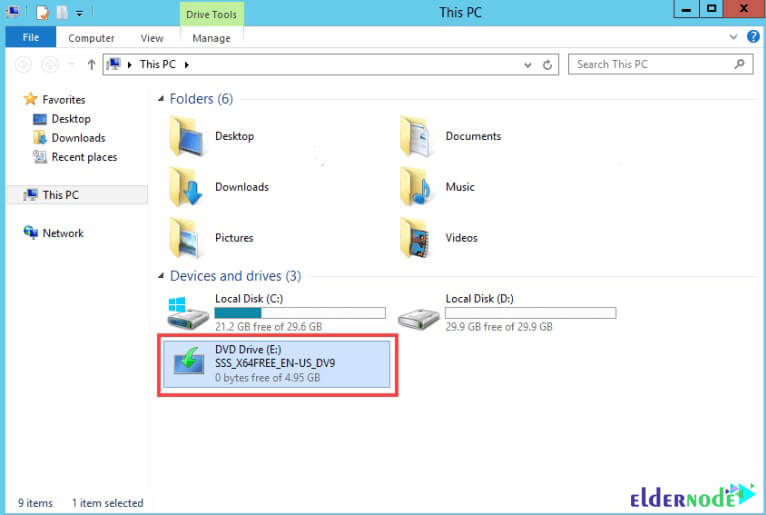
Log in to Windows Server 2012 and install DVD or Flash. Open File Explorer and click on DVD Drive as shown below:
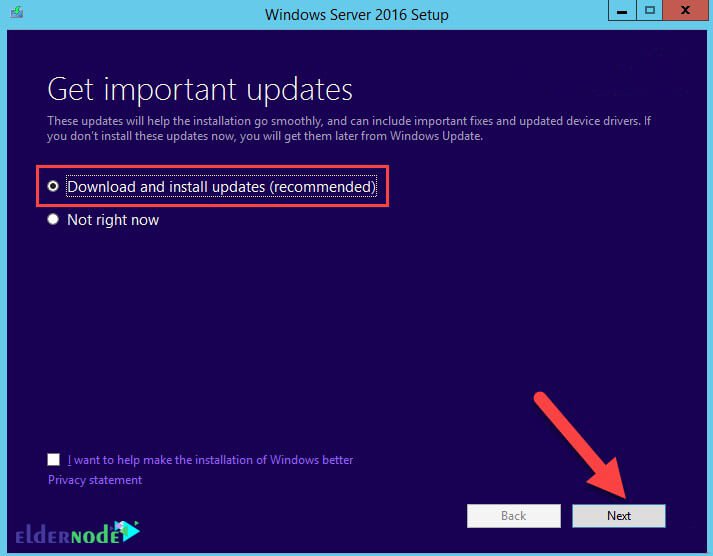
Select Download & install updates to begin the Windows installation process.
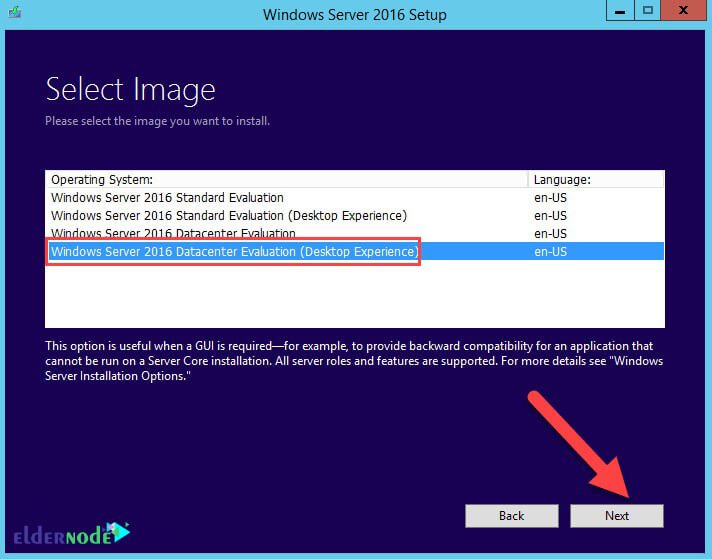
Choose a version of Windows Server 2016 that suits your needs. You may need to enlarge the network in the future and require more roles and licenses. So be careful at this point.
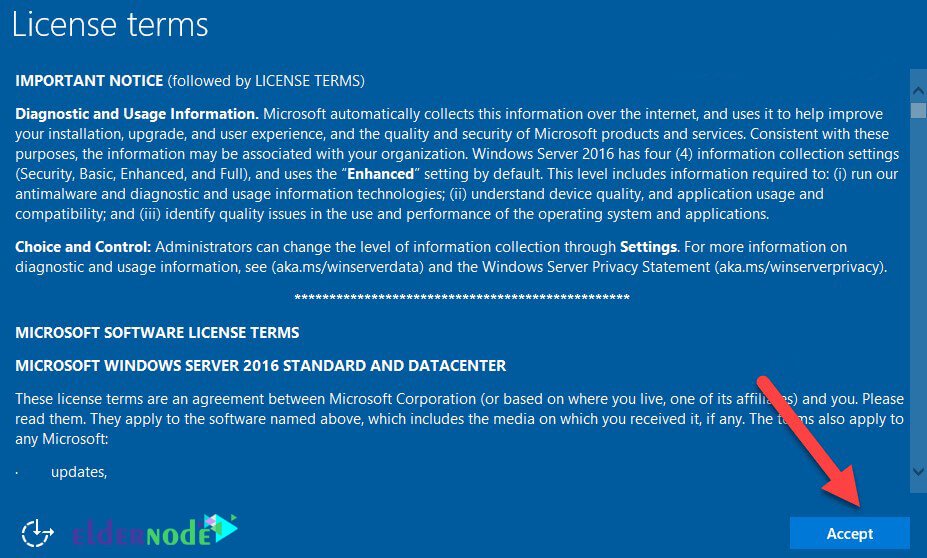
In the license stage, click Accept. You will enter the next step.

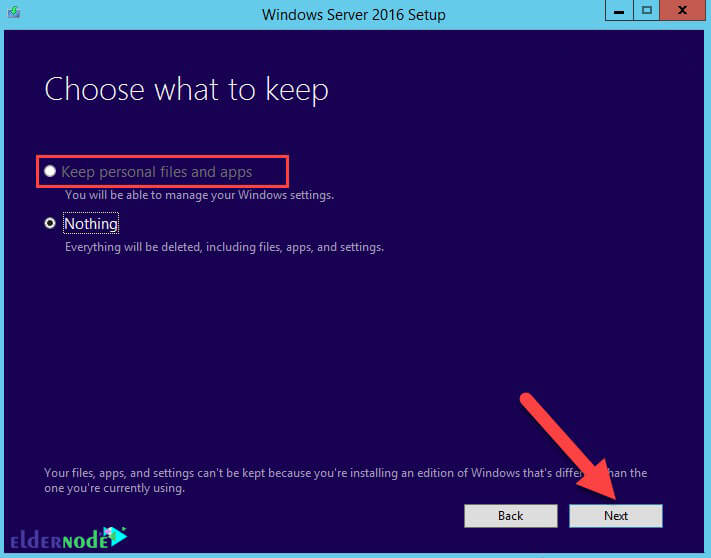
If you have selected the same version as the previous version, you can keep all the applications and files in the system. As we said, if you don’t want to select the previous version, the apps and files will be deleted. Select Keep personal files and apps to save files and apps, otherwise, click Nothing to delete all files. Then click Next.
How to install Windows Server 2016
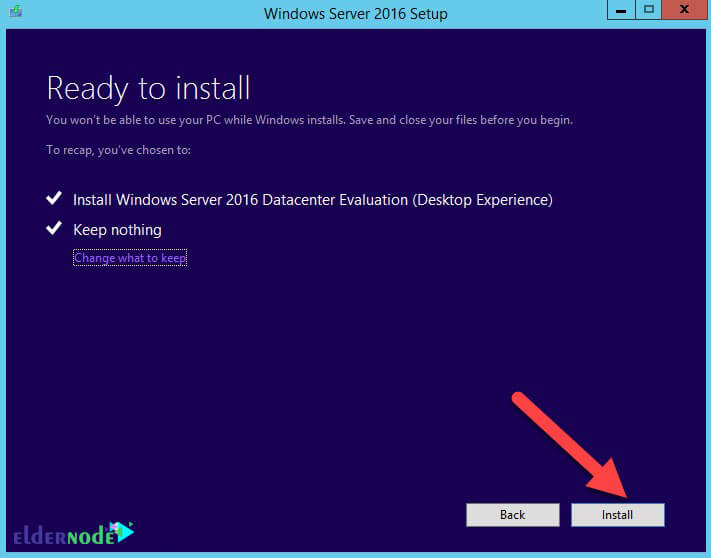
Windows Server automatically checks your system for compatibility. So, click Install to start the installation.
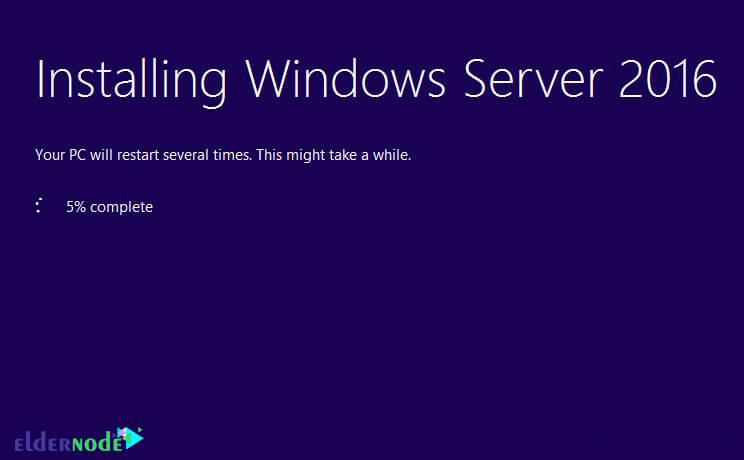
Wait a bit, because it will take a very long time to install Windows Server on your system. Your system will be reset several times during installation.
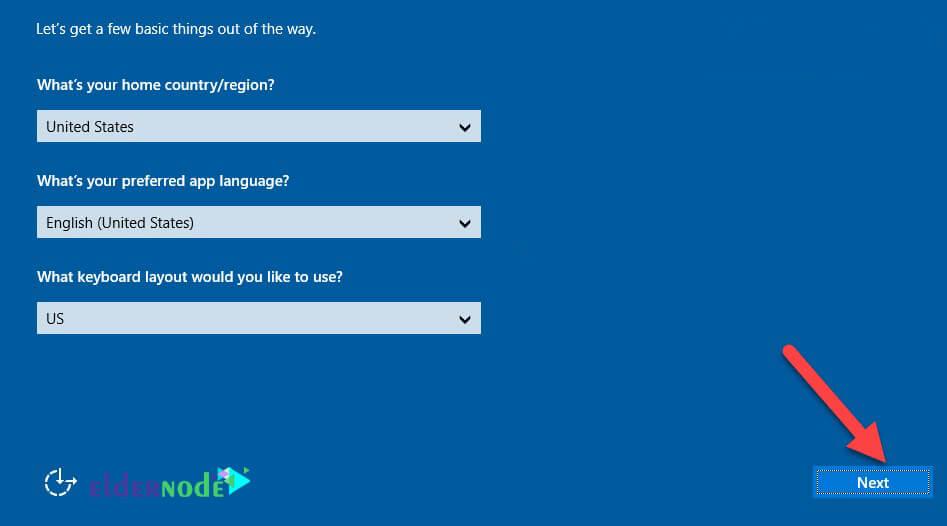
Select the country and keyboard language. Note that you cannot change the language. Click Next.
Click Accept on the License Terms page.
Username is the default Administrator, enter a password (code that contains uppercase and lowercase letters, numbers, and symbols), and re-enter the password. Then click Finish. You can log in to the server locally using this username and password.
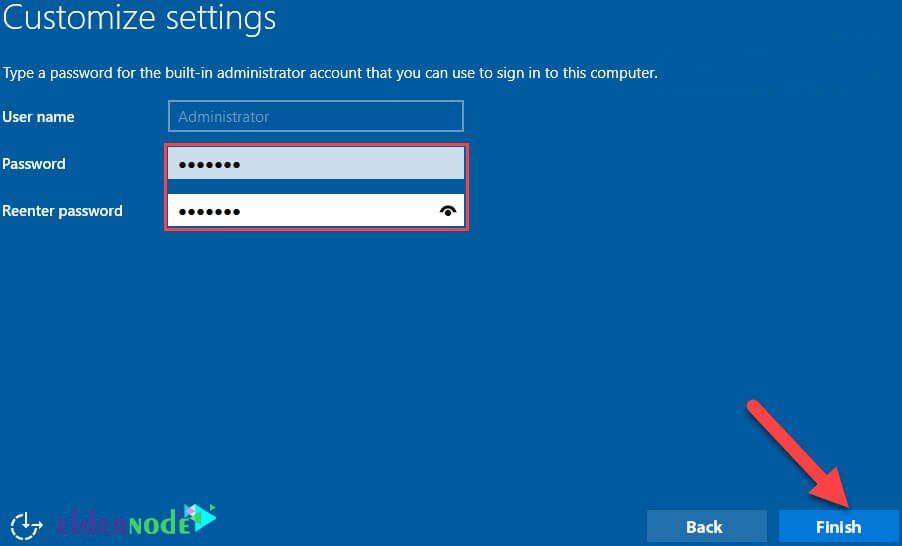
Press Ctrl + Alt + Del to enter the login page and log in with the username and password.

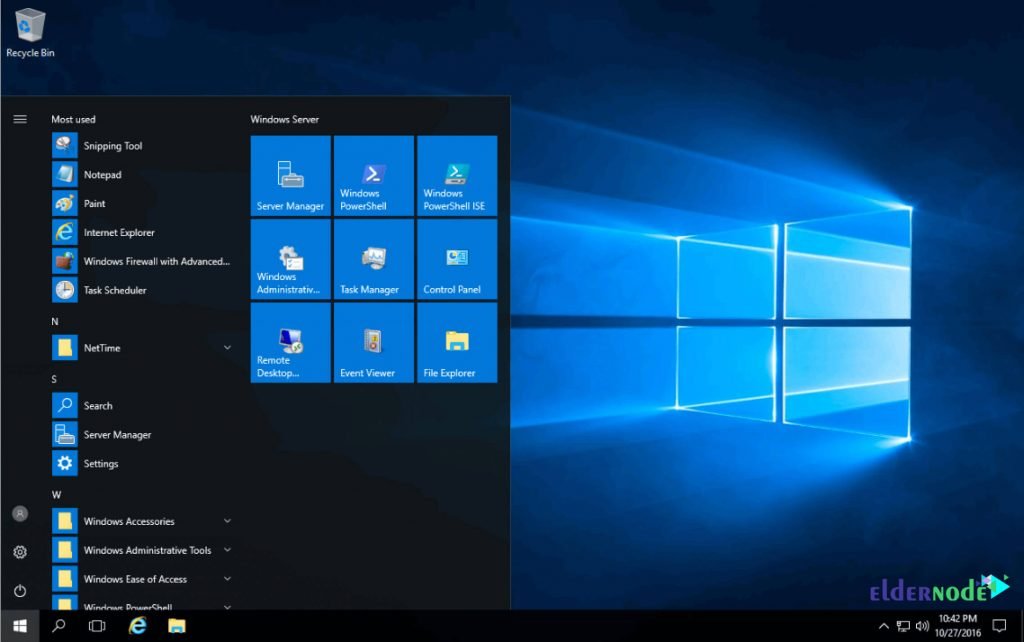
Here we have successfully upgraded from Windows Server 2012 to 2016. By entering the Windows Server 2016 page, you can see the differences and improvements.
Conclusion
Before explaining how to upgrade Windows Server 2012 to 2016, we first needed to mention some of the requirements for updating to Windows Server 2016. Then, you were completely taught how to upgrade from Windows Server 2012 to Windows Server 2016.


How to disable Windows Server 2016 auto-update?
To do this, press the Win + R key combination and type gpedit.msc in the window that opens.
This will take you to the Group Policy Editor environment.
Then go to the following path and find the Windows Update folder and click on it.
Computer configuration >> Administrative templates >> Windows Components.
In the right panel, find the Configure automatic updates option and double-click on it.
In the window that appears, select the Enabled option, then apply and OK.
What does the Privileged access management feature do?
What are the advantages of a rotary upgrade for Hyper-V and Storage clusters?
The new rotation upgrade feature allows the user to add a new Windows Server 2016 node to a Hyper-V cluster while the nodes are running on Windows Server 2012 Service Pack Two.
Has the Nested Virtualization feature been added primarily to support the new container?
Yes, nested virtualization capability in Windows Server 2016 is manually intended for scenarios such as training.
What is the use of Nested Virtualization?
With this new feature, you will not be limited to implementing the Hyper-V rule on a physical server. Nested virtualization provides the user with the ability to run Hyper-V within a Hyper-V virtual machine.
What is the storage status of Windows Server 2016?
Windows Server 2016 has seen improvements in the storage system, one of the most important of which is the new Storage Spaces Direct feature. This feature allows a cluster to access JBOD storage in an external environment such as Windows Server 2012 Service Pack Two. It can also allow access to JBOD and SAS disks that are internally located within nodes of a cluster. Similar to Storage Spaces for Windows Server 2012, the upgraded Storage Spaces supports both SSD and HDD models.