How to Install and Configure DHCP Server on Windows Server 2019. DHCP stands for Dynamic Host Configuration Protocol and is one of the vital protocols and services in most networks. The function of the DHCP protocol is to assign ip address to other TCP/ IP parameters to the systems and devices on the network. DHCP Server is a system that performs centralized operations of assigning IP address and Subnet Mask and other TCP/ IP parameters to systems and devices on the network.
In this article, we will teach you how to Install and Configure DHCP Server on Windows Server 2019. Stay tuned for the rest of this article.
Choose your perfect Windows Virtual Private Server Packages in Eldernode
Table of Contents
A) Server Manager
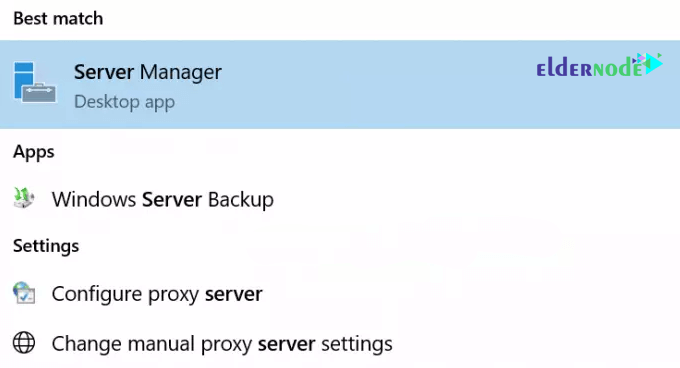
The first step is to open up Server Manager so that we can start the installation process.
Hit your Windows button and type in Server Manager and choose the app that brings itself up.
Once it is opened, proceed to step B.
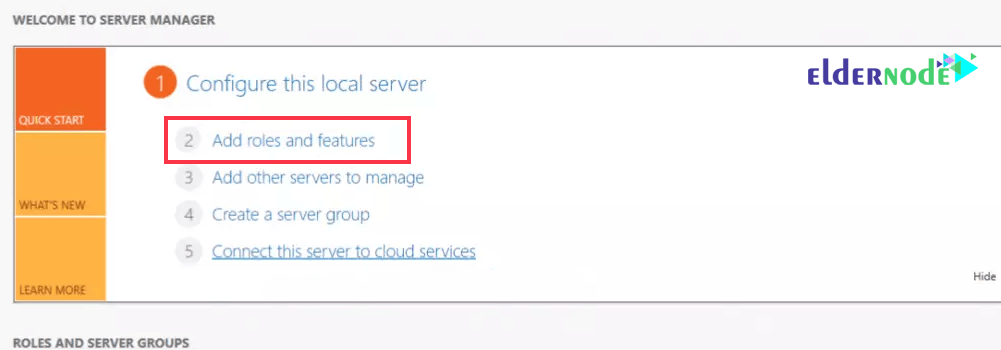
B) Add Roles and Features
On your Server Manager window, click on Add Roles and Features.
This will bring up a pop-up window. Click Next on that pop-up
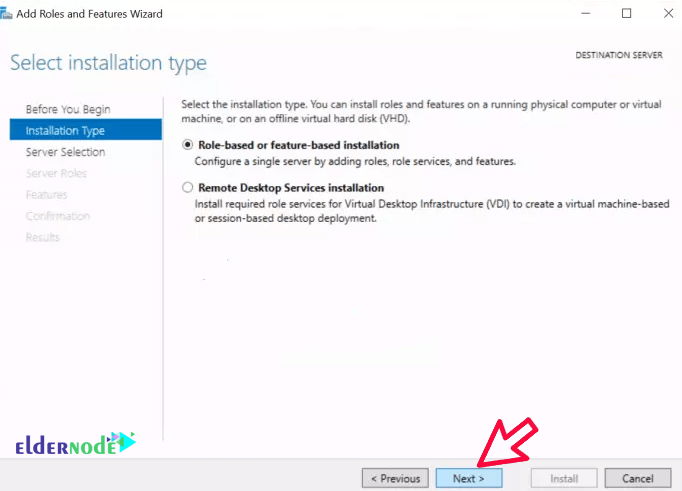
C) Role-Based or Feature-based installation
On this page, choose the Role-Based or Feature-based installation radio option and hit Next.
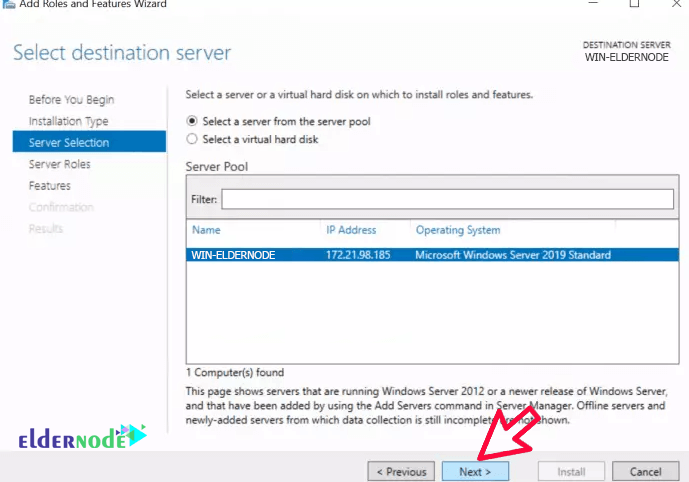
D) Choose Host
Choose the server you would wish to install the DHCP Server on.
On this guide, we are choosing the local server.
Click Next after that.
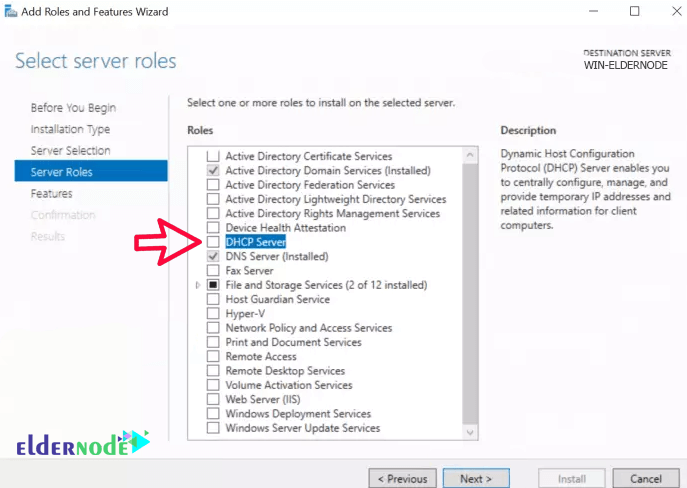
E) Select Server Roles
This next page is titled Select Server Roles and has got a list of roles to install.
As you can guess, we are going to choose DHCP Server. Please go ahead and choose it.
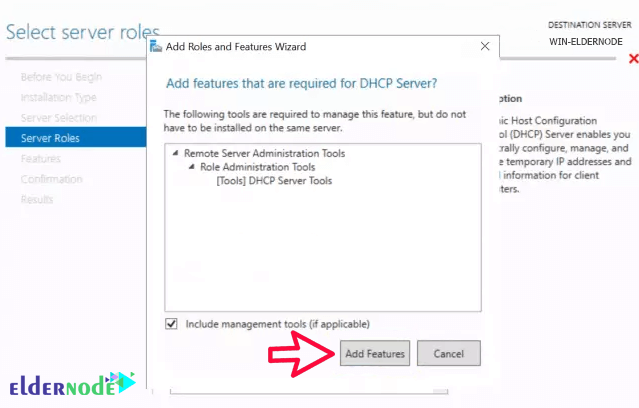
F) Add Features
After you choose DHCP Server on the previous step, another pop-up window will come up titled Add features that are required for DHCP Server?.
Simply click on Add Features. Click on Next after that.
G) DHCP Server
On the next page titled DHCP Server simply click on Next.

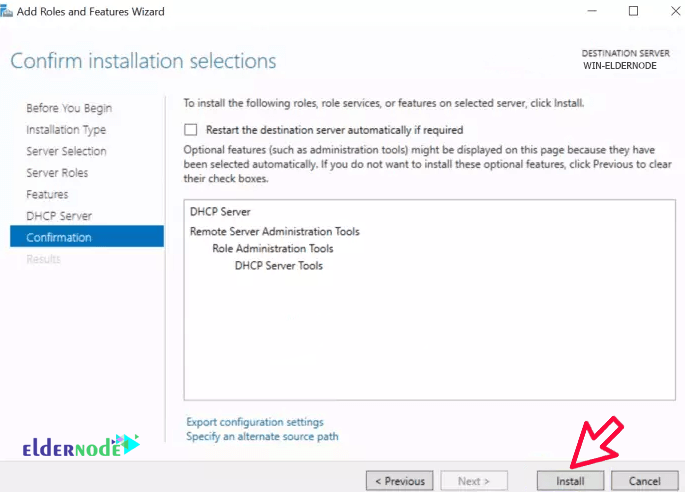
H) Confirm Selections
Look at the list provided and confirm that DHCP Server and others are listed. After that, click Install.
After everything is successfully installed, click Close and your DHCP Server is installed.
*
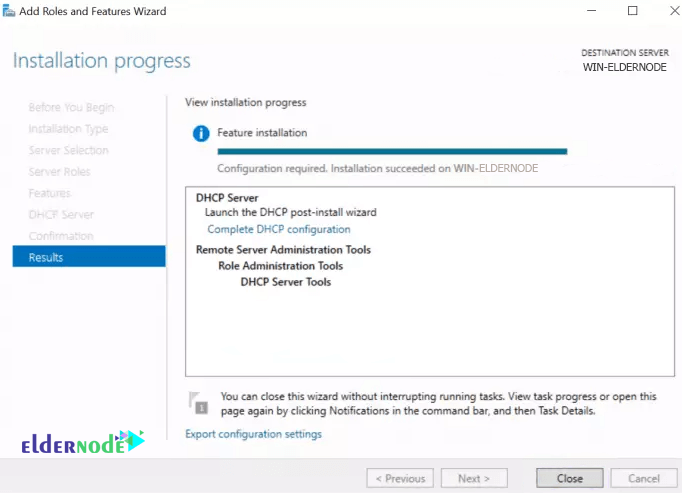
I) Post-deployment Configuration
Part A:
Open Server Manager and you should now be able to see DHCP as one of the options on the left pane of the window.
You should see a yellow-marked warning as shown in the illustration below that says Configuration required for DHCP Server at …, Clock on More link at the end of the warning sentence.

Part B:
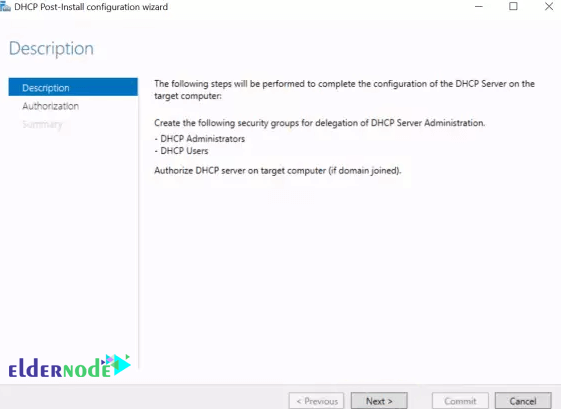
After Part A, a new window with the title All Server Task Details and Notifications will come up. Below it, you will see Post-deployment Configuration line.
Click on Complete DHCP Configuration at the end of that line as shown below.
An installation wizard will come up. Click Next.

**
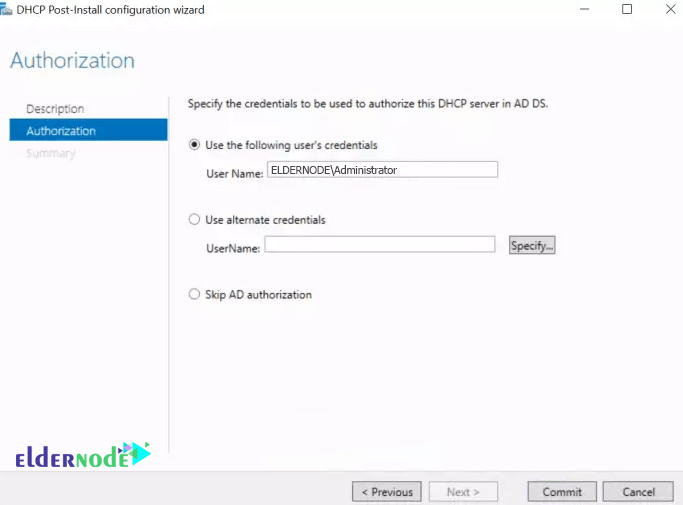
Part C:
On this page, you are presented with three options.
You can proceed with the Administrator’s credentials, an alternate user’s credentials, and also AD Authorization.
If your server is standalone and is not in any Active Directory Domain, then choose Skip AD authorization radio. If it is then you will use the credentials as recorded in your AD.
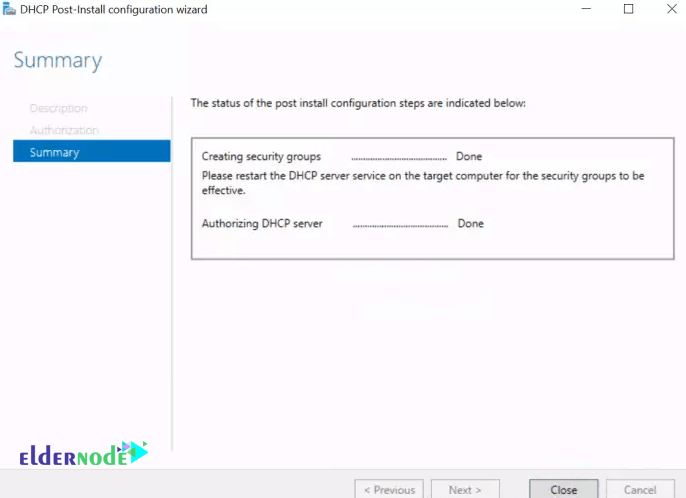
After you make the decision that befits your environment, click Commit.
Click on Close.
***
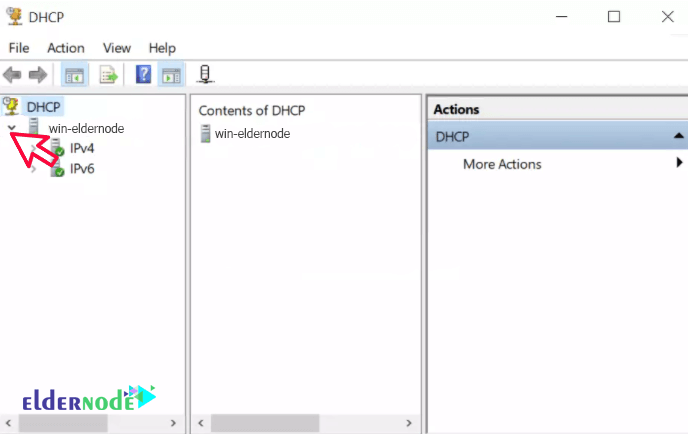
J) How to Configure DHCP Server
Go back to Server Manager, click on Tools and choose DHCP.
This will open the DHCP Configuration Window as shown below:
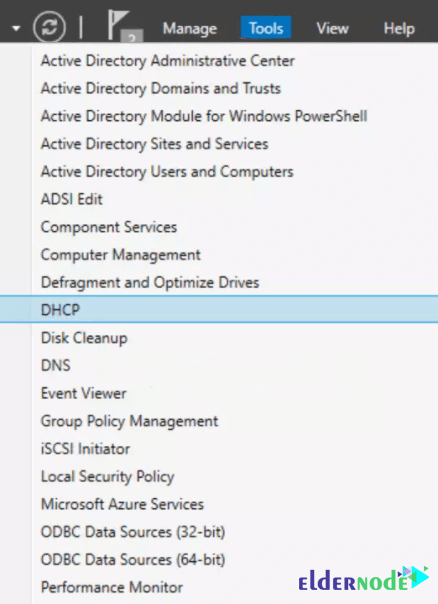
****
K) New Scope
Right-click IPv4 then choose New Scope.
A new scope wizard window will pop-up as shown below. Click Next.
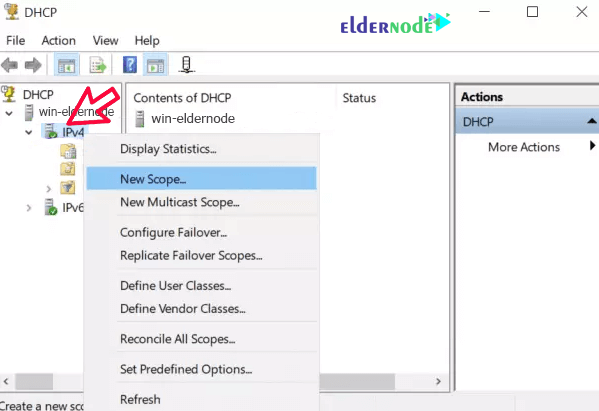
****

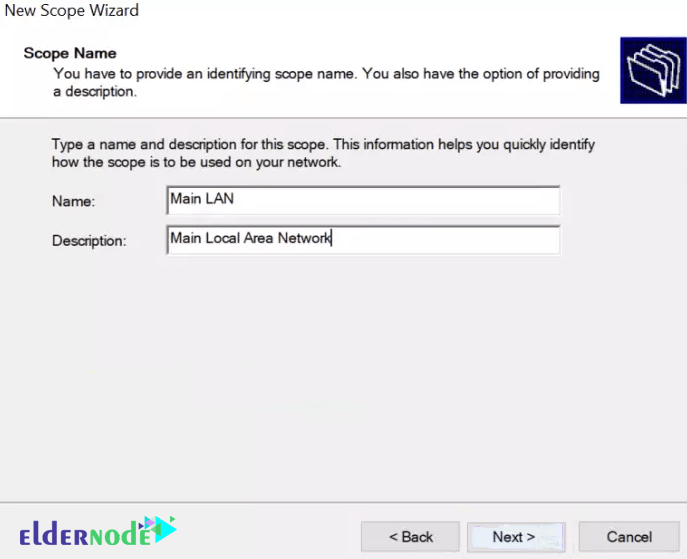
L) Name your Scope
Put in a name and Description of this new scope and hit Next.
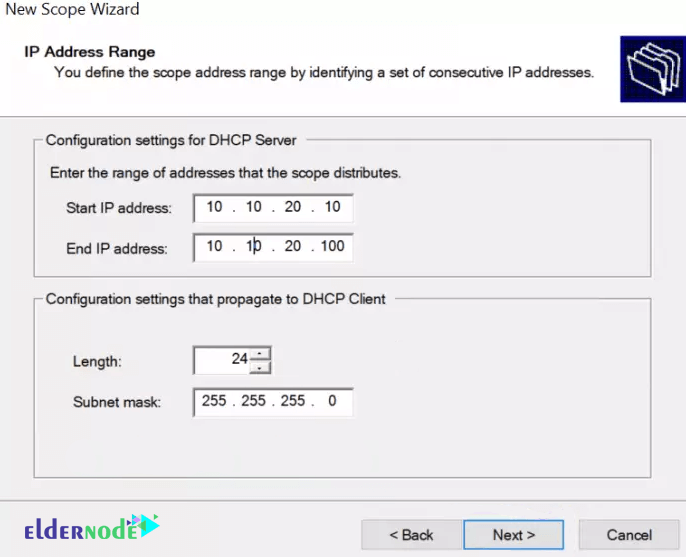
M) Input desired IP Address range
Input your Start and End IPs, Length and Subnet Mask than hit Next.
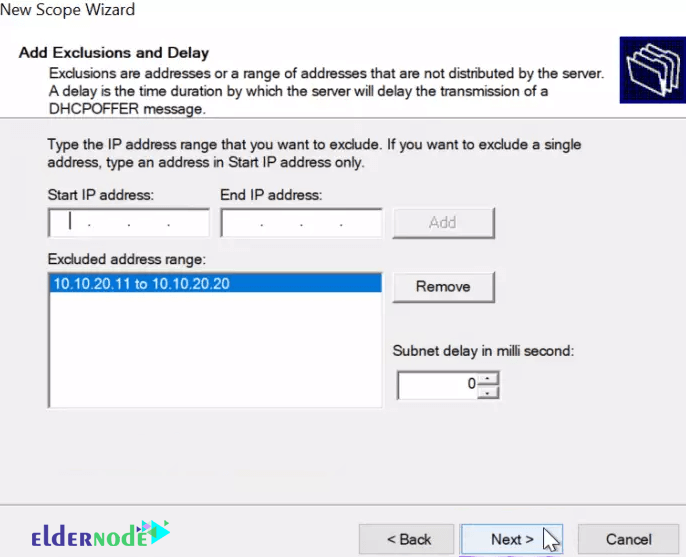
N) Set any IPs You would wish to exclude here
If you would like to reserve some IPs in the range for maybe stuff like a printer and other equipment, you can input them at this stage.
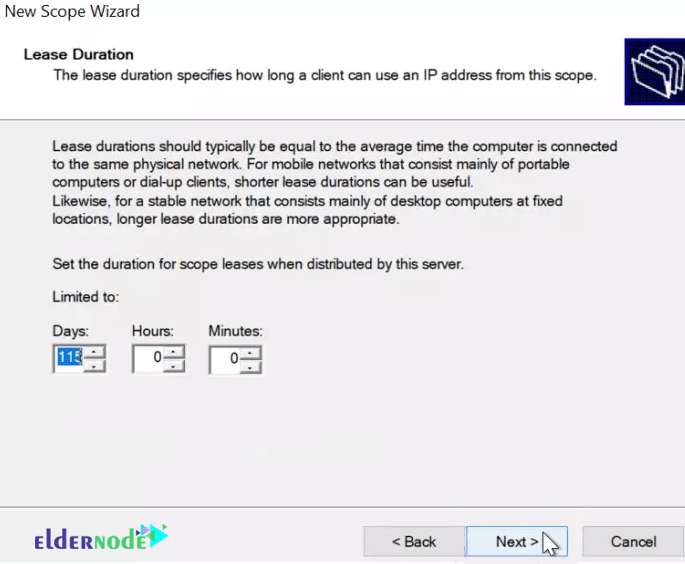
O) Lease Duration
Lease duration is the time DHCP Server will give a specific computer or client an IP before changing it or giving it another one when it logs-in again.
Set yours and hit Next.
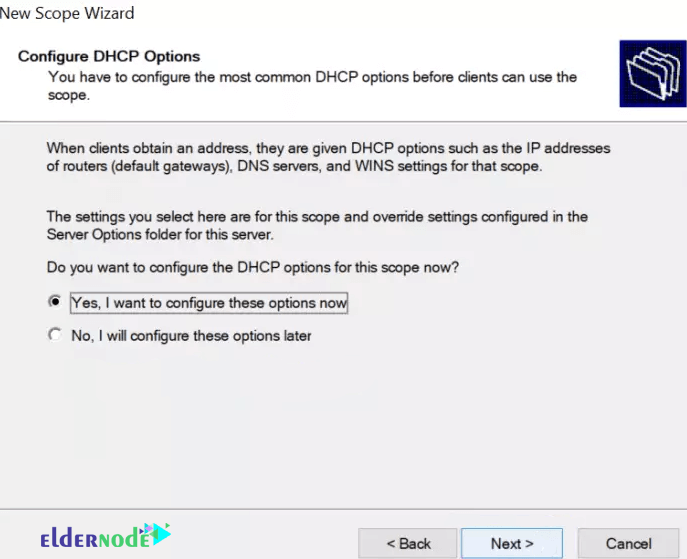
P) DHCP Options
Click Next.
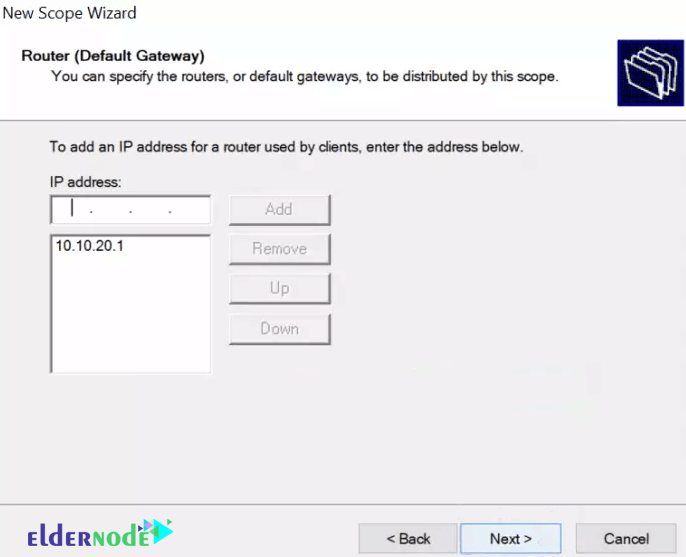
Q) Input the Default Gateway of the Subnet you gave
Please key in the Default Gateway that the clients will be assigned during lease time.
Key in and click Add beside it. After that, hit Next.
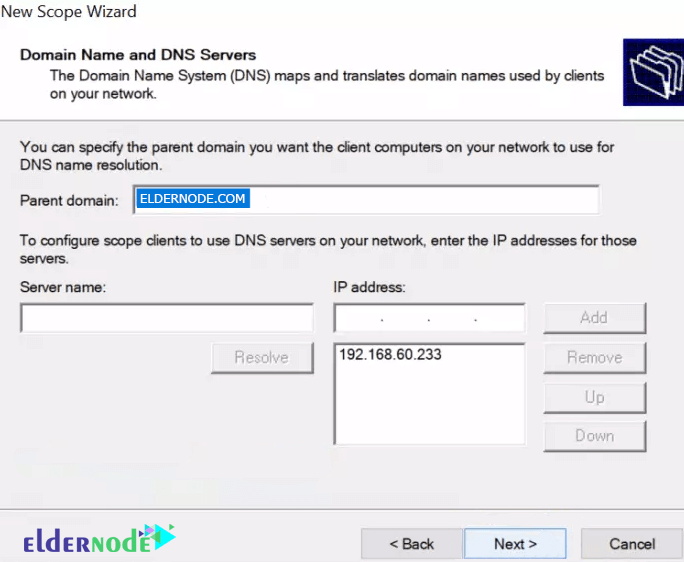
R) Key in DNS and Domain Name
The DNS is very important because it will facilitate the resolution of FQDN to IP Addresses.
Key then in and then hit Next.
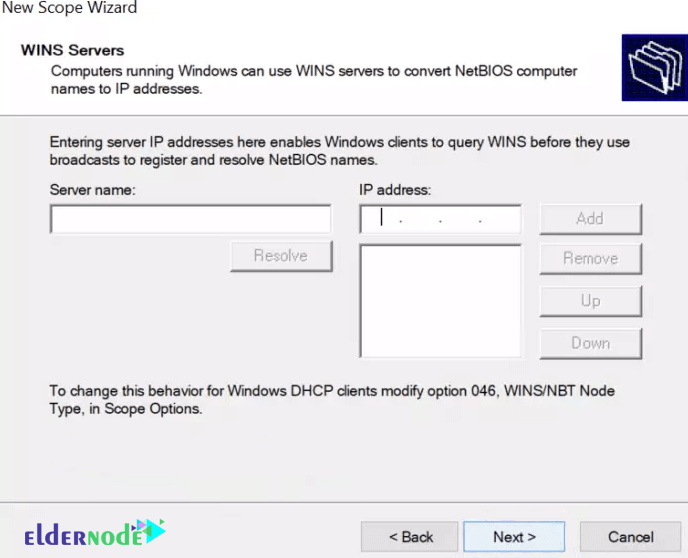
S) WINS Server (Optional)
If you would like to use WINS Server in your environment, then input the details in this step and proceed by clicking on Next.
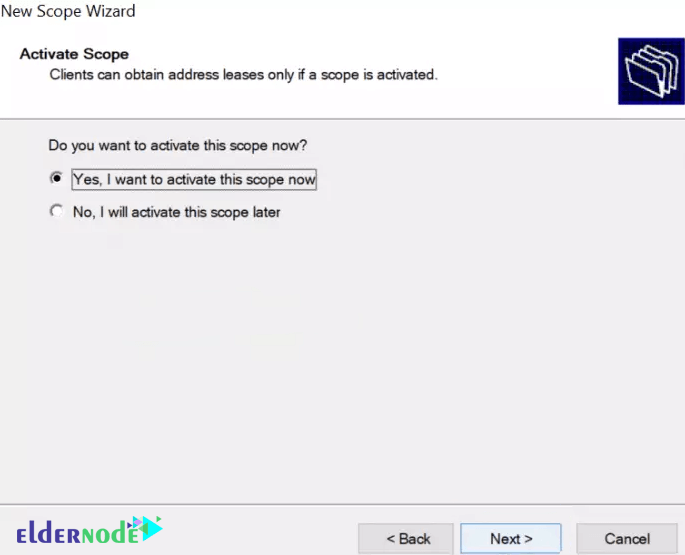
T) Activate Scope
Just click Next to activate the scope we have configured.
Note: If you would wish to activate it later, choose the second radio option.
U) Finish Scope Configuration
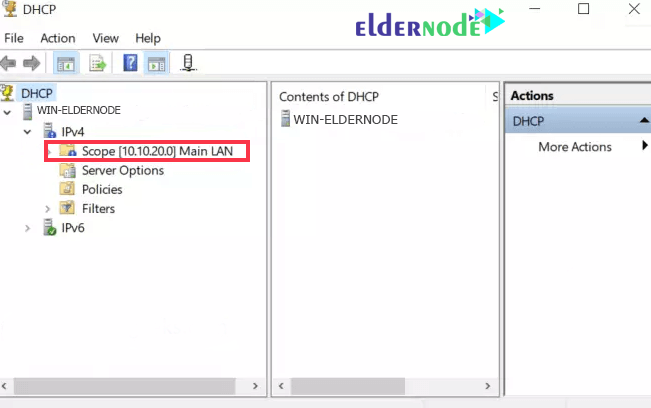
If you have segmented your LAN/Network into VLANS, simply create other scopes as shown above for those VLANS then configure your router to get IPs from the DHCP Server accordingly.

Note: Open up your DHCP Configuration as in Step K, then check out if your configs are present like below:
Also, see:
1.How to Install and Configure NFS Server on Windows Server 2019
2.How to Install and Configure DNS Server on Windows Server 2019
3.How to Install IIS Web Server on Windows Server 2019
4.How To Configure Default Site in IIS Server 2019
5.How to install Active Directory on Windows Server 2019
Dear user, we hope you would enjoy this tutorial, you can ask questions about this training in the comments section, or to solve other problems in the field of Eldernode training, refer to the Ask page section and raise your problem in it as soon as possible. Make time for other users and experts to answer your questions.
How to Install and Configure DHCP Server on Windows Server 2019.
Goodluck.