How to install MongoDB on Windows. MongoDB Database is a very powerful database that is used at higher levels of software development and programming. It also has simple queries and is not difficult to work with for those who have professional experience in various programming projects.
In this article, we want to teach you how to install MongoDB on Windows, so that you can take advantage of the power of this database.
As you know, MongoDB is one of the most popular NoSQL databases that has many advantages and offers very good features to users.
Buy Windows Virtual Private Server
Table of Contents
Step 1: Install MongoDB
1. To install this database, first enter the download page of MongoDB site and download the latest version.
2. After downloading, double-click on the desired file.
3. Accept its terms and conditions and click next.
4. In the next step, select the Complete mode and click on Install.
5. Click Finish at the end.
Do not miss the related article:
How to install MongoDB 4 on Debian 10
How to install MongoDB 4 in CentOS 8
And
How to install MongoDB on Ubuntu 20.04
Step 2: Add MongoDB to the global variables
Enter drive C to test that the installation was performed correctly. Then open the Program Files folder. You see a new folder called MongoDB has been added.
Now for a faster startup, it’s best to add MongoDB to the global variables of Windows. This is so you can open and work the database wherever you are using Command-Line or CMD.
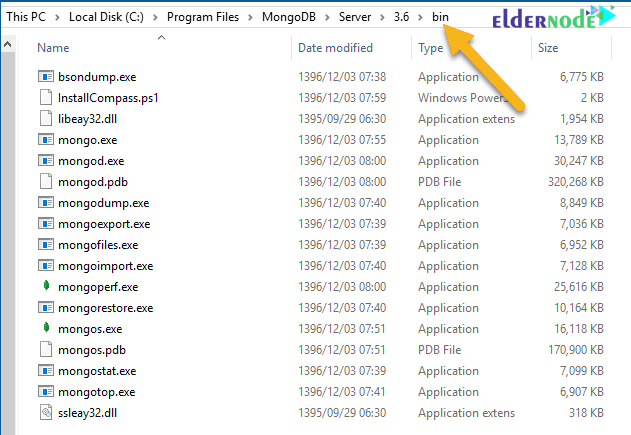
To do this, you need to copy the path of the bin folder in MongoDB.
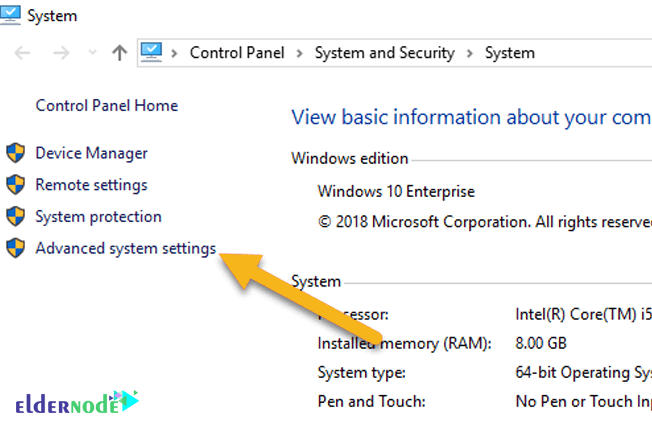
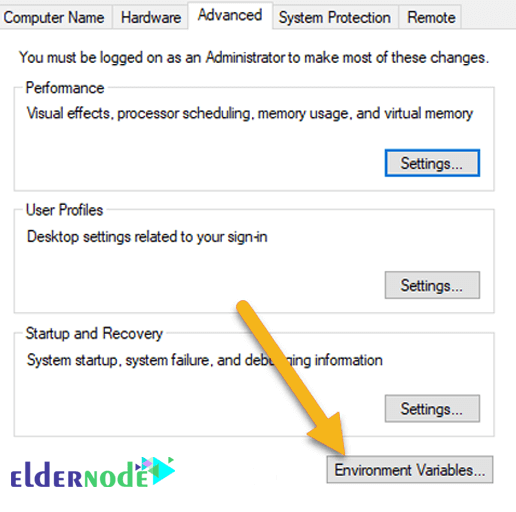
In the Control Panel, click on Advanced system settings, and at the bottom, click on Environment variables:
*
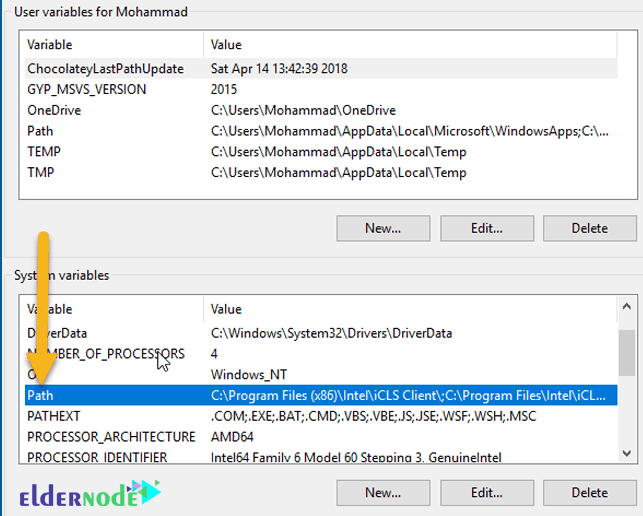
Now double-click on Path:
After opening the Path information, click New. Then enter the copied path and click OK.
For example this path: C:\Program Files\MongoDB\Server\3.6\bin.
Step 3: Create a data folder
In this step you have to create a folder for data in the root of drive C and put two folders db and log in this folder.
MongoDB stores the desired information in these folders by default.
Step 4: Run the server and connect to it
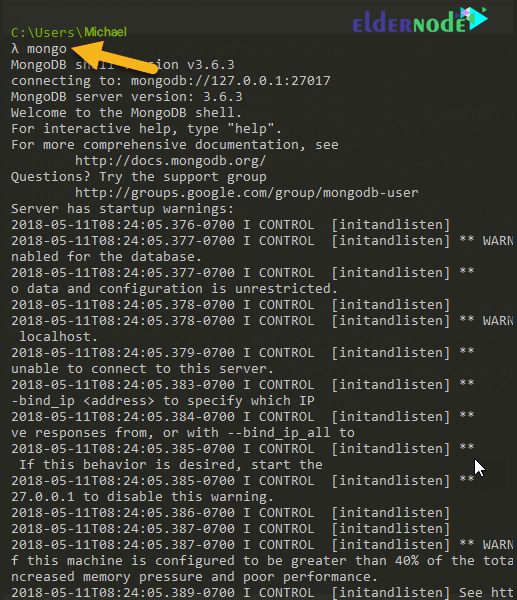
Run the MongoDB server. To do this, open CMD and type mongod and press Enter:
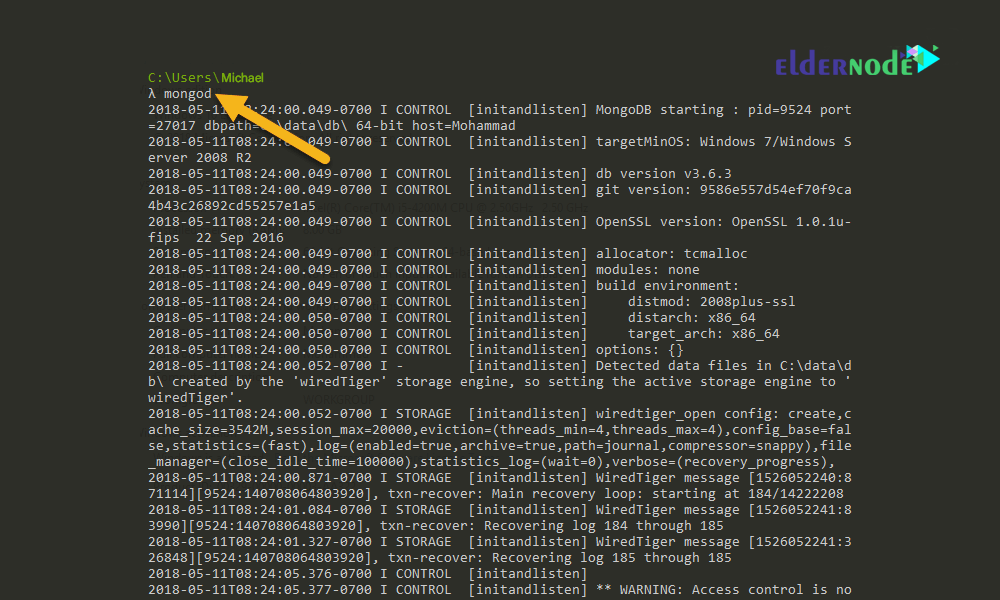
You will see that the MongoDB server is running and now you need to open CMD and connect to it from other places and use it.
To do this, you can connect to this server from another CMD with the mongo command and work with the database. You can also do this with various software such as Robo Mongo.
Here we select the first way and open another CMD and type mongo and press enter:
Step 5: Create the mongod.cfg configuration file
In this section you need to create a MongoDB service. By creating this service, every time your Windows is launched, the MongoDB server is also launched as a Windows service.
By doing this, the database is always active and you can use it.
To do this, enter the path where you installed MongoDB.
Such as C:\Program Files\MongoDB\Server\3.6. Then create a file called mongod.cfg and put the following code in it:
systemLog: destination: file path: c:\data\log\mongod.log storage: dbPath: c:\data\dbYou can see that we specified the path of the folders created in the data here.
Step 6: Build the MongoDB service
Launch a CMD as Run as administrator and enter the following code in it and press Enter:
sc.exe create MongoDB binPath= "\"C:\Program Files\MongoDB\Server\3.6\bin\mongod.exe\" --service --config=\"C:\Program Files\MongoDB\Server\3.6\mongod.cfg\"" DisplayName= "MongoDB" start= "auto"
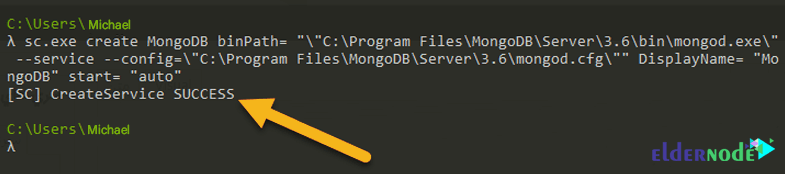
The service was created successfully.
Step 7: Launch the MongoDB service
To do this, enter the following command in the same CMD that is open:
net start MongoDBHere, if you have done the steps correctly, you will see that the MongoDB service has been successfully launched.
Now if you open the Task manager and enter the Services section, you will see MongoDB as shown below:
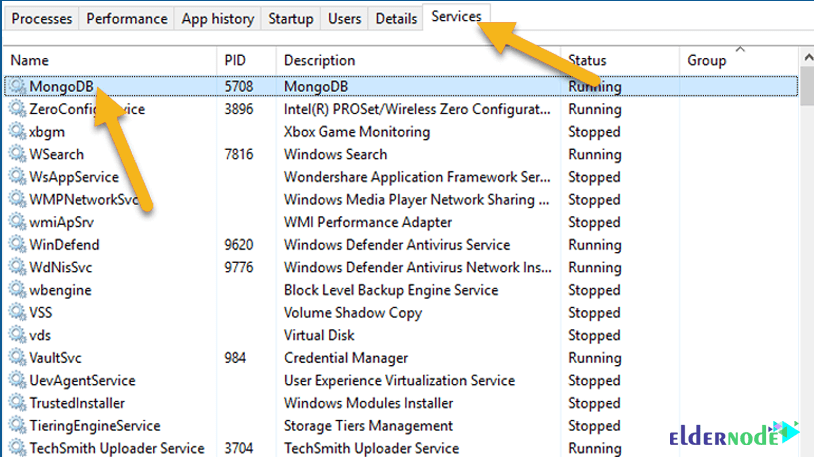
The service status is Running. So every time the system comes up, MongoDB also starts automatically. Then you can connect and work in any way you want.
Use the following commands to stop and delete this service:
// Stop serrvice net stop MongoDB // Delete service sc.exe delete MongoDB
Also, see:
How to install RoboMongo on Windows
Dear user, we hope you would enjoy this tutorial, you can ask questions about this training in the comments section, or to solve other problems in the field of Eldernode training, refer to the Ask page section and raise your problem in it as soon as possible. Make time for other users and experts to answer your questions.
How to install MongoDB on Windows.
Goodluck.
![What is Pritunl? [Every things about Pritunl]](https://blog.eldernode.com/wp-content/uploads/2023/03/What-is-Pritunl-300x164.webp)