How to install RoboMongo on Windows. RoboMongo is a visual tool to help you manage your database. Robomongo is a free open source software that supports various operating systems such as Windows, Linux, Mac OS. Of course, recently the name of this program was changed from RoboMongo to Robo 3T. But many users know it by the same old name RoboMongo. Robomongo is used to make the most of MongoDB.
In this article, we want to teach you how to download and install RoboMongo software. With this free software, you can easily manage and control MongoDB and do the things you want through the GUI.
Buy Windows Virtual Private Server
Step 1: Download RoboMongo
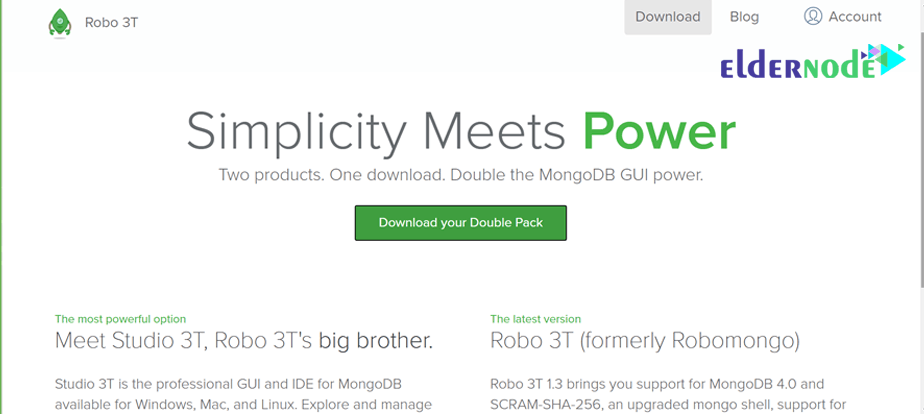
In the first step, to download the RoboMongo program, you must enter the download page of its site. Then download the existing installation file according to your operating system. To do this, first click on the Download Robo 3T option:
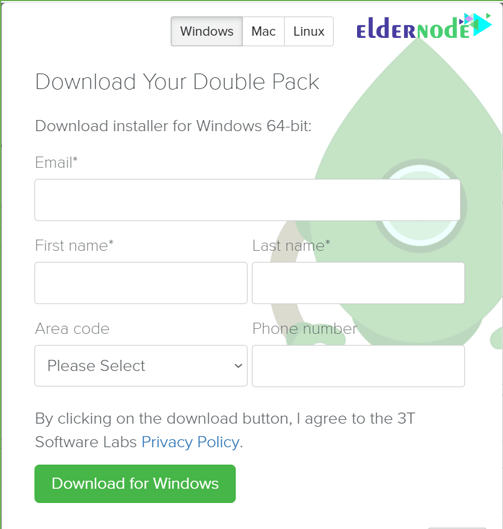
Now a dialog will open where you can select and download the desired version with your system:
Step 2: Install RoboMongo
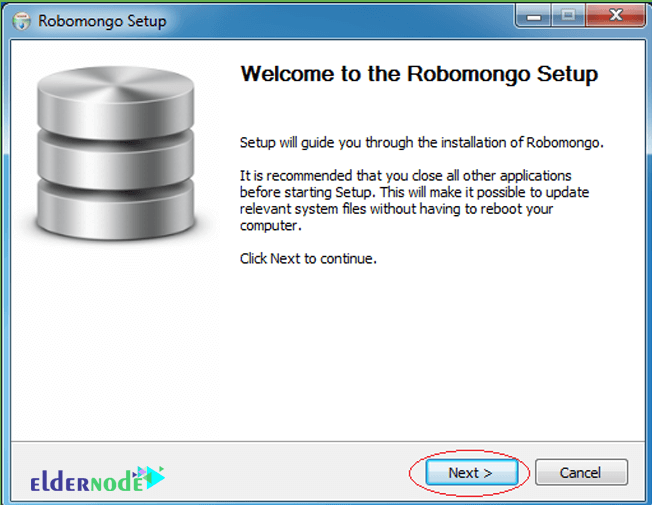
After downloading, double-click on the downloaded file, and click Next:
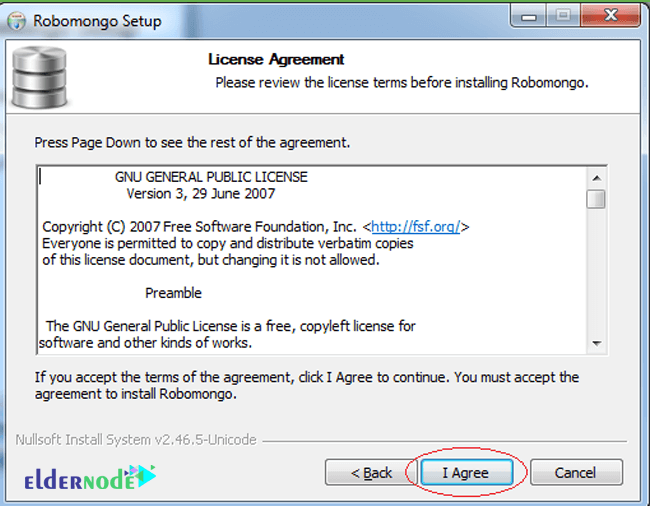
Open the Agreement page, and accept the displayed rules:
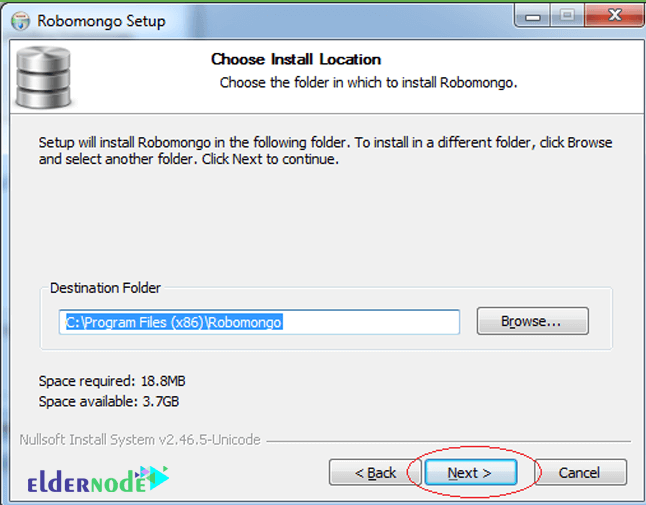
Specify the path where you want to save Robomongo:
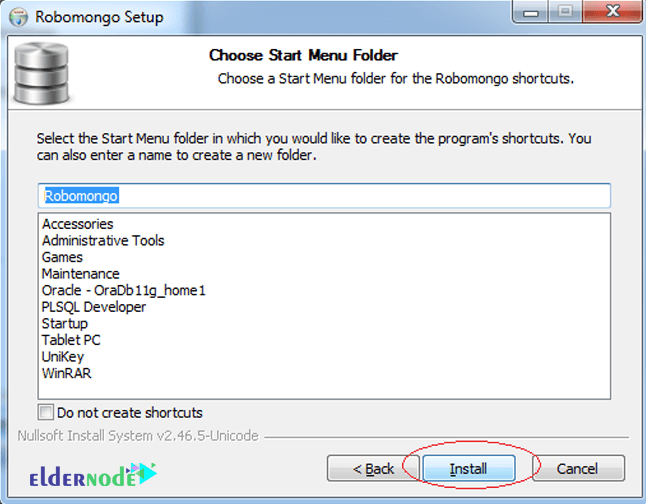
If you do not want to create shortcuts on the desktop, check the box below:
Finally, click the Finish button to complete the installation of the program.
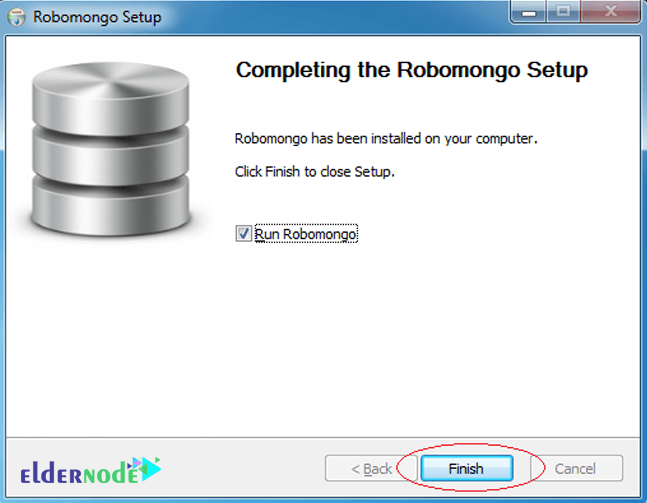
RoboMongo is easily installed on your computer and you can use it to manage MongoDB database.
Step 3: Use RoboMongo
Open the software after installation.
The first page you see at first glance is the page where you specify the address and database information of the MongoDB you want to connect to.
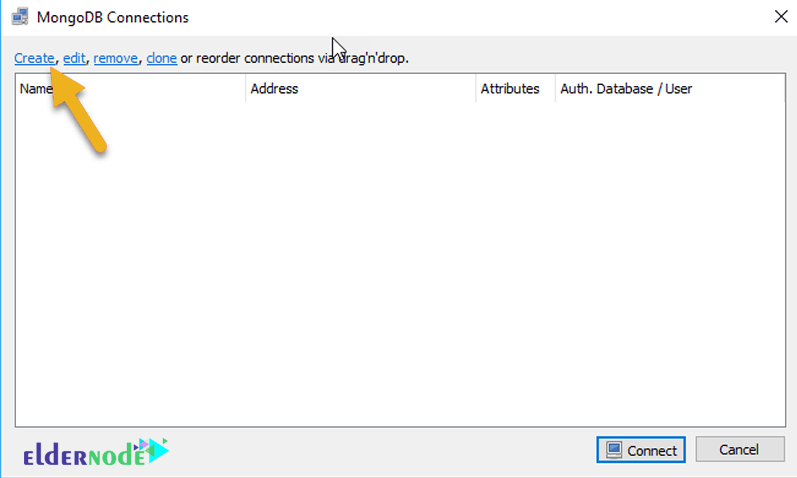
As in the image above, click on the Create option to create the first Connection.
Note that if you do not change the default MongoDB settings you installed on the system, its address is localhost and its port is 27017. But if you have changed the default settings, you will need to enter new information.
You can also specify the Connection name inside the Name field, but this is not necessary, and it is not very important. Using the Test button, you can test this connection and make sure it is safe.
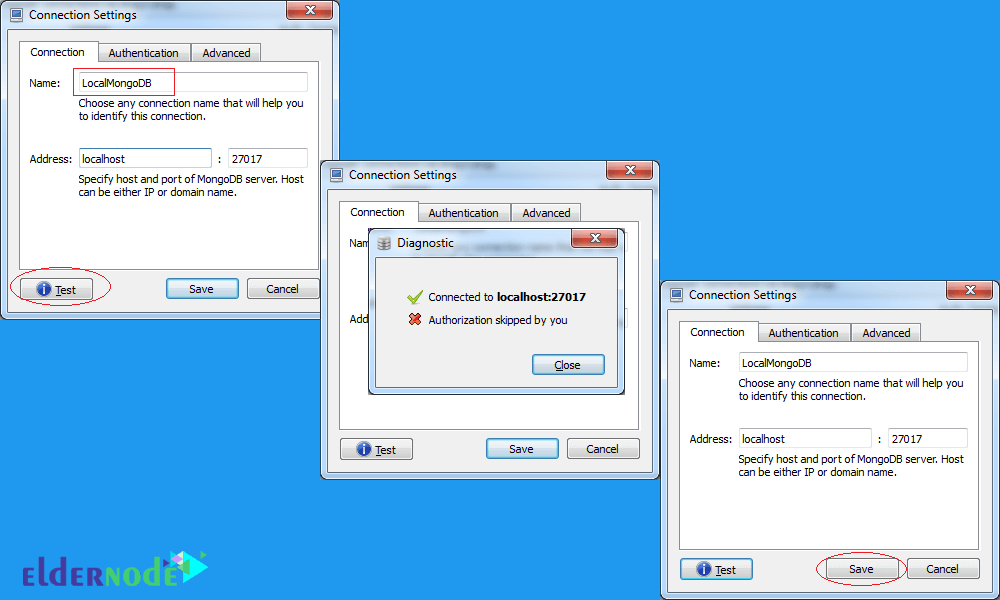
Click Save to save the connection successfully.
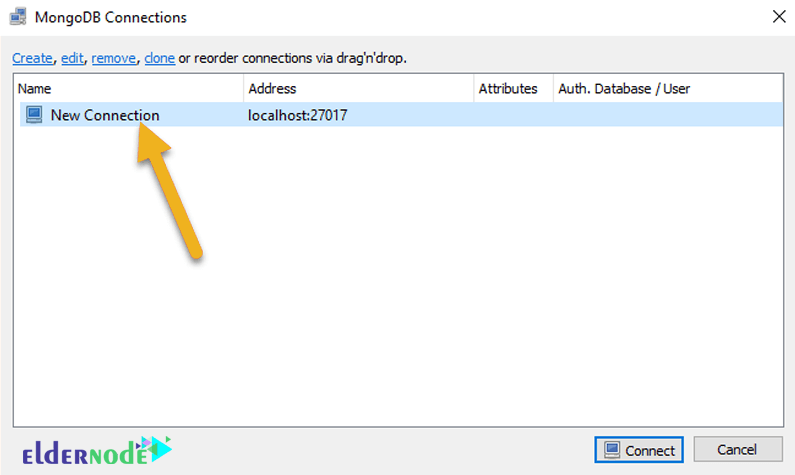
As you can see, the connection is made. You can now establish this connection using the Connect button, and manage your database.
Also, see:
1- How to install MongoDB on Windows
2- How To Secure MongoDB on Ubuntu 20.04 Server
Dear user, we hope you would enjoy this tutorial, you can ask questions about this training in the comments section, or to solve other problems in the field of Eldernode training, refer to the Ask page section and raise your problem in it as soon as possible. Make time for other users and experts to answer your questions.
How to install RoboMongo on Windows.
Goodluck.