Special Offer
 How to Install LEMP on CentOS 8 (Nginx, MariaDB, PHP-FPM)


To install LEMP on CentOS 8, start with a clean server and assume nothing is already configured. This guide follows the same order most admins use in practice: web server first, database second, and PHP last. No shortcuts and no combined commands.
The steps below show how Nginx, MariaDB, and PHP-FPM are installed and started one by one. Each service is checked before moving on to the next so you can tell immediately where a problem comes from if something doesn’t work.
By the end, you’ll have a simple LEMP setup that’s suitable for running PHP sites or testing applications on CentOS 8, without any tuning or production-level changes mixed in.
Prerequisites
To make this guide more useful, you’ll need access to a CentOS 8 VPS Server as a sudo user.
Install LEMP on CentOS 8
1- Install Nginx
To install the Nginx package run the below.
sudo dnf install nginx
To enable and start the server, run the following command after the installation finished.
sudo systemctl start nginx
In case, firewalld is active, run the below command to allow external access on port 80 (HTTP):
sudo firewall-cmd --permanent --add-service=http
To receive the effect of the changes, reload the firewall configuration
sudo firewall-cmd --reload
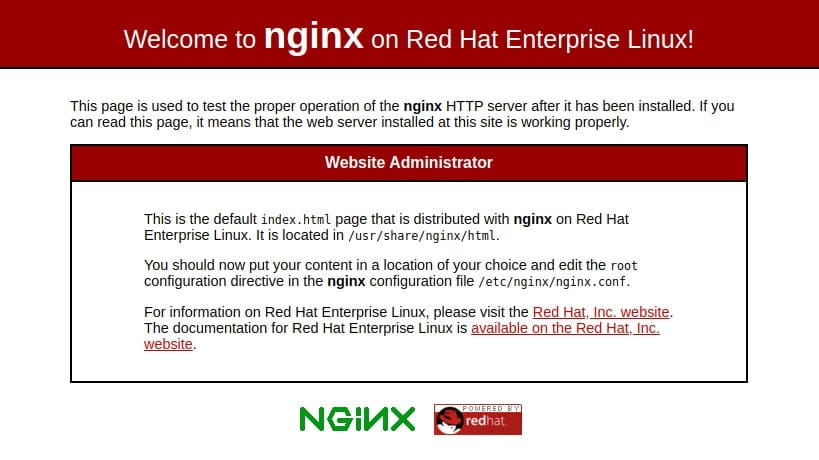
If you add the new firewall rule, you can test if the server is up and running by accessing your server’s public IP address or domain name from your web browser. In this way, the below page would appear.
2- Install MariaDB
To install MariaDB type:
sudo dnf install mariadb-server
Enable and start the MariaDB server when the installation is finished with:
sudo systemctl start mariadb
You are recommended to run a security script that comes pre-installed with MariaDB to improve the security of your database server. By the following command, Start the interactive script.
sudo mysql_secure_installation
During the setup process, a prompt will appear asking for the database root password. Press ENTER at the prompt as the password is blank. And the next prompt wants you to set up a database root password. You do not need to set the password because MariaDB uses a special authentication method for the root user that is typically safer than using a password. Type N and press ENTER
3- Install PHP-FPM
Type the below command to install.
sudo dnf install php-fpm php-mysqlnd
After finishing the installation, you should edit the /etc/php-fpm.d/www.conf file to adjust a couple of settings. To facilitate editing these files, you need to install nano.
sudo dnf install nano
Then, open the /etc/php-fpm.d/www.conf configuration file using nano or your editor of choice:
sudo nano /etc/php-fpm.d/www.conf
Update the user and group settings to use Nginx instead of Apache:
…
; User originally set for Apache-based configurations
user = nginx
; Group with permission to write log files
group = nginx
…
After you edited, save and close the file. And run the below command to enable and start php-fpm
sudo systemctl start php-fpm
It is time to restart the Nginx web server that it loads the configuration files created by the php-fpm installation:
sudo systemctl restart nginx
4- Test PHP with Nginx
You would need to modify the default owner and group on Nginx’s document root, to be able to create and modify files in that location using your regular non-root system user:
sudo chown -R nginx:nginx /usr/share/nginx/html/
To create a new PHP file called info.php at the /usr/share/nginx/html directory:
nano /usr/share/nginx/html/info.php To view information about the current PHP environment running on the server, use the following PHP code.
<?php

phpinfo();
Copy this content to your info.php file, and be sure to save it.
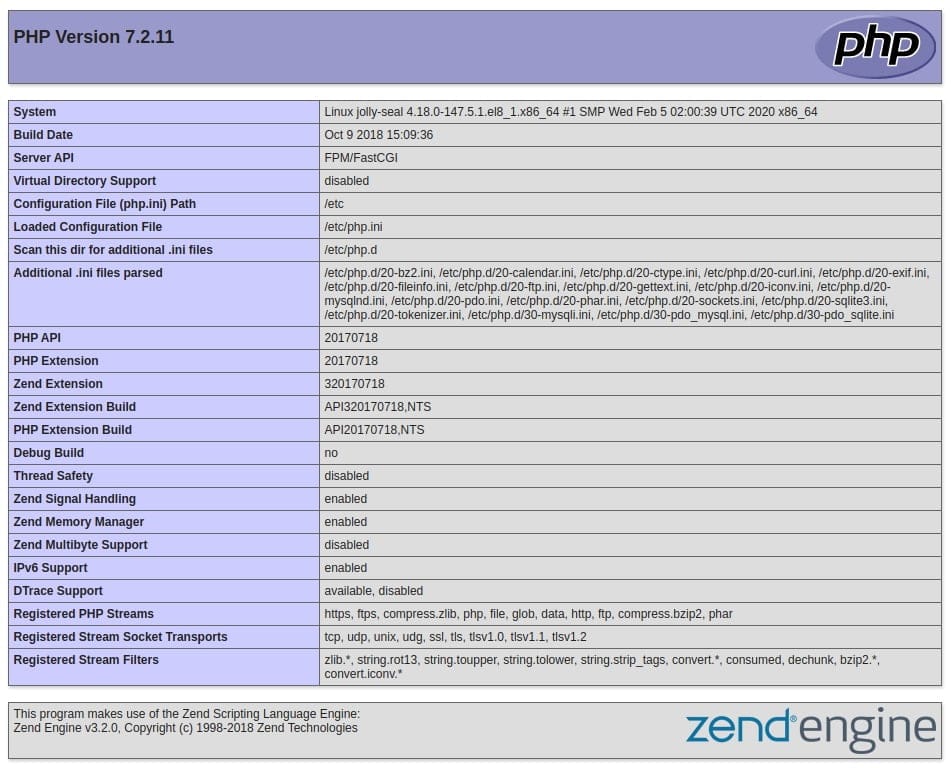
To test if your web server gives a correct display content generated by a PHP script, use your browser and access your server hostname or IP address, followed by /info.php:
http://server_host_or_IP/info.phpYou may see a page as below.
Common Issues & Fixes
Nginx loads, but PHP files are downloaded
This happens when PHP isn’t being handled at all.
Most of the time, PHP-FPM is not running.
Check it first:
sudo systemctl status php-fpm
If it’s not active, start it:
sudo systemctl start php-fpm
If PHP-FPM is running and files are still downloading, then Nginx is treating .php files like normal files.
That means the PHP-FPM config in Nginx is missing or wrong.
Fix the Nginx config, reload Nginx, and test again.
Nginx is running, but the site is not reachable
In most cases, this is related to firewall settings.
Check current firewall rules:
sudo firewall-cmd --list-all
Make sure HTTP traffic is allowed:
sudo firewall-cmd --permanent --add-service=http
sudo firewall-cmd --reload
PHP info page shows a blank page or error
Check service logs for clues:
sudo journalctl -u php-fpm
sudo journalctl -u nginx
This is often caused by an incorrect user or group setting in www.conf, or a missing PHP module.
Conclusion
If you reached this point without running into errors, the stack is working. Nginx is serving pages, PHP runs through PHP-FPM, and MariaDB is available when you need it. That’s all this guide covers.
Nothing here is final or perfect. It’s just a basic setup to get things running on CentOS 8. What you do next depends entirely on your project maybe you’ll tweak PHP, maybe you’ll add virtual hosts, maybe you’ll lock things down for production.
For now, the server does what it should. You can take it from here.