Special Offer
 How to Install Plesk on Ubuntu 22.04 (Step-by-Step)


This page shows the steps used to install Plesk on Ubuntu 22.04. The setup is done on a clean Ubuntu 22.04 VPS using the default installer provided by Plesk.
If you’re installing Plesk on Ubuntu 22.04 for the first time, starting with the web installer is usually simpler and avoids dealing with package selection during setup.
How to Buy Temporary License from Plesk Site
You can get free license for Plesk control panel from Plesk website:
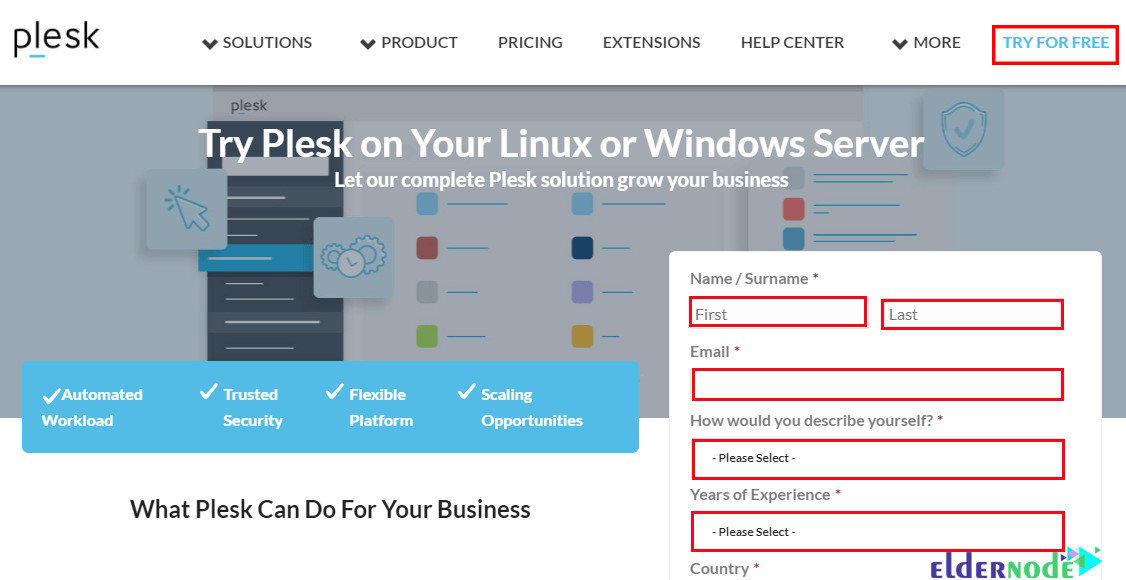
Enter the requested information and complete registration, then you will receive an activation serial via email. You will use this serial code at the end of installing and activating Plesk control panel.
Plesk Installation Methods on Ubuntu 22.04
You can install Plesk on Ubuntu 22.04 in 2 ways:
–> Installing Plesk on Ubuntu 22.04 Using Web Installer
–> Installing Plesk on Ubuntu 22.04 Using Command Line
How to Install Plesk Using Web Installer on Ubuntu 22.04
First log in to your server and update your server via the following command:
sudo apt-get update
Use the following commands to configure UFW and allow the Plesk web interface ports (80/tcp, 443/tcp, 8443/tcp, and 8880/tcp):
sudo ufw allow 80/tcp
sudo ufw allow 443/tcp
sudo ufw allow 8443/tcp
sudo ufw allow 8880/tcp
sudo ufw enable
sudo ufw reload
Now, you should download the Plesk installer via the following command:
wget https://autoinstall.plesk.com/plesk-installer
You can enable the read, write and execute options on the downloaded script using the following command:
sudo chmod 755 plesk-installer
Run the following command to launch the Plesk web installation interface:
sudo ./plesk-installer --web-interface
The output will be as follows:
Web interface is now started.
Please visit <https://example.com:8447/> in your browser.
How to Access Plesk on Ubuntu 22.04
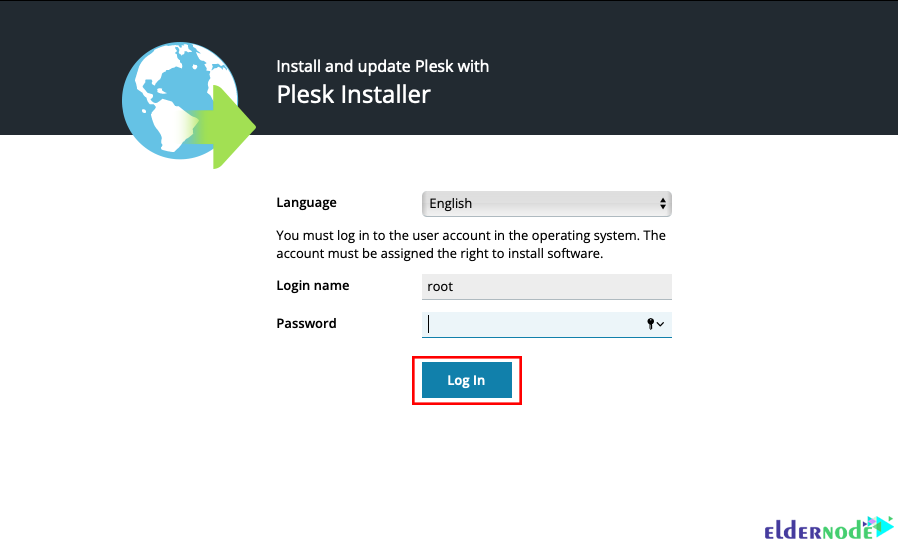
Open a web browser and and go to your IP server on port 8447 and proceed as follows:
https://example.com:8447/
Then to begin the Plesk installation, enter the details of your main server account to begin the Plesk installation process:
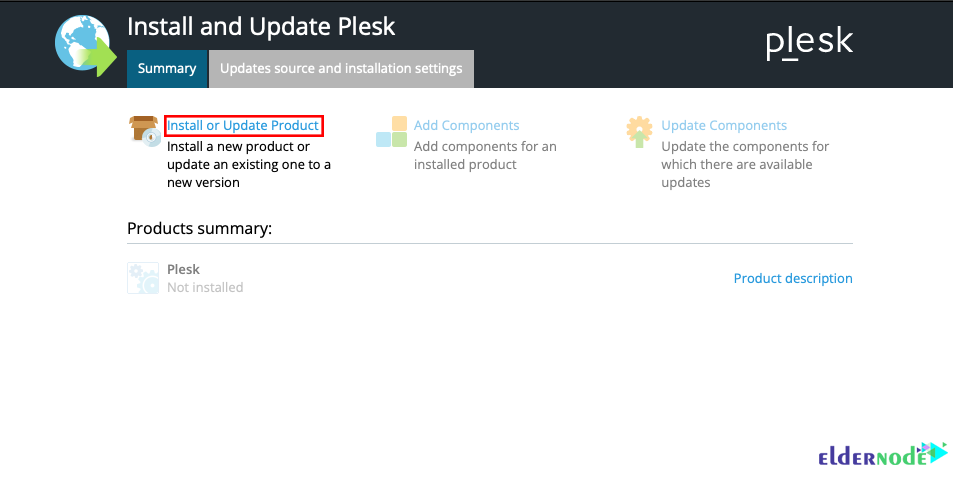
Configure your Plesk version by clicking on Install or Update Product:
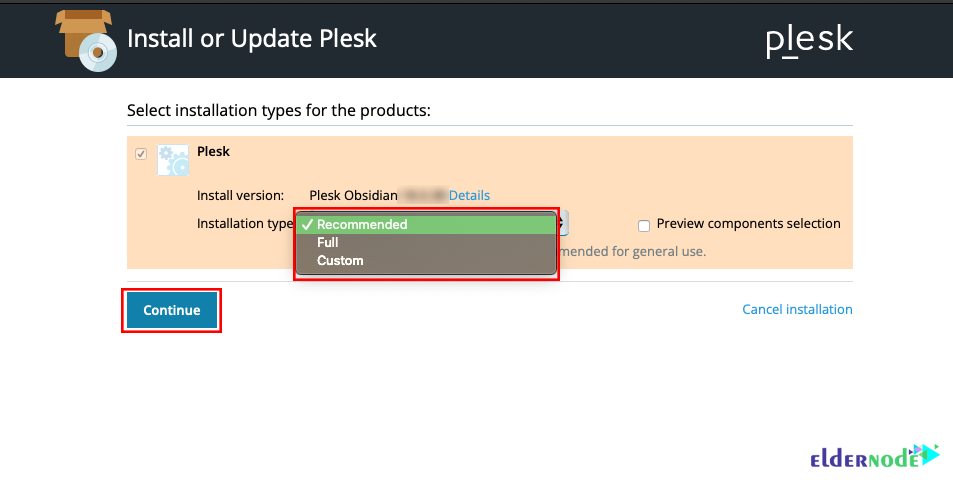
Select your desired Plesk version and click Continue:

The installation options are as follows:
–> Recommended: Install Plesk default components.
–> Full: Install all supported applications and features.
–> Custom: Select the components you want to install on your plesk panel.
After selecting the relevant option, click Continue:
Selecting the Recommended or Full options will start the Plesk installation process automatically.
By selecting the Custom option, you will see a list of components available for installation on the Plesk server:
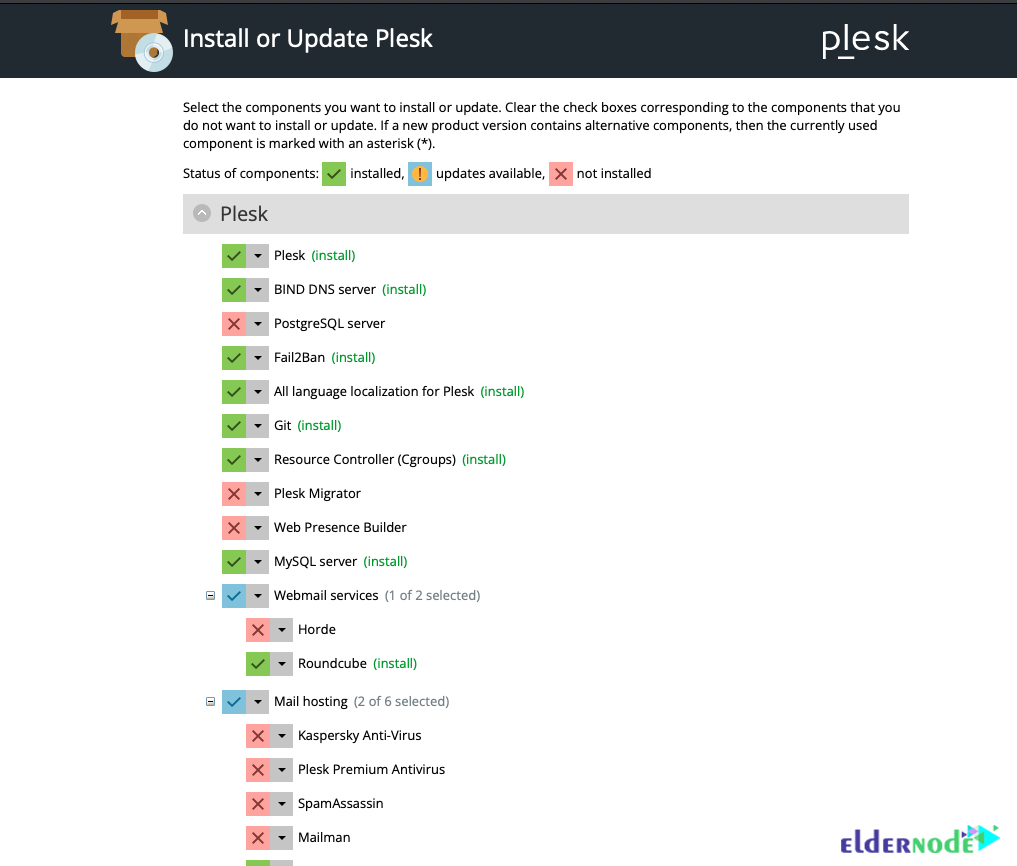
After selecting the components, click Continue to begin the installation process.
Once the installation is complete, go to the terminal session and press CTRL+C to stop the script.
Then restart your server:
sudo shutdown -r 0
Connect to the ubuntu server in a terminal with SSH. You will see the following message:
This server is powered by Plesk.
Run the 'plesk login' command and singin by browsing either of the links received in the output.
Use the 'plesk' command to manage the server. Run 'plesk help' for more info.
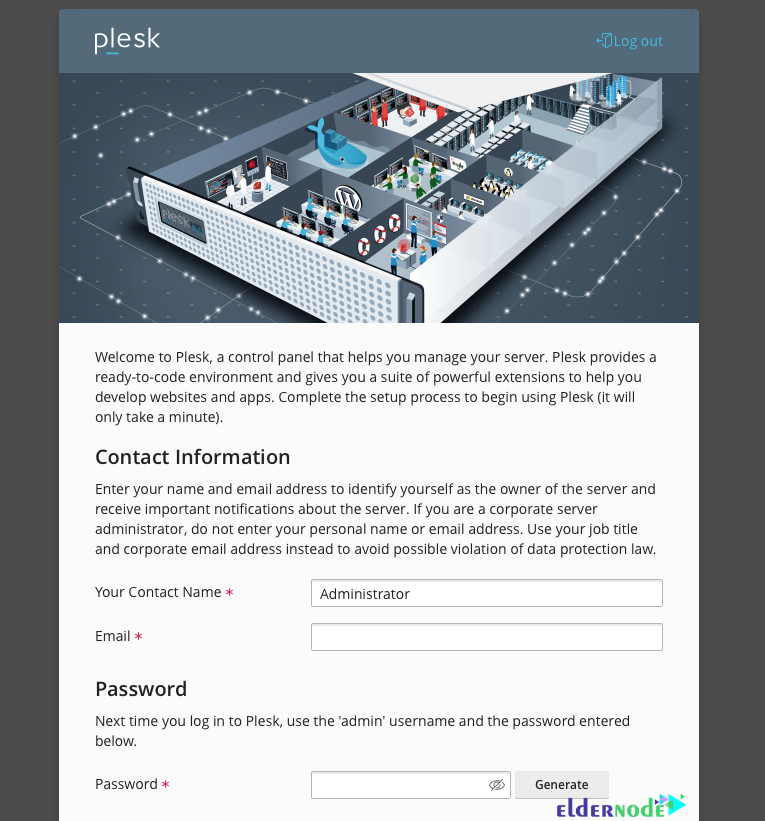
To get a one-time login link, run the Plesk login command, then create a Plesk admin account and enter your license key.
After completing the required information and accepting the license agreement, press Enter Plesk.
You can access your Plesk control panel on port 8443 using HTTPS or on port 8880 using an unsecured HTTP server:
https://your.server.example.com:8443
http://your.server.example.com:8880
How to Install Plesk Using Command-Line on Ubuntu 22.04
First download the Plesk installer script via the following command:
wget https://autoinstall.plesk.com/plesk-installer
Use the following command to give the script, read, write and execute permissions:
sudo chmod +x plesk-installer
Then run the script by the following command:
sudo ./plesk-installer
Then do what the installer asks:
–> Type “F” to agree to the terms and conditions.
–> Type “Y” to send information about problems that occurred to Plesk, including installation and upgrade problems.
–> Type “F” to see the installation types.
–> Type “S” to see a list of packages to be installed.
–> Finally type “F” to continue.
After completing the Plesk installation process, create an Admin account. Open the web browser and go to one of the web addresses displayed by the installation tool. You can also create a new set of login links with the following command:
sudo plesk login
After creating the account, enter the Plesk license key:
As mentioned in the previous method, you can access your Plesk control panel in the following order:
https://your.server.example.com:8443
http://your.server.example.com:8880
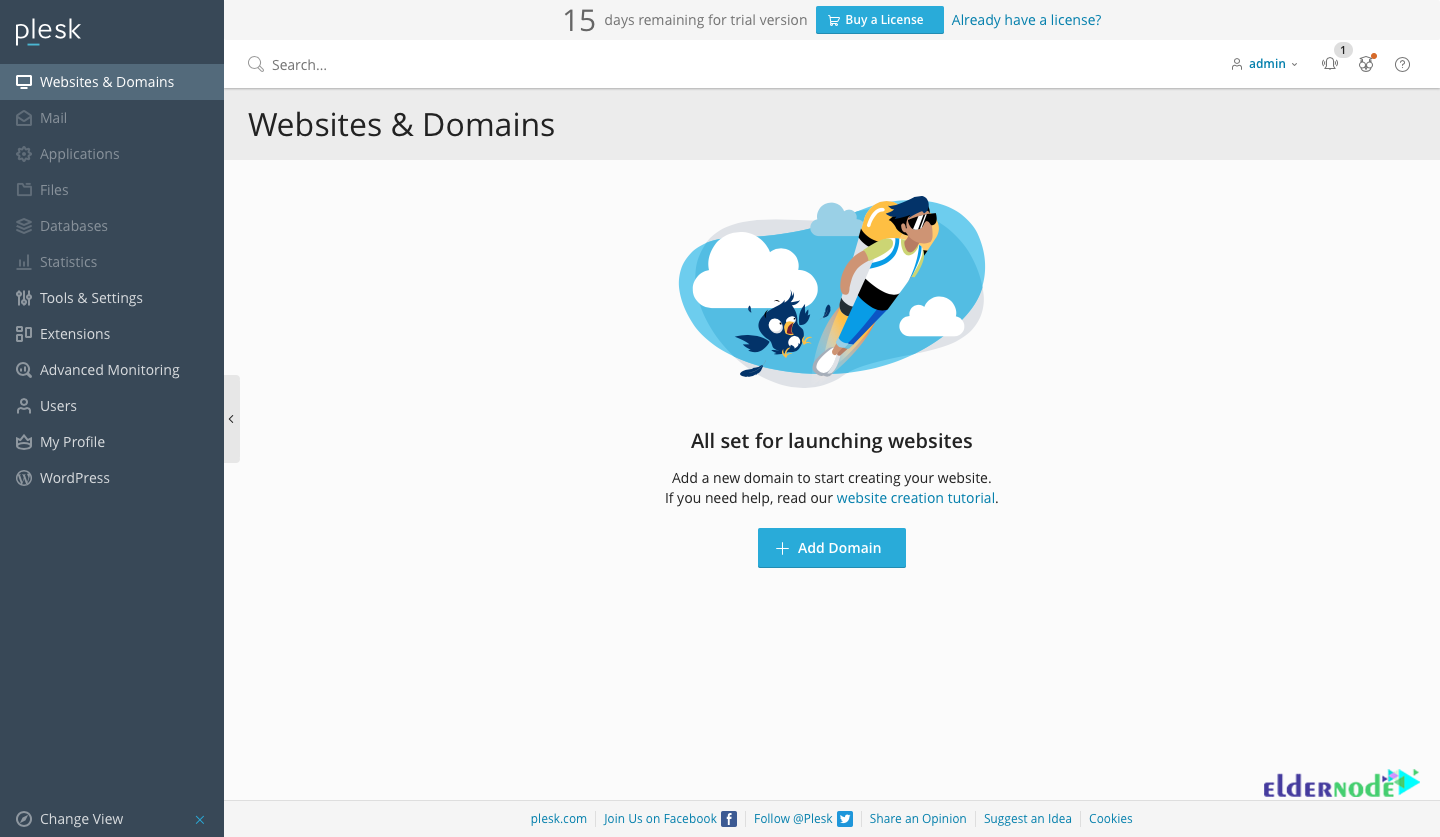
You can try Plesk for free for 15 days, But you can enter the license you bought by clicking on the Already have a license tab.
This guide is based on real-world VPS deployments on Ubuntu 22.04 and common installation scenarios used by hosting providers.
Conclusion
Plesk is now installed on Ubuntu 22.04 and available through its web interface. Once you log in, you can start using the panel immediately. If the dashboard loads correctly and services start without errors, nothing else is required at this stage.