Special Offer



How to SSH Into a Linux Machine From Mac
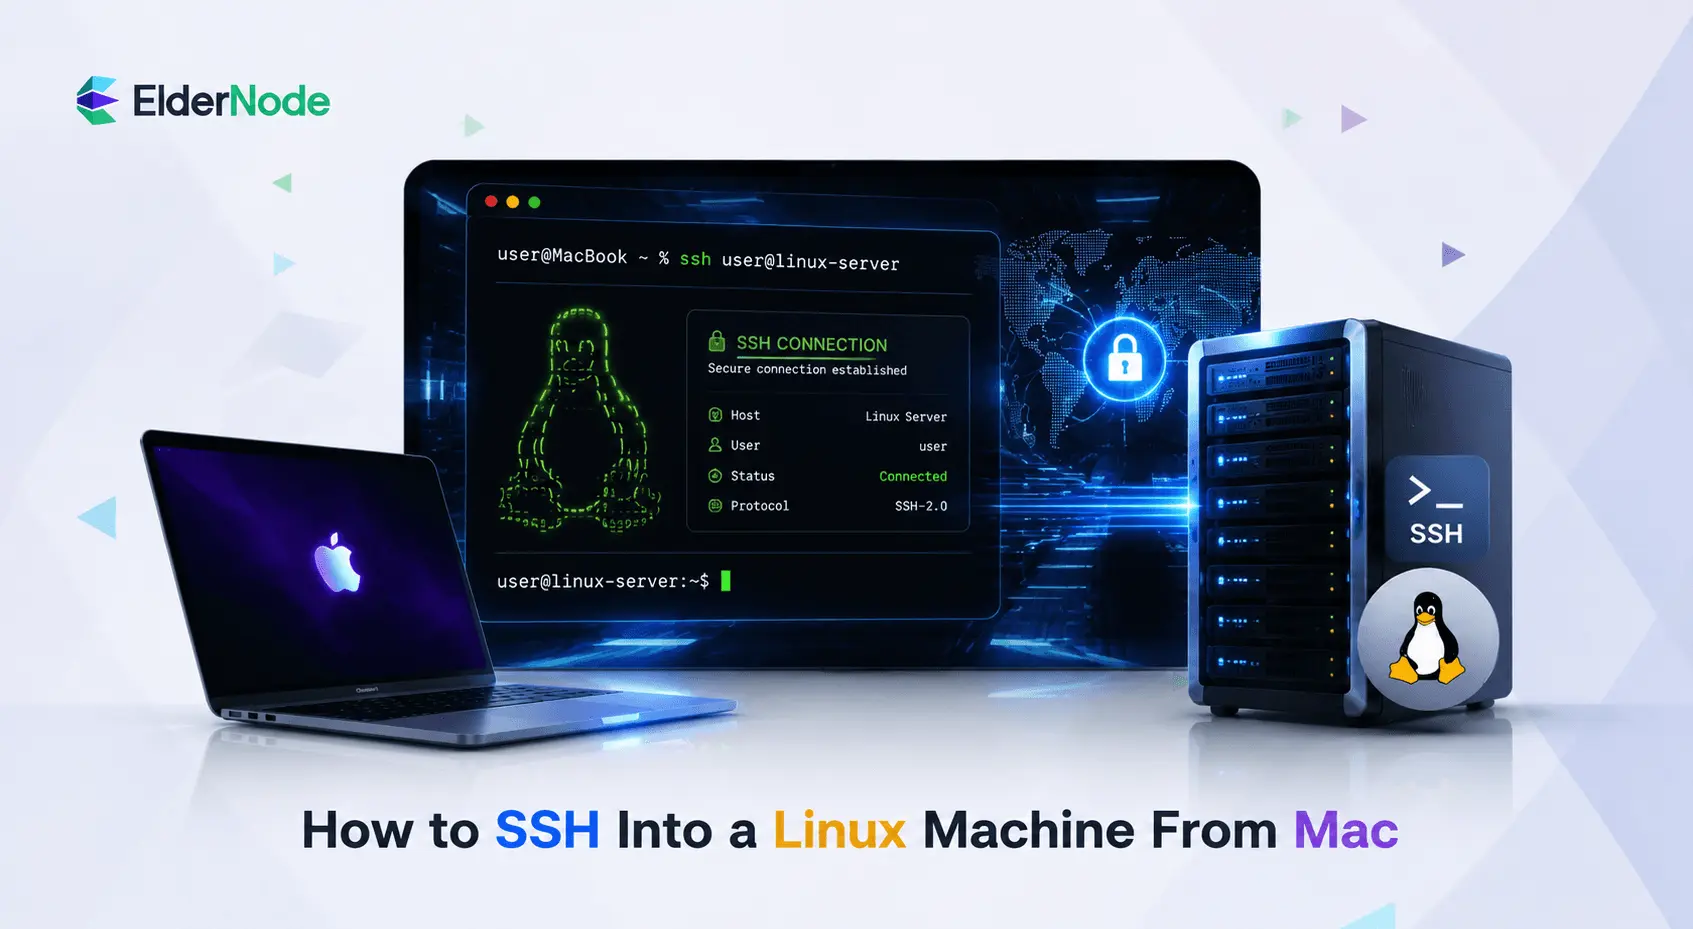



If you’re setting up a Linux VPS, SSH will quickly become your best friend. It’s the standard way to log in, manage files, install software, update packages, and configure services, all from your Mac. If you’re wondering how to SSH into a Linux machine from Mac, the good news is that macOS comes with an SSH client built in by default, so in most cases you won’t need to install anything before you connect.
In this guide, we’ll walk through everything you need to SSH into a Linux machine from your Mac, covering password logins, SSH keys, the connection options you’ll actually use, and a few troubleshooting tips to help keep your remote access to Linux reliable.
What You Need Before You Start
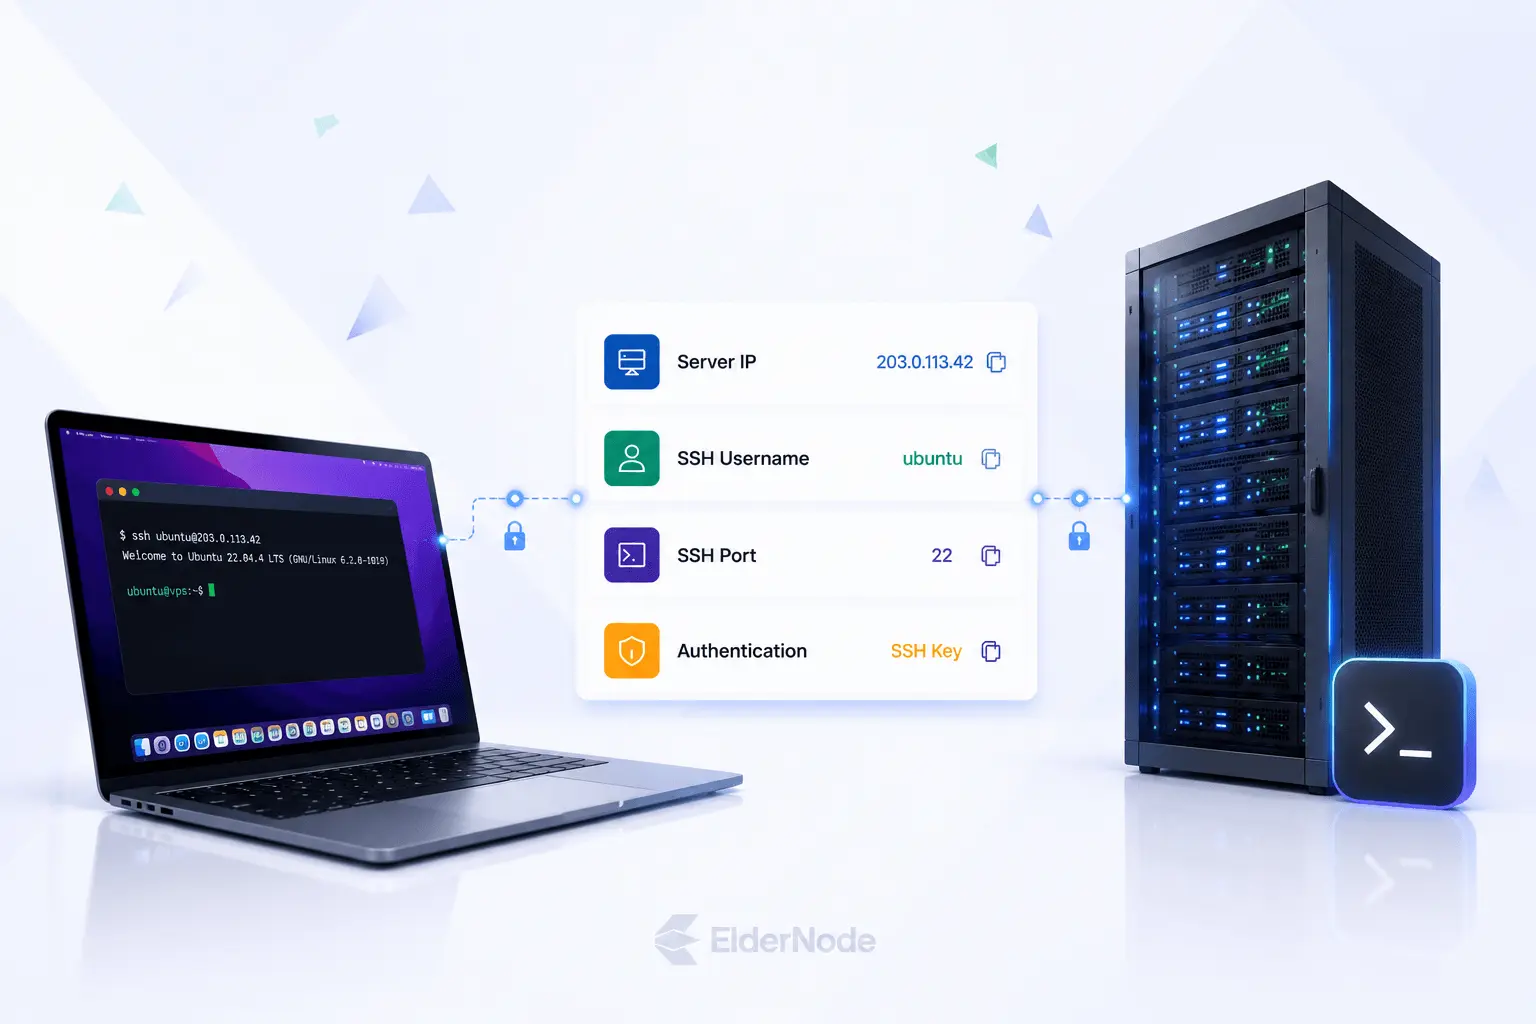
Before connecting, grab these from your server or VPS dashboard:
- IP address or hostname, like 203.x.x.1 or server.example.com
- SSH username, usually root, ubuntu, debian, centos, or one your provider set up
- Login method, password or private SSH key, whichever you set up
- SSH port, almost always 22 unless it’s been changed
- A working internet connection on your Mac
Can’t find some of this? Check your provider’s control panel or the welcome email, they usually have it all spelled out.
Step 1: Open Terminal on Your Mac
Good news, no downloads needed here. Your Mac already comes with Terminal, and that’s all it takes to run SSH.
Easiest way in: press Command + Space, type Terminal, hit Return. Prefer clicking around instead? You’ll find it tucked away under Applications > Utilities > Terminal, easy to miss the first time, but once you know where it is, you’ll never lose it again.
Once that window pops up, you’re all set to connect to your Linux machine.
Step 2: Connect With a Basic SSH Command
The command is pretty straightforward and always follows this shape:
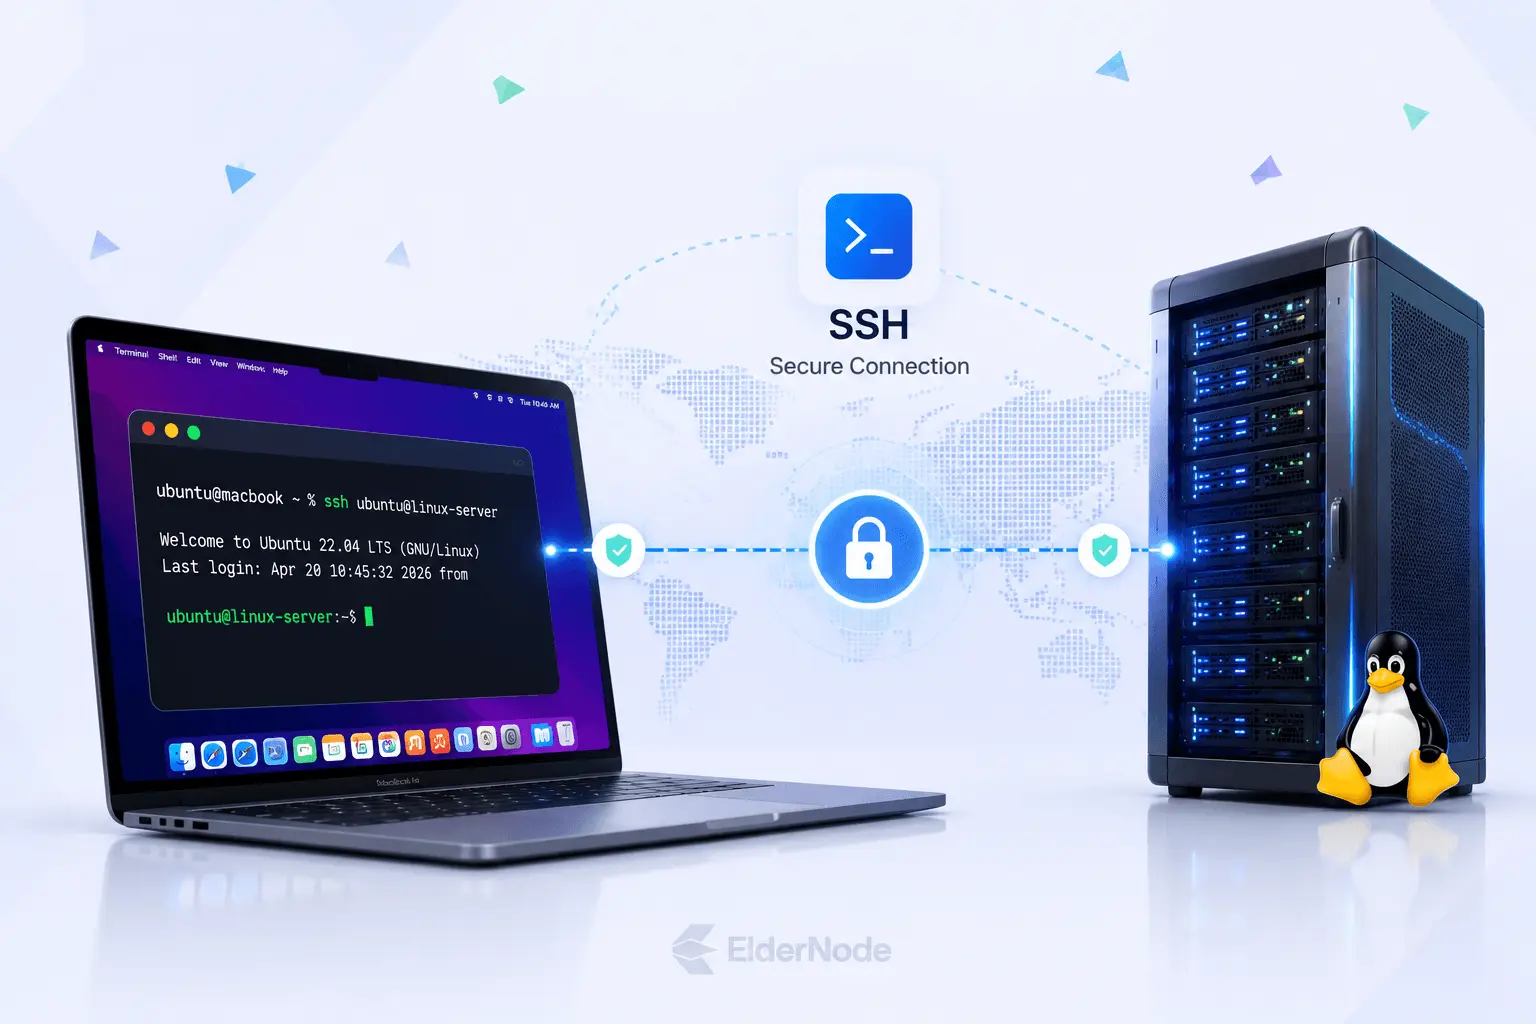
ssh username@server_ip
Say your Linux VPS gives you access as root, and the server’s IP happens to be 203.x.x.1. You’d simply type:
ssh [email protected]
Now, not every server hands you root access. Sometimes you’ll be working with a different username, something like ubuntu. If that’s your situation, your command would look a bit different:
ssh [email protected]
Here’s a little heads up before you try this. The very first time you connect, your Mac is probably going to throw a message at you saying it can’t verify the authenticity of the host. Take a breath, this is totally normal and nothing to worry about.
If you’re confident the IP address you’re using is correct, go ahead and type:
yes
then hit Return.
And that’s it. From this point on, your Mac quietly remembers this server’s fingerprint. So the next time you connect, it’ll recognize the machine instantly, no more warning messages, no more hesitation.
Step 3: Connect With an SSH Key Instead of a Password
Alright, let’s ditch the password thing, it gets annoying fast. SSH keys are the way to go, safer, and once you set them up, logging in is instant. Bonus, most VPS providers let you drop your public key in the moment you create the server, so you don’t even deal with passwords at all.
Quick concept before we dive in. An SSH key comes in a pair, always two files:
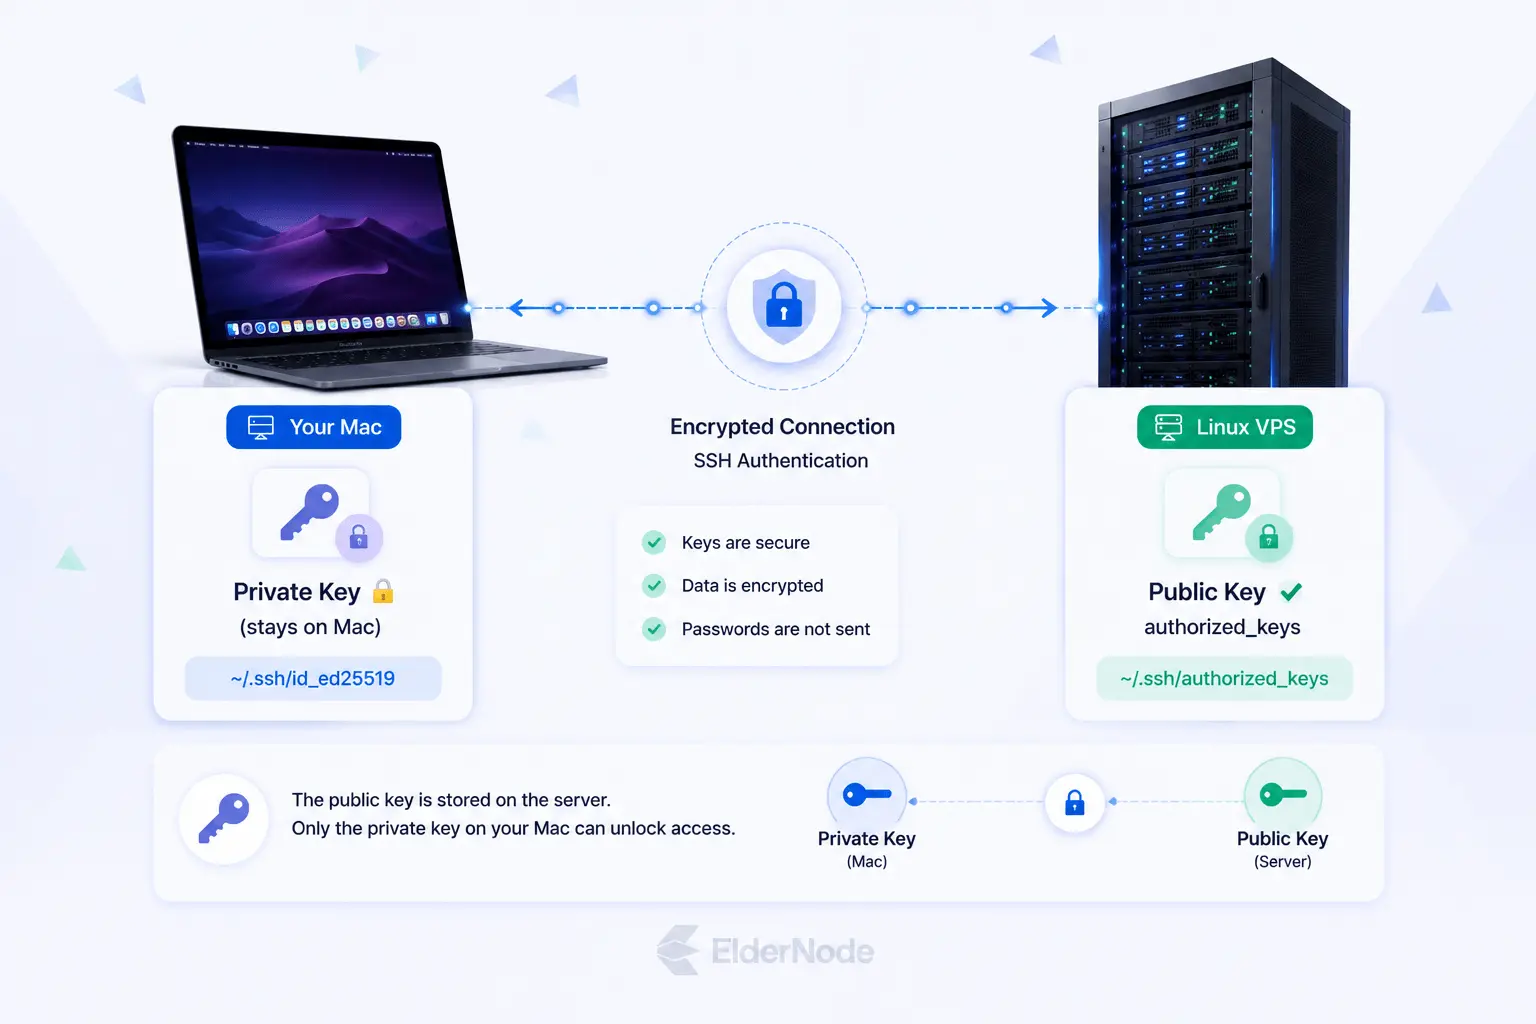
Private key, this stays on your Mac. Period. Never send it, never share it, never upload it anywhere.
Public key, this one’s fine to share. It goes on your server.
First, let’s see if you already have one lying around
Run this:
ls ~/.ssh
See if anything like this pops up:
id_ed25519
id_ed25519.pub
id_rsa
id_rsa.pub
The ones ending in .pub, those are public, totally shareable. The ones without it, keep those to yourself.
Nothing there? No big deal, let’s make one
Just run:
ssh-keygen -t ed25519 -C "[email protected]"
It’ll ask you where you want to save it, just hit Return and roll with the default, no need to overthink this part.Want extra security? Throw in a passphrase right here, totally optional but a nice touch.
Once that’s done, let’s grab your public key. Run:
cat ~/.ssh/id_ed25519.pub
Copy everything that shows up, all of it, then paste it into your VPS provider’s dashboard, or if you’d rather do it manually, drop it into ~/.ssh/authorized_keys on the server itself.
Step 4: SSH Into Linux From Mac Using a Private Key
Alright, let’s log in with that key. If it’s sitting in the default location, you’re in luck, the regular command might just work without you doing anything extra:
ssh username@server_ip
Got your key somewhere else, or juggling a few different keys? Just point SSH to the right one using -i:
ssh -i ~/.ssh/id_ed25519 username@server_ip
Like this, for example:
ssh -i ~/.ssh/id_ed25519 [email protected]
Now, if SSH suddenly gets stubborn and won’t touch your key, don’t panic, it’s almost always a permissions thing. SSH just wants to make sure no one else can peek at your private key. Please Fix it with:
chmod 600 ~/.ssh/id_ed25519
Try connecting again after that, and it should go through just fine.
Step 5: Use a Custom SSH Port
Here’s something you might run into, not every server sticks with the default port 22 for SSH. A lot of providers switch it up on purpose, mainly to keep random bots from constantly hammering away trying to guess their way in.
So if your server’s using a different port, don’t worry, connecting is still just as easy. Just tack on -p followed by whatever port number your server’s using:
ssh -p 2222 username@server_ip
And if you’re also logging in with a private key at the same time, that’s fine too, just combine both options into one command:
ssh -i ~/.ssh/id_ed25519 -p 2222 username@server_ip
One thing though, and this trips people up more than you’d think, make sure that port is actually open on your VPS or cloud firewall. If it’s blocked on that end, your Mac can type the perfect command all day long and still won’t get through. So it’s worth a quick check before you start second guessing your syntax.
Step 6: Create a Shortcut With an SSH Config File
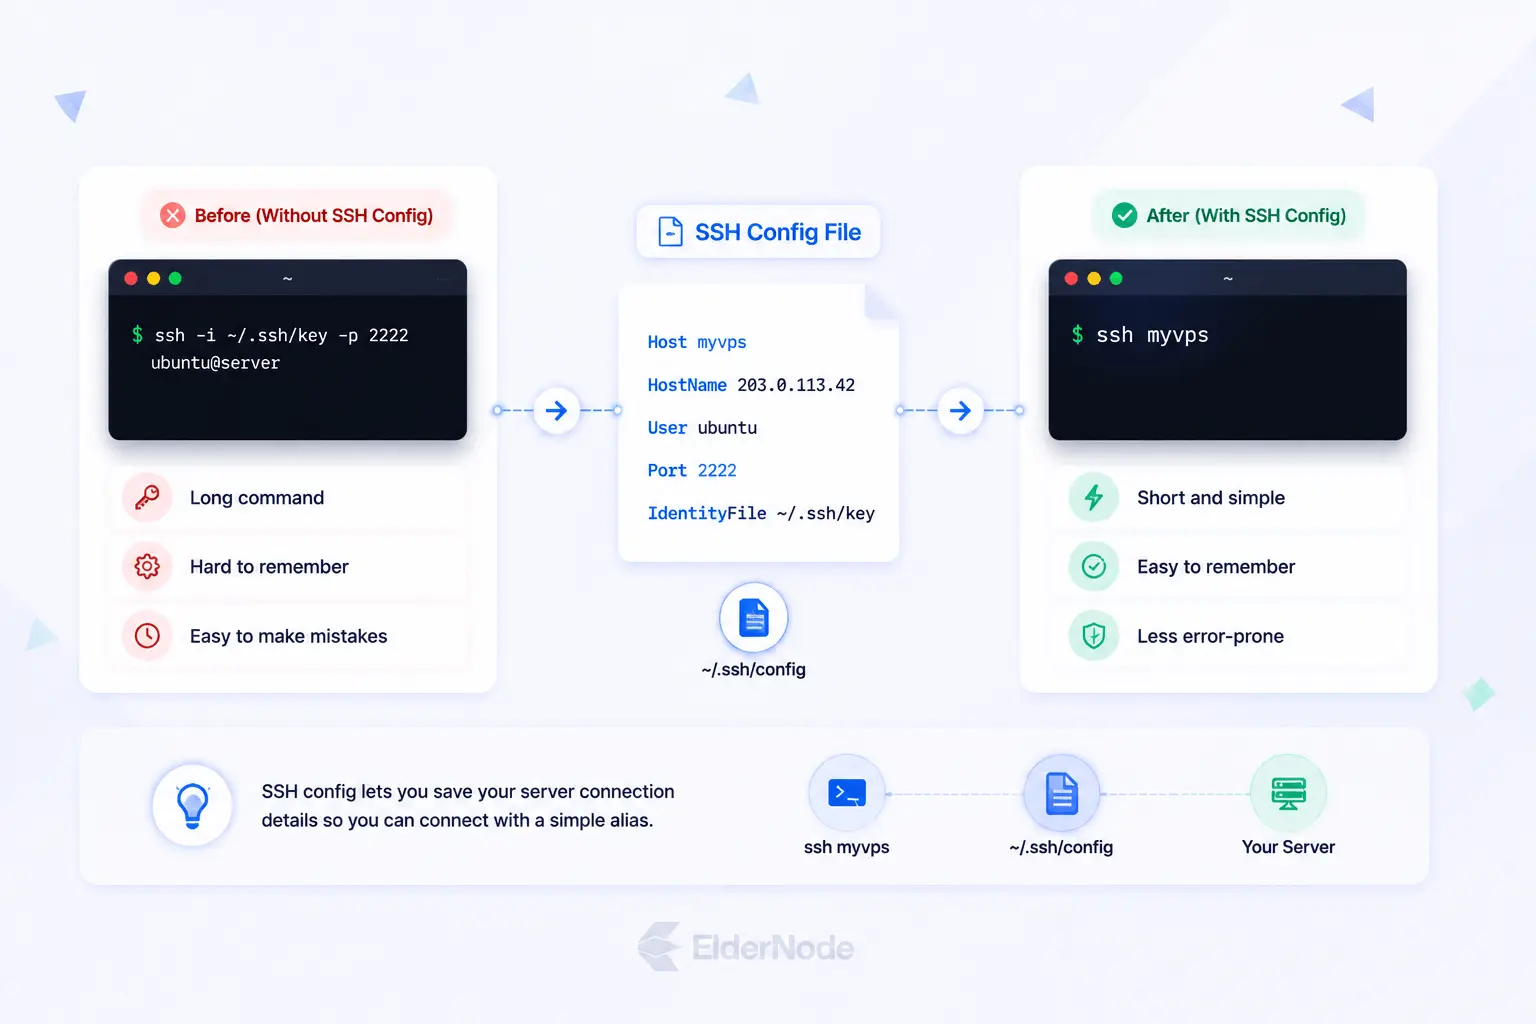
Okay, this one’s honestly my favorite trick. If you connect to the same server again and again, typing that whole command every time gets old real quick, trust me. So let’s fix that once and for all.
Open up (or create) your SSH config file:
nano ~/.ssh/config
Now just add an entry like this:
Host myvps
HostName 203.x.x.1
User ubuntu
Port 22
IdentityFile ~/.ssh/id_ed25519
Feel free to swap in your own IP, username, and key path, this is just an example setup.
Once you’ve added it, save and exit. In nano, that’s Control + O, then Return, then Control + X. Nothing fancy.
And here’s the payoff, from now on, connecting is as simple as typing:
ssh myvps
That’s genuinely it. No IP to remember, no username to type, no flags to fumble through. SSH already knows exactly where you’re headed and how to get there.
Step 7: Copy Files Between Mac and Linux
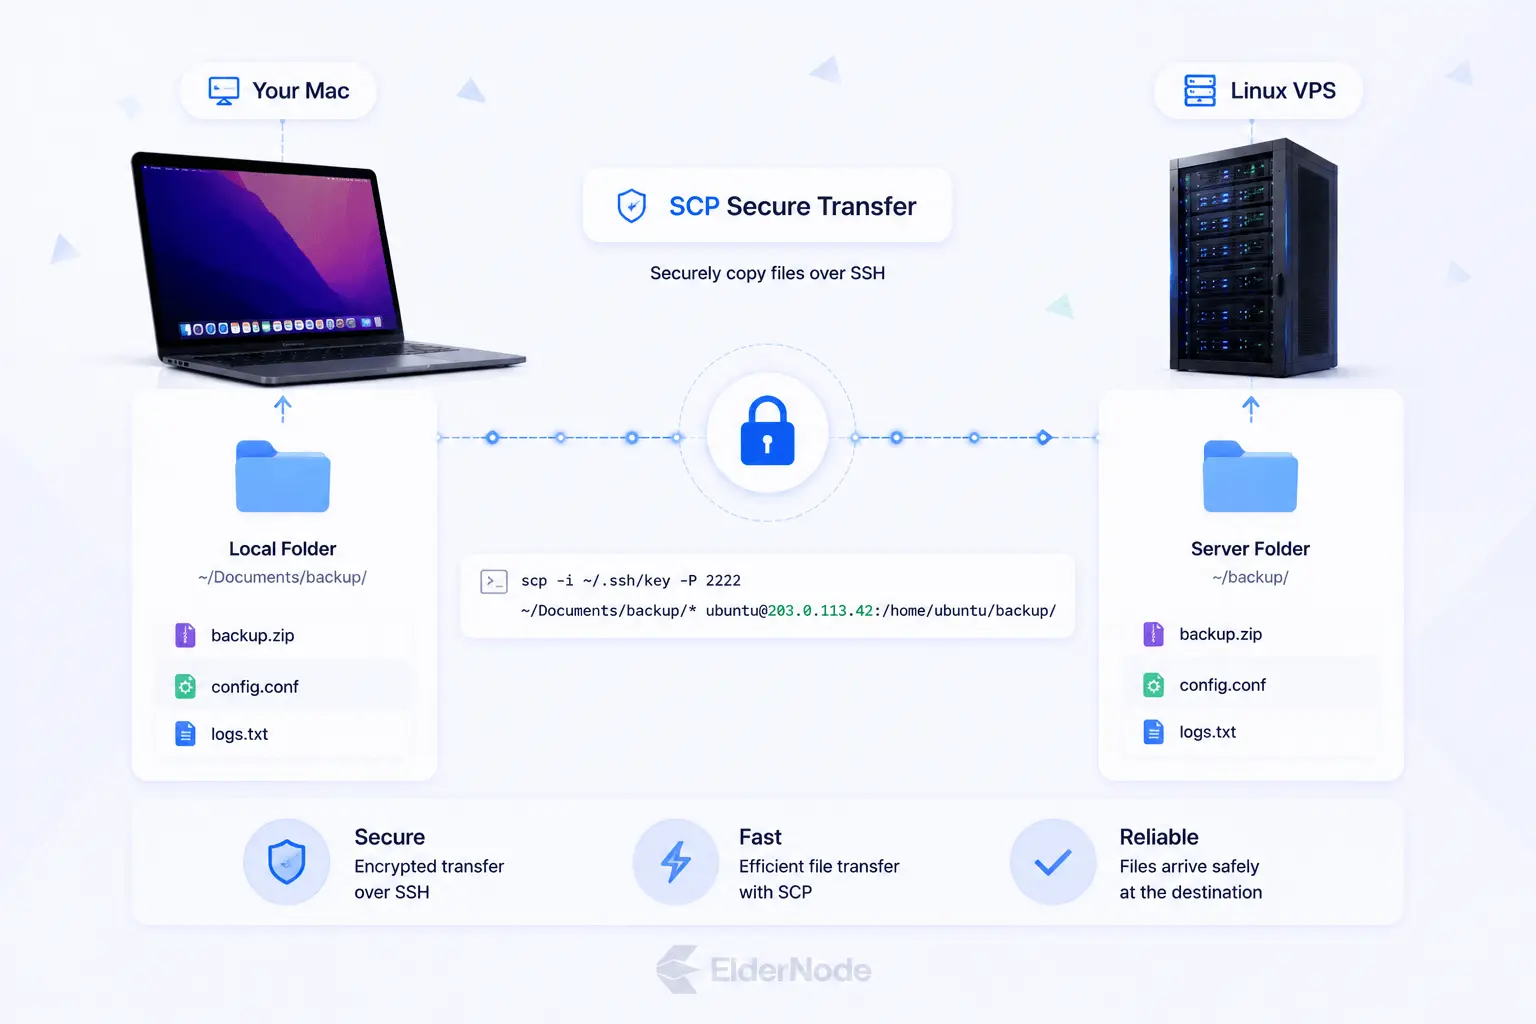
Here’s a nice bonus, SSH also lets you move files back and forth, safely and without any extra setup. The tool’s called scp, and you run it straight from your Mac’s Terminal.
Sending something up to the server? Easy:
scp local-file.txt username@server_ip:/home/username/
Grabbing something off the server instead? Just flip it around:
scp username@server_ip:/home/username/server-file.txt ~/Downloads/
Using a custom SSH port? Don’t forget -P, capital this time:
scp -P 2222 local-file.txt username@server_ip:/home/username/
Honestly, once this clicks, you’ll reach for it constantly, configs, backups, logs, deployment scripts, all just a quick command away.
Step 8: Exit the SSH Session
You spent all this time connected to a machine somewhere out there, and now it’s time to say goodbye and head back to your own little corner, your Mac. Let’s do it properly. Type:
exit
Hit Return, and poof, you’re out.
Or skip a step and just press Control + D, same effect, one less keystroke.
Either way, your Terminal snaps right back to your Mac. Small moment, but kind of nice, you just left one machine and landed safely back in your own.
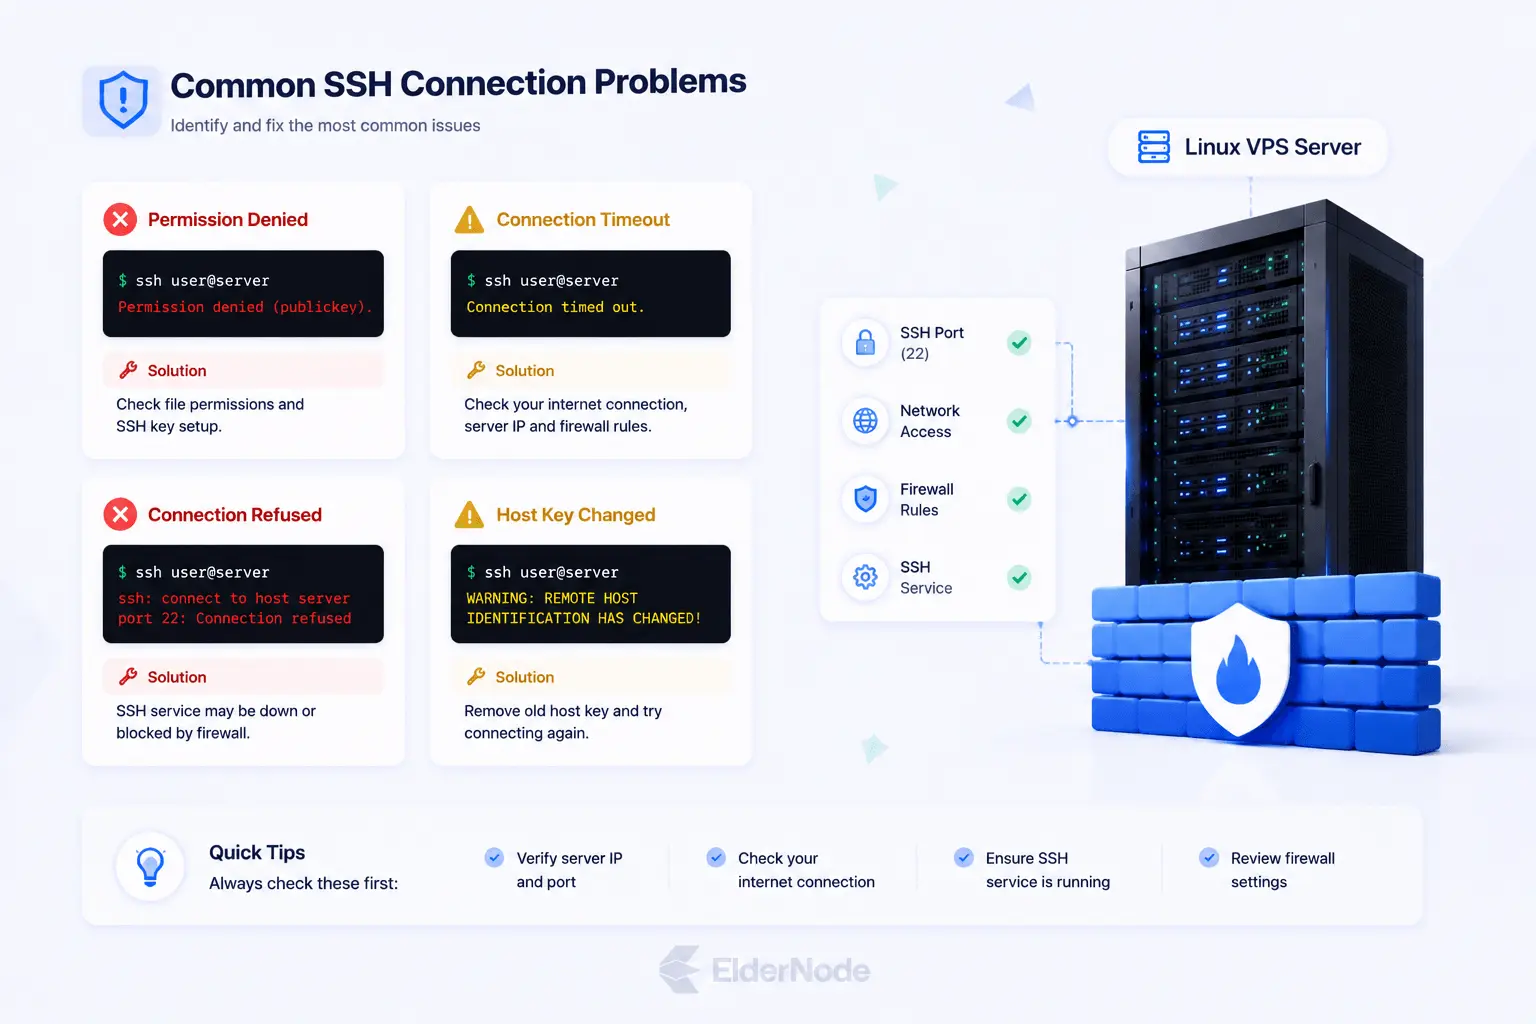
Troubleshooting Common SSH Issues
Permission Denied
Seeing this? Don’t panic, it’s almost always one of these:
The username’s wrong, the password’s wrong, or you’re using the wrong SSH key. Or maybe your public key just isn’t sitting on the right user account on the server. Sometimes it’s simply that the server doesn’t accept the login method you’re trying.
Want more clues? Run it with verbose mode:
ssh -v username@server_ip
Still stuck? Crank it up even more:
ssh -vvv username@server_ip
Connection Timed Out
A timeout basically means your Mac’s shouting into the void, no one’s answering. Usually it comes down to one of these:
The server’s off, the IP is wrong, you’ve got the wrong port, or something’s blocking the traffic, could be your VPS firewall, a cloud security group, or even your own local network being overly protective.
Connection Refused
This one’s a little different, it means the server heard you, it’s just not listening on that port. A few usual suspects:
SSH isn’t running, it’s on a different port than you think, the firewall’s rejecting you, or the server got rebuilt or reconfigured recently and something changed.
If you’ve got console access through your VPS dashboard, that’s your best bet, hop in and check whether the SSH service is even running.
Host Key Warning
If your Mac warns you that the host identification changed, take that seriously, don’t just click through it. This usually happens after rebuilding a server, changing IPs, or reinstalling the OS. But it can also mean something more concerning, so don’t ignore it blindly.
If you’re confident the change was expected, clear out the old key with:
ssh-keygen -R server_ip
Then reconnect and accept the new fingerprint, and you’re good to go.
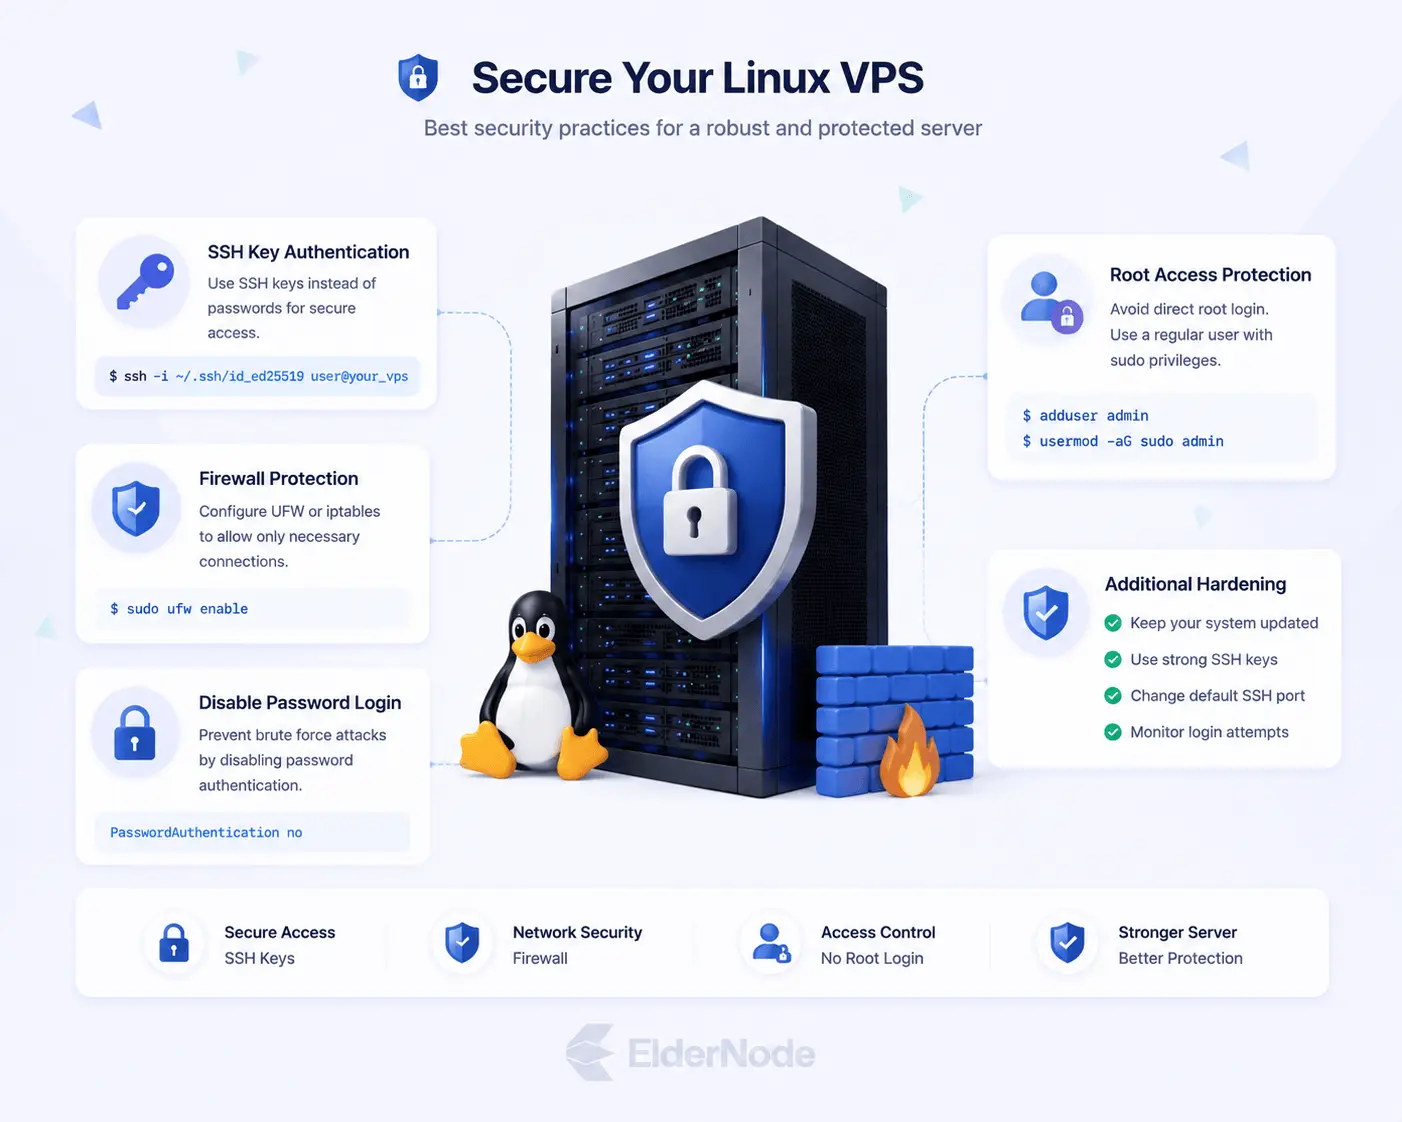
Best Practices for Secure Linux Remote Access
A few small habits go a long way in keeping your server safe:
Use SSH keys instead of passwords, safer and honestly more convenient once you’re used to them.
Add a passphrase to your key, just an extra layer of protection.
Once key login is working, turn off password login entirely.
Avoid logging in as root, use a regular user with sudo access instead.
Keep the server updated, skipping patches is like leaving a window unlocked.
If it makes sense, restrict SSH access with a firewall, only trusted IPs.
Still using passwords somewhere? Make them strong and unique.
And every now and then, clean out old SSH keys you no longer need.
Small stuff, but together it keeps your Linux VPS solid without slowing you down.
Final Checklist
And that’s really all there is to it. Before you SSH in, just run through this quick list one last time:
Terminal open
Your VPS IP address
The right username
Whether you need a password or SSH key
The correct SSH port
Confirmed the host fingerprint before accepting it
And logged out with exit when you’re done
At the end of the day, SSH is one of those skills that just keeps paying off. Once you’ve got it working, you’re not just connecting to a server anymore, you’re managing it, deploying apps, editing configs, keeping an eye on resources, moving files, all safely and all from your own Mac.
So if you’re setting up a new VPS, take a minute to choose a provider that makes this whole process smooth, clear SSH details, solid key-based login support, and console access for when things don’t go as planned. Get that right from the start, and everything else about running your server becomes a whole lot easier.