How to Create a File Server on MikroTik (Step-by-Step Guide)


If you’re looking to create a file server on MikroTik, this guide walks you through exactly how to do it step by step. I recently set one up on a MikroTik VPS for a small internal dev team, and it worked surprisingly well. No need for extra software just SMB, a few clicks in Winbox, and you’re good to go.
Whether you’re sharing project files or just want centralized access for your home setup, MikroTik handles it well. And if you need a reliable VPS to test it on, Eldernode’s MikroTik plans are cheap, fast, and no-KYC.
Enable SMB and Set Up a File Server on MikroTik
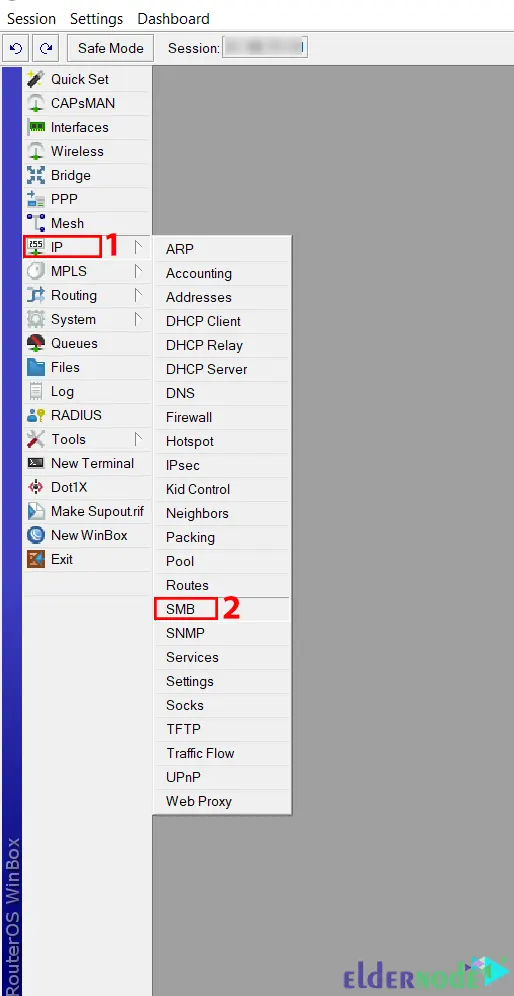
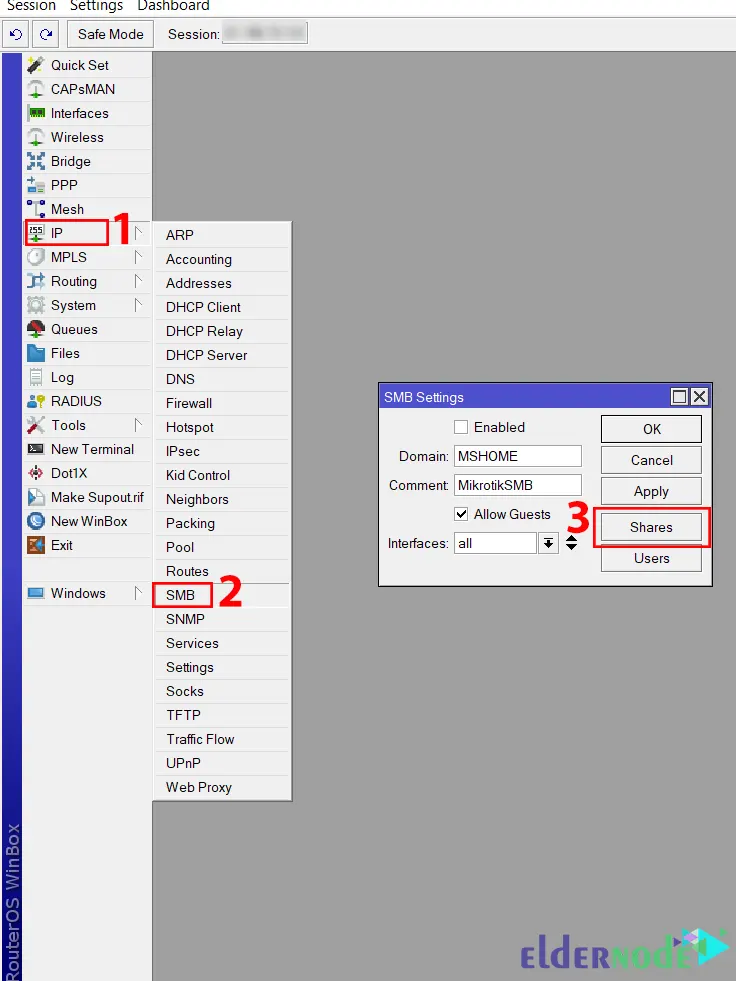
Alright, here’s what I did, I opened Winbox, logged in to the MikroTik, went to IP > SMB and found the switch to turn the thing on. That’s it.
There’s literally a checkbox called “Enabled”. Just tick it.
If you’re like me and prefer the terminal, you can also run:
ip smb set enabled=yes
You will see the following screen. Setup the main parameters as shown below:
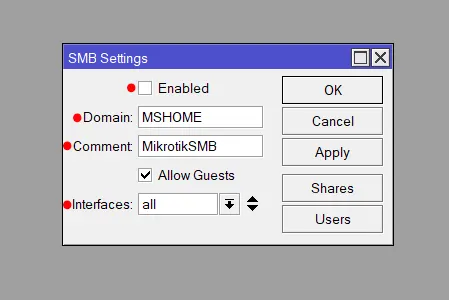
By default, you don’t want your file server exposed to the internet so make sure it only listens on your local interfaces.
Just pick the right interface from the list (like ether2, bridge-local, etc.) and avoid selecting ether1 if that’s your WAN port.
⚠️ Security Tip: Never bind SMB to your WAN or internet-facing interface. If exposed, your file shares could be accessed or scanned by external attackers.
Prefer the terminal? Use this:
ip smb set interfaces=ether2,bridge1
If you’re more into terminal than GUI, this works too:
ip smb set interfaces=ether1,ether2
Creating New SMB File Shares on MikroTik
Alright, once SMB is up and running, let’s create a shared folder.
Head back to IP > SMB, then click the Shares button.
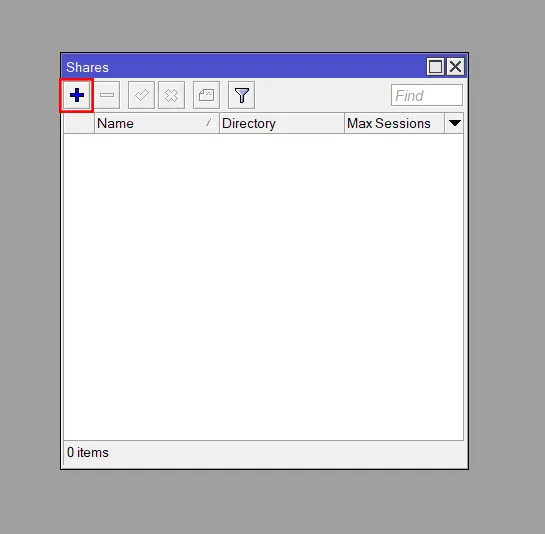
This will open a new window containing a list of all existing file shares. From there, you can enable, disable, add, or remove any share. To add a new share, click on the + button:
This can be done also using the command below:
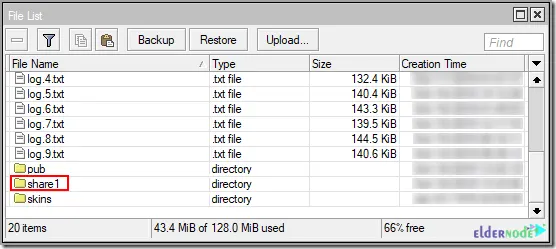
ip smb shares add name=share1 directory=/share1
ip smb shares print
That’s it!
Note: Curious about advanced settings? Here’s check the official MikroTik SMB documentation.
Conclusion
So yeah, setting up a file server on MikroTik isn’t as scary as it sounds. If you made it this far, you probably already have SMB running and your first shared folder live. Nice job.
Got stuck somewhere? Happens to all of us. Drop a comment below and I’ll try to help you out.
Oh and if you don’t have a MikroTik server yet, I was testing all this on an Eldernode VPS. It’s cheap, fast, and didn’t give me any trouble during setup.