How to Create a Hidden Admin Account in Windows Easily
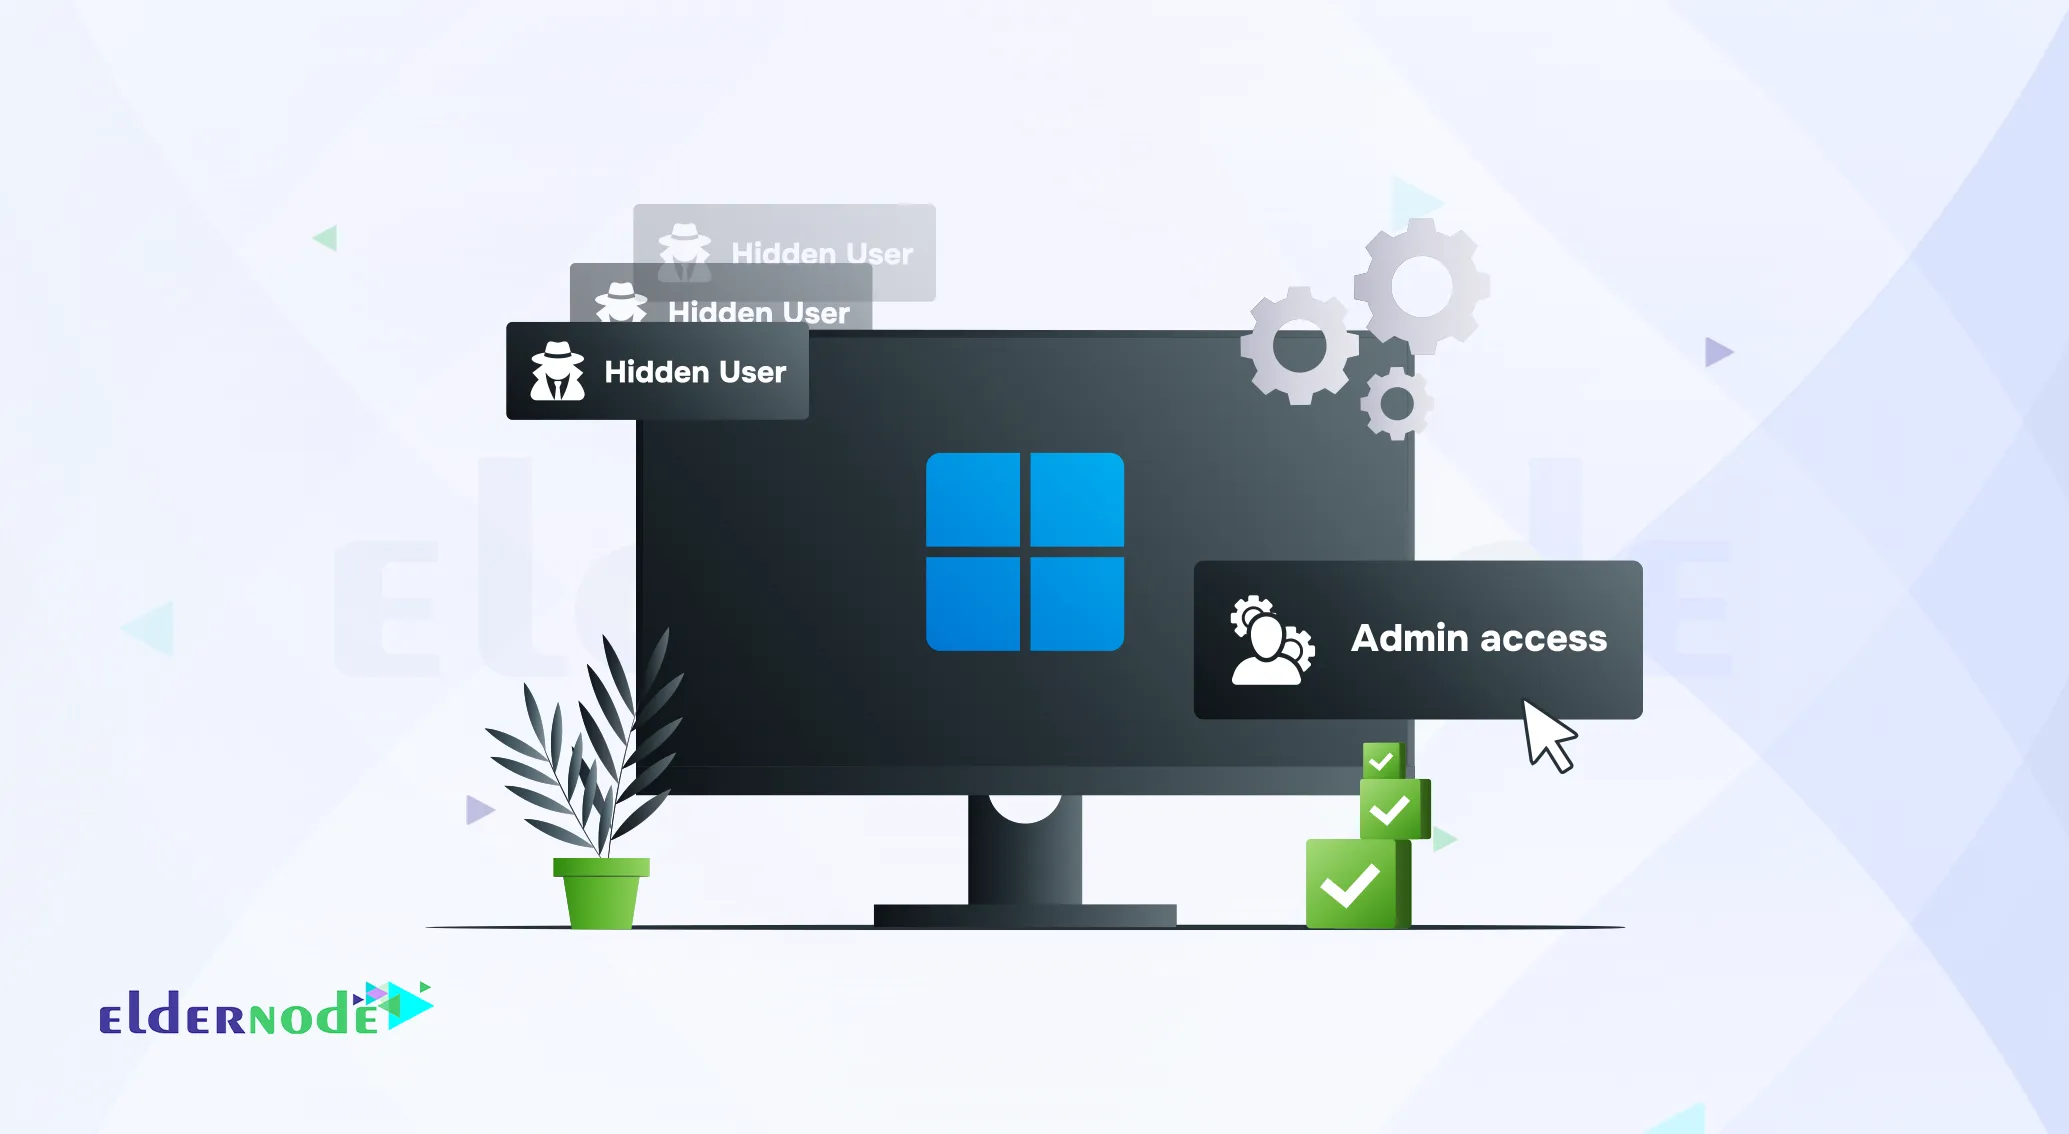


Hidden admin account in Windows I had to set one up once on a VPS I was managing, and I didn’t want it showing on the login screen. It wasn’t for anything suspicious, just a backup account I could use for remote access if my main one ever had issues. On a shared system, people sometimes click the wrong account or type the wrong password and end up locking it, which can be a real headache.
In this guide, I’ll walk you through the same method I used step by step to create a hidden user with full admin rights. I’ve done it on everything from Windows 7 to Windows Server 2016, and the process is surprisingly straightforward once you know the commands.
Why Create a Hidden Admin Account in Windows?
On a shared office PC I managed, we had one extra account meant only for remote logins and quick file transfers. Because it showed up on the login screen, people sometimes clicked it by accident and a few even typed the wrong password enough times to get it locked. It also felt like leaving the door half open for anyone curious enough to try. Once I hid the account, I could still log in remotely whenever I wanted, but no one sitting at the desk even knew it was there.
⚠ Heads up: hiding an admin account isn’t a magic security trick. Sure, it can keep your backup login out of sight, but if the wrong person gets the password, it’s just as dangerous as any other admin account. I only use this on machines I control, and I make sure the password is something nobody could guess not even by accident.
Step-by-Step: Create a Hidden User with Administrator Access
Step 1 – Start by opening CMD or PowerShell as an administrator
Log in to Windows.
Open the Start menu and type “CMD” or “PowerShell” into the search box.
Right-click the result and choose Run as Administrator.
Step 2 – Create a New User
Once you’ve opened CMD or PowerShell in admin mode, enter:
net user Michael 123 /add
This creates a user named Michael with the password 123 (you should choose a stronger password).
Step 3 – Make the newly created account an administrator
Once the account is created, I usually bump it up to admin level so it has full control. Still in the same command window, type:
net localgroup Administrators Michael /add
That’s it Michael now has the same level of access as any other administrator on the machine.
Step 4 – Hide the User from the Login Screen
This is the part I actually like the most making the account invisible. Use this command:
reg add "HKEY_LOCAL_MACHINE\Software\Microsoft\Windows NT\CurrentVersion\Winlogon\SpecialAccounts\Userlist" /v Michael /t REG_DWORD /d 0 /f
Now, Michael is still there for remote logins or network work, but anyone looking at the login screen won’t even know it exists.
Step 5 – Make the User Visible Again (Optional)
If at some point you decide you want Michael to show up on the login screen again, just flip the setting back with this command:
reg add "HKEY_LOCAL_MACHINE\Software\Microsoft\Windows NT\CurrentVersion\Winlogon\SpecialAccounts\Userlist" /v Michael /t REG_DWORD /d 1 /f
Run it, and the account will reappear the next time you reach the login screen.
A Few Things to Keep in Mind
Even hidden accounts aren’t truly invisible you can still see them under Local Users and Groups in Windows.
Use a password that’s tough to guess; I go for long, random strings instead of something memorable.
If you’re doing this on a VPS or server, double-check your firewall and Remote Desktop settings so you’re not accidentally leaving the door open.
And that’s all there is to it. Now you’ve got a hidden admin account sitting quietly in your Windows setup, ready for when you need it. I’ve used this trick more than once to save myself from a headache, especially on shared systems.
If you try it and run into something unexpected, drop a comment I read them and will help where I can. And if you’re curious about other Windows or server tweaks, the Eldernode Training section has plenty more.