How to Install cPanel on Turkey VPS [Step-by-Step Guide]
![How to Install cPanel on Turkey VPS [Step-by-Step Guide]](https://eldernode.com/wp-content/uploads/2021/02/Install-cPanel-on-Turkey-VPS.webp)


Picked up a Turkey VPS and don’t feel like wrestling with the command line every time you need to change something? That’s where cPanel/WHM makes life easier. With it, you get a clean web dashboard to handle the everyday stuff adding domains, creating email accounts, or managing databases without memorizing commands. In this tutorial, I’ll walk you through how to install cPanel on your Turkey VPS. No fluff, no jargon just the steps you need to get it running so you can start hosting right away.
✅ What you should have ready
Before jumping into the installation, make sure your Turkey VPS checks a few boxes:
It should be running a fresh copy of CentOS 7/8, AlmaLinux 8/9, or CloudLinux these are the systems cPanel is built to work with.
You’ll want at least 2 GB of RAM and 20 GB of disk space. If your plan gives you 4 GB or more, things will feel a lot less cramped.
Access as root over SSH, since we’ll be running all the setup commands directly on the server.
And of course, a cPanel license. You can either buy one or just grab a trial from the cPanel site if you’re testing things out.
Step 1: Update Your Server
The first thing I usually do on a fresh VPS is run an update. It makes sure all the packages are current before you install cPanel:
yum update -y # CentOS or AlmaLinux 8
dnf update -y # AlmaLinux 9
If you skip this, you might run into weird errors later better to get it out of the way now.
Step 2: Set the Hostname
cPanel won’t run unless your server has a proper fully qualified domain name (FQDN). Set one with:
hostnamectl set-hostname server.yourdomain.com
After that, don’t forget to add an A record in your DNS so server.yourdomain.com points to your VPS IP. Without this, cPanel may complain during setup.
Step 3: Disable SELinux & Network Manager (if needed)
cPanel doesn’t like running with SELinux or NetworkManager enabled, so turn them off before you go any further:
setenforce 0
sed -i 's/^SELINUX=.*/SELINUX=disabled/' /etc/selinux/config
systemctl stop NetworkManager
systemctl disable NetworkManager
If you leave them on, the installer can throw errors later and waste your time.
Step 4: Install cPanel
Go ahead and install cPanel on the server.Just move into your home directory and run these commands:
cd /home
curl -o latest -L https://securedownloads.cpanel.net/latest
sh latest
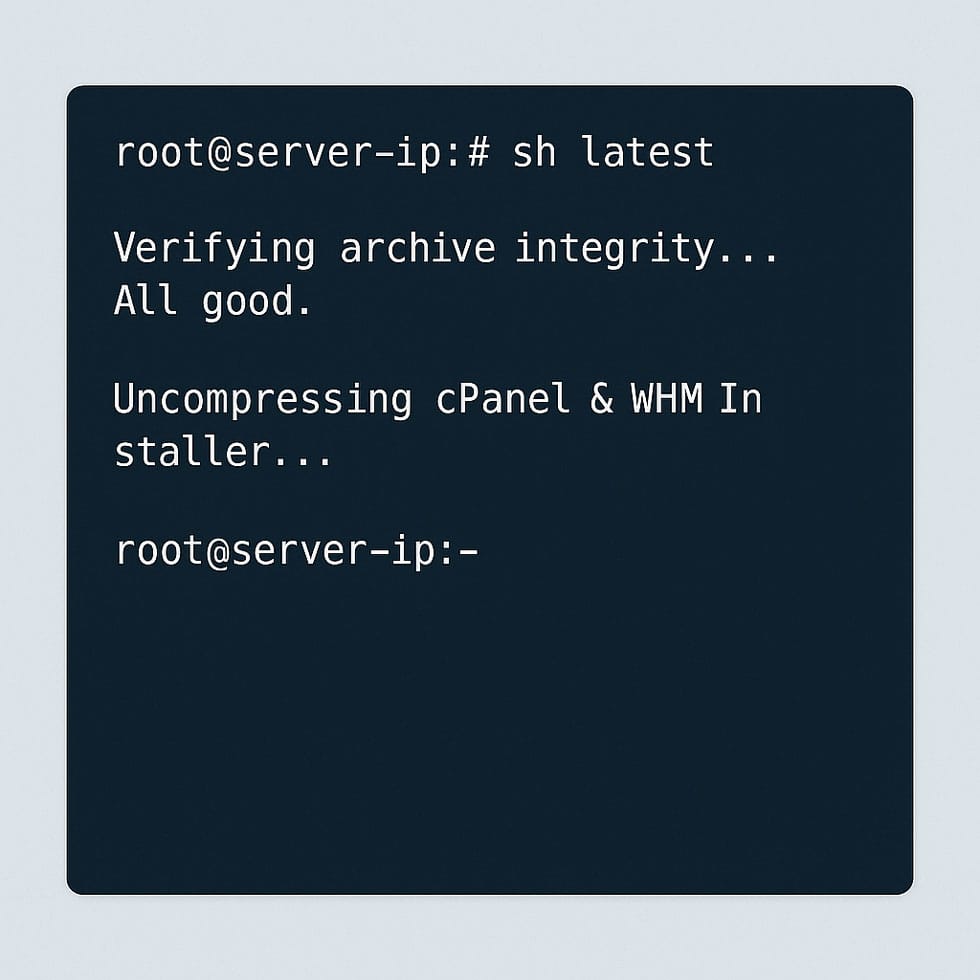
Once you hit enter, the script will download cPanel and begin setting everything up automatically. Depending on how powerful your VPS is and how fast the connection runs, it might take half an hour sometimes closer to an hour. Don’t worry if it looks like it’s stuck for a while; just let it finish.
Step 5: Access WHM
Once the installer finishes, you’ll want to jump into WHM (WebHost Manager). Open your browser and head to:
https://your-server-ip:2087
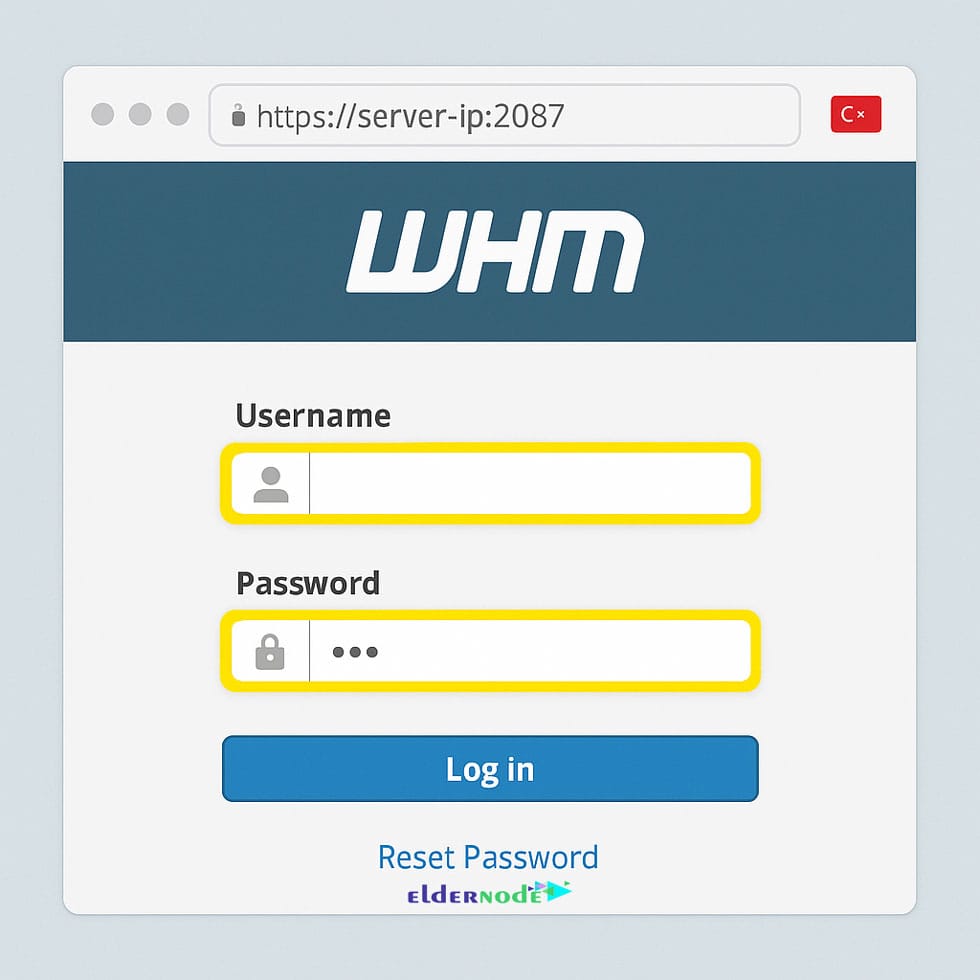
Use root as the username and the same root password you set for your VPS.
On the first login, WHM greets you with a setup wizard. It’s pretty straightforward:
Accept the license terms.
Drop in a contact email and set up your nameservers.
Go through a few basic network and service options.
That’s it after this quick setup, your VPS is ready to start handling websites.
Step 6: Secure your cPanel/WHM
After cPanel is installed, don’t walk away thinking the job’s done. A few quick fixes can save you headaches later:
Change the root password straight away. Make it long, weird, and memorable only to you anything but the usual “P@ssword123”.
Get the CSF firewall running. It keeps a lot of junk traffic out and gives you some peace of mind.
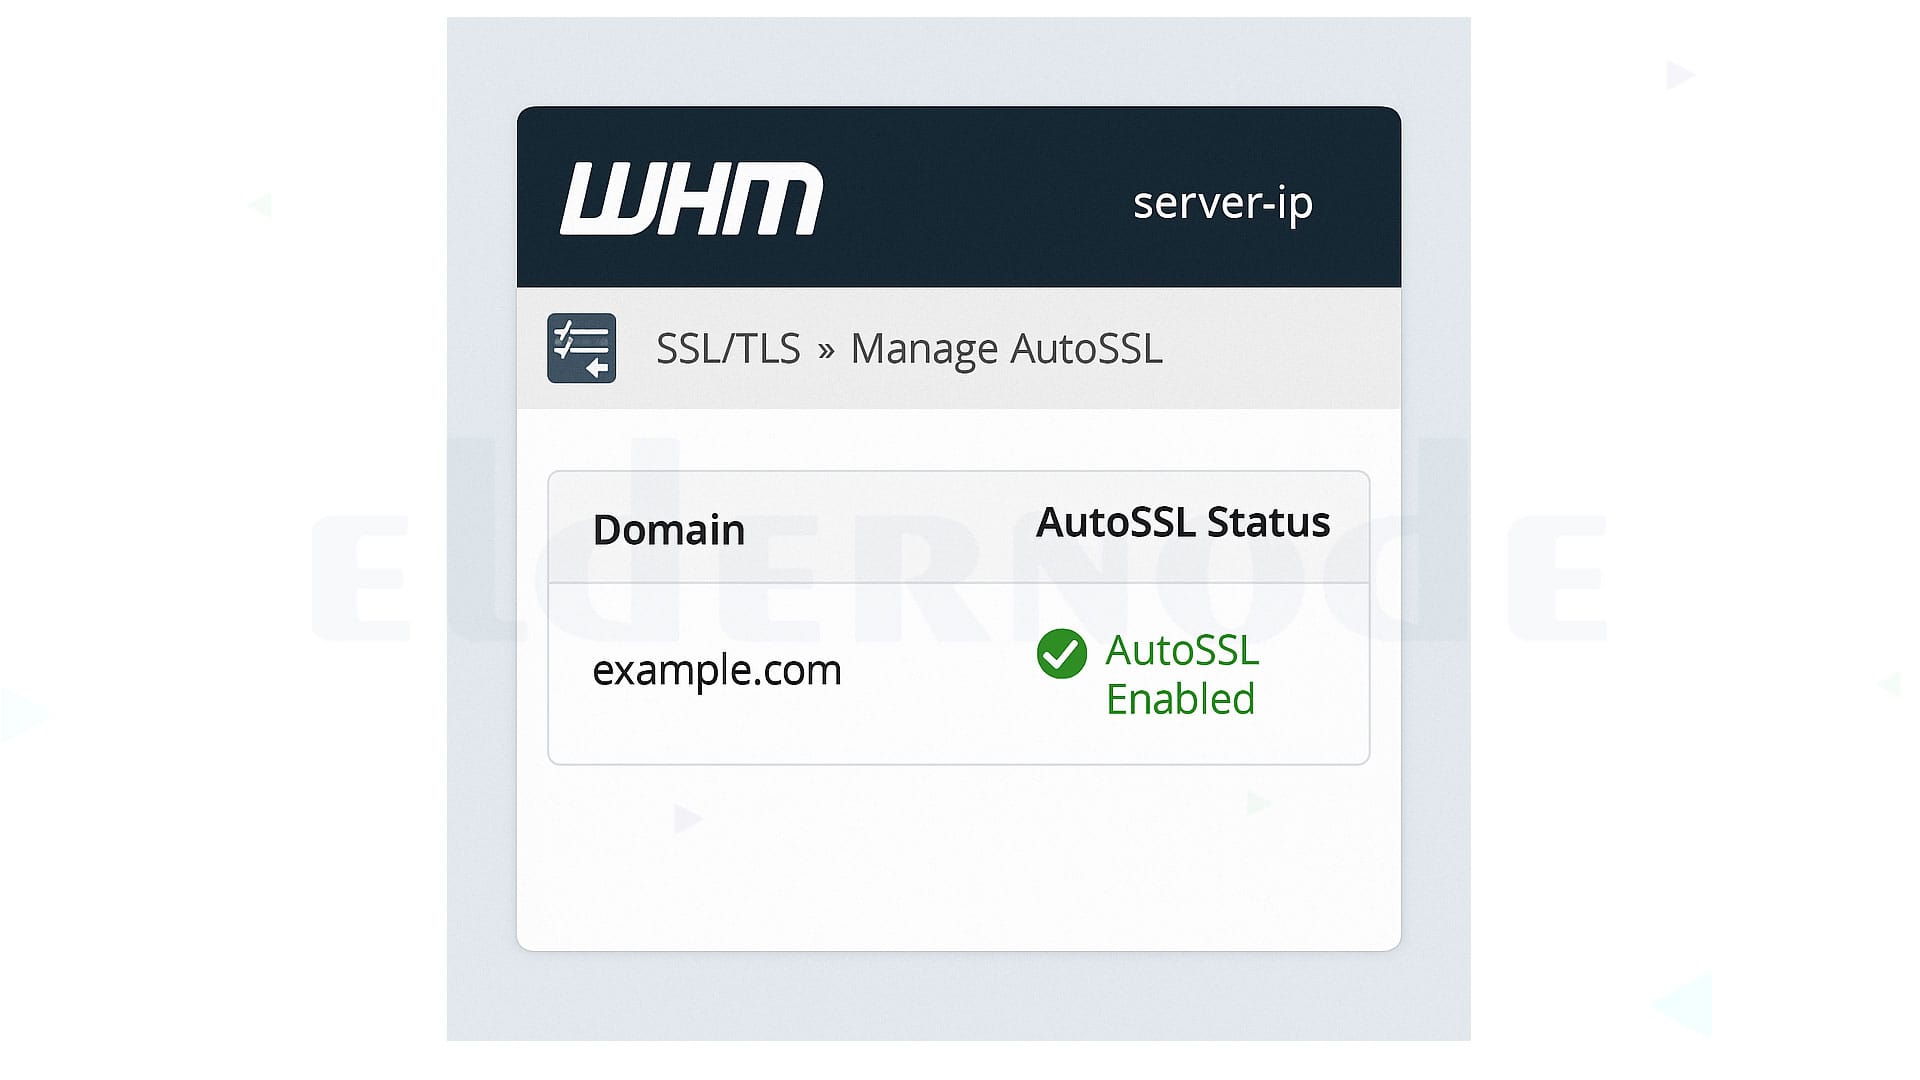
Turn on AutoSSL (Let’s Encrypt). That way, every site you host will pick up a free SSL certificate without you babysitting it.
⚡ Real-world note
If you’re just experimenting or hosting a personal site, panels like CyberPanel or Webmin/Virtualmin are fine. But once you’re managing several projects or especially if you’re selling hosting people will expect to see cPanel. It’s the safe, familiar choice.
Conclusion
And that’s pretty much the whole setup. Once cPanel is running on your Turkey VPS, you can start adding domains, setting up email accounts, or just launching your sites the way you want.
If you don’t have a server yet, take a look at the Eldernode Turkey VPS plans you can spin one up in a few minutes and follow the same steps right away.