How to Install XRDP and Remote Access on CentOS


Install XRDP on CentOS and skip the messy part of setting up VNC. If you’ve ever tried VNC before, you probably know it takes a bunch of steps and feels clunky for beginners. XRDP makes it way easier once you install it, you can just open the Windows Remote Desktop app, type your server IP, and boom you’re inside your CentOS desktop like it’s right in front of you.
Preparing Your CentOS for XRDP Installation
Before getting into the commands, make sure your CentOS server is updated and that you can log in as root.
You don’t need to install anything fancy just a few base packages, XRDP itself, and a quick tweak to open the remote port.
Once that’s done, you’ll be able to sit at your Windows PC, open Remote Desktop, type your server IP, and actually see your CentOS desktop pop up.
1- First, connect to your Centos 9 server via the terminal.
2- Then enter the following command to get the latest software upgrades.
sudo dnf upgrade -y
3- Then enter the following command to install Xorg and the corresponding font.
sudo dnf -y install xorg-x11-fonts-Type1 xorg-x11-fonts-truetype
Note: After entering the above command, Xorg may be installed by default and no operation will be performed.
4- In this step, we will go to install the X window desktop environment.
sudo dnf -y groupinstall "X Window System" "Desktop"
This step of the installation may take some time, Be patient until it is fully installed.
5- After installing the X window environment, install the Epel Repository.
Install EPEL Repository on Centos 9 version
sudo rpm -Uvh https://dl.fedoraproject.org/pub/epel/9/Everything/x86_64/Packages/e/epel-release-9-4.el9.noarch.rpm
After installing and setting the prerequisites, we will continue to install XRDP.
Install XRDP and set it up
1- First, install XRDP and VNC Server by entering the following command.
sudo dnf install xrdp tigervnc-server
2- Then start the xrdp service.
sudo systemctl start xrdp
sudo systemctl enable xrdp
3- Enter the following commands to start the xrdp service and vnc server by default after the centos reboot.
sudo systemctl enable xrdp
sudo systemctl enable vncserver
4- At the end, open the remote port to the server by entering the following command in your firewall.
sudo firewall-cmd --permanent --add-port=3389/tcp
sudo firewall-cmd --reload
5- Then enter the following commands in order to save the changes in IPtables and then restart the iptables service.
sudo firewall-cmd --reload
After completing the above steps, we will go to the remote to Centos .
Remote to Centos
1- Open the Windows desktop remote window.
To open this window, search for the phrase remote desktop connection in the Start bar. Or open the run window with Winkey + r and enter mstsc and click OK.

2- Then enter the IP of your centos server and click Connect.
3- After a few seconds, the following similar window will open to confirm the connection, click Yes.
If you do not intend to ask this question for the next time, check the box in the same window.

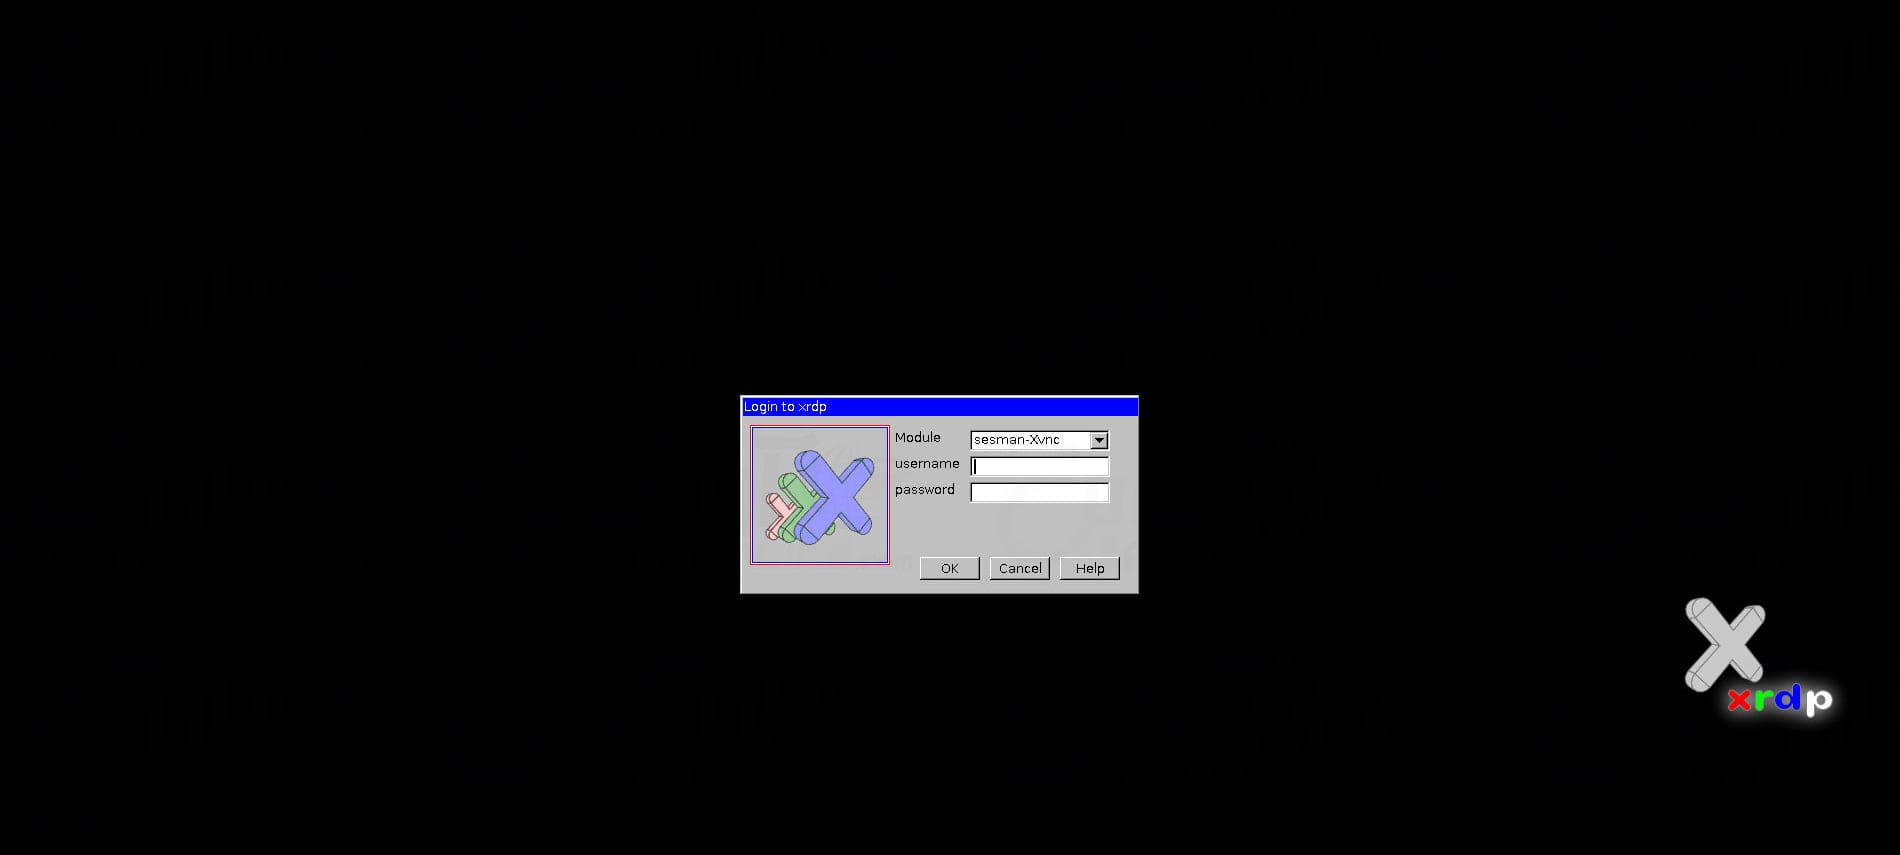
4- Then enter your Centos username and password on the opened page and enter your Linux desktop environment.
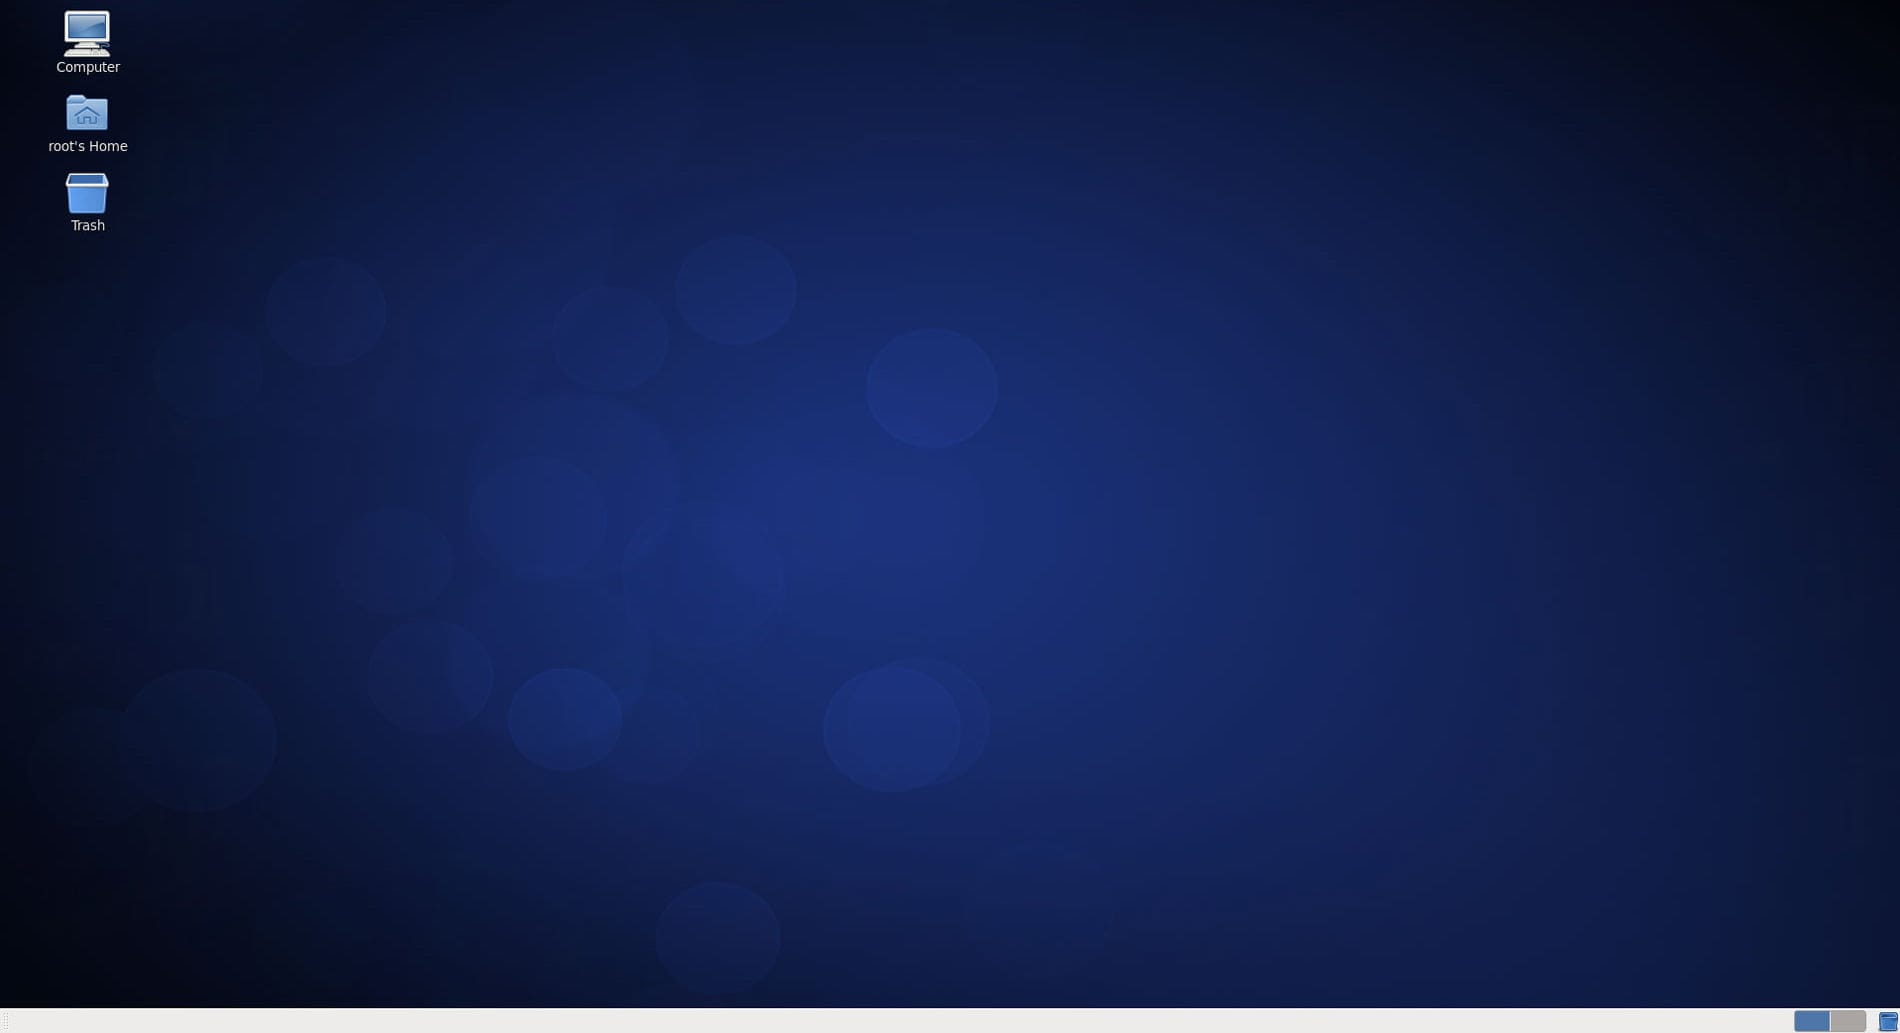
After a few seconds, the Centos desktop will be displayed.
At this point, the XRDP and Remote installation tutorial for Centos is complete.
Conclusion
If you followed along, you should now have XRDP running on your CentOS server and be able to log in straight from your Windows computer.
It’s honestly one of those tools that just make life easier no long VNC setup, no complicated configs, just type your IP and you’re in.
From here, you can handle updates, move files around, or check logs without touching the console.
If the connection fails, it’s usually something simple a blocked port, a firewall rule, or XRDP not running. A quick check normally fixes it.
That’s pretty much it. Hope this guide helped you out and if you get stuck or notice something different on your setup, drop a comment below. Someone from the Eldernode team (or even another user) will probably jump in to help.