Special Offer
 How to Setup and use Amass on Kali Linux
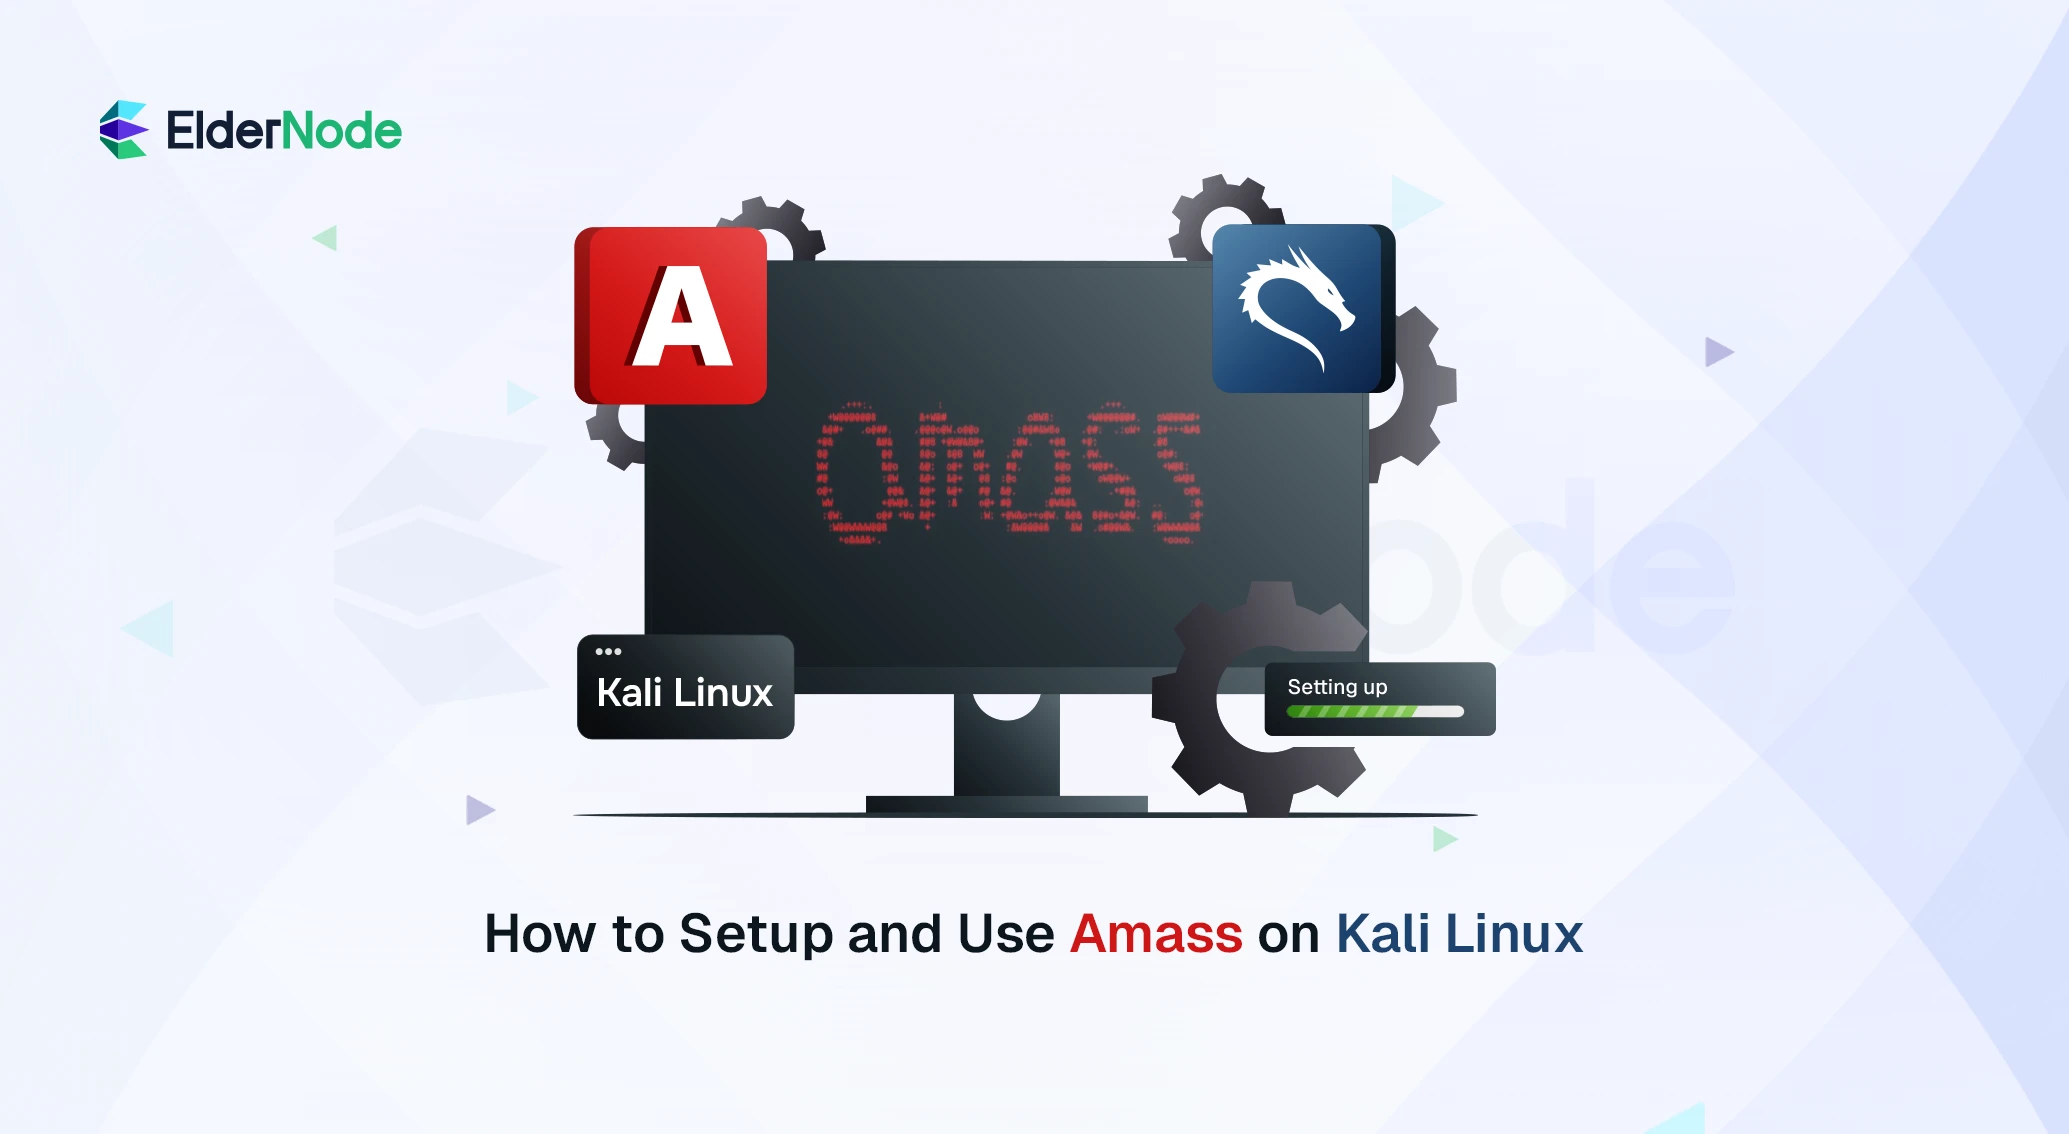


There are a lot of reconnaissance tools available, but Amass on Kali Linux is one that many people continue using because it’s practical and easy to work into everyday recon tasks. It’s especially useful for finding subdomains, gathering public information about a domain, and getting a better view of a target before moving further into testing.
A lot of users run Amass on Kali Linux since most security and OSINT tools are already available there. Once Kali is installed, you can open the terminal and start working with tools like Amass almost immediately.
In this tutorial, we will install Amass on Kali Linux and try a some simple examples to see how it works in practice. Rather than focusing only on theory, we’ll use real commands and basic reconnaissance techniques commonly used during OSINT and security research.
If you’ve never used Amass before, don’t worry. After running a few scans, the workflow starts feeling much more straightforward.
What Is Amass and Why Do People Use It on Kali Linux?
Amass is a best tool people often use during reconnaissance to find subdomains and collect public information about a target domain. Instead of checking everything manually, it pulls data from multiple sources and organizes the results for you.
It’s commonly used on Kali Linux since Kali already includes many tools related to penetration testing and OSINT work.
For anyone learning recon or basic security research, Amass is one of the more useful tools to start with.
Installing Amass on Kali Linux
On Kali Linux, installing Amass is usually quick. Because Amass is already included in the Kali repositories, installing it only takes a quick apt command.
sudo apt update
sudo apt install amass
When the installation finishes, try this to make sure the tool is available:
amass --help
Some users also install it from the official GitHub repository to get newer updates:
git clone https://github.com/OWASP/Amass.git
cd Amass
make
If you’re just starting out, the apt method is the easier choice and works fine for most situations.
Running Your First Amass Scan
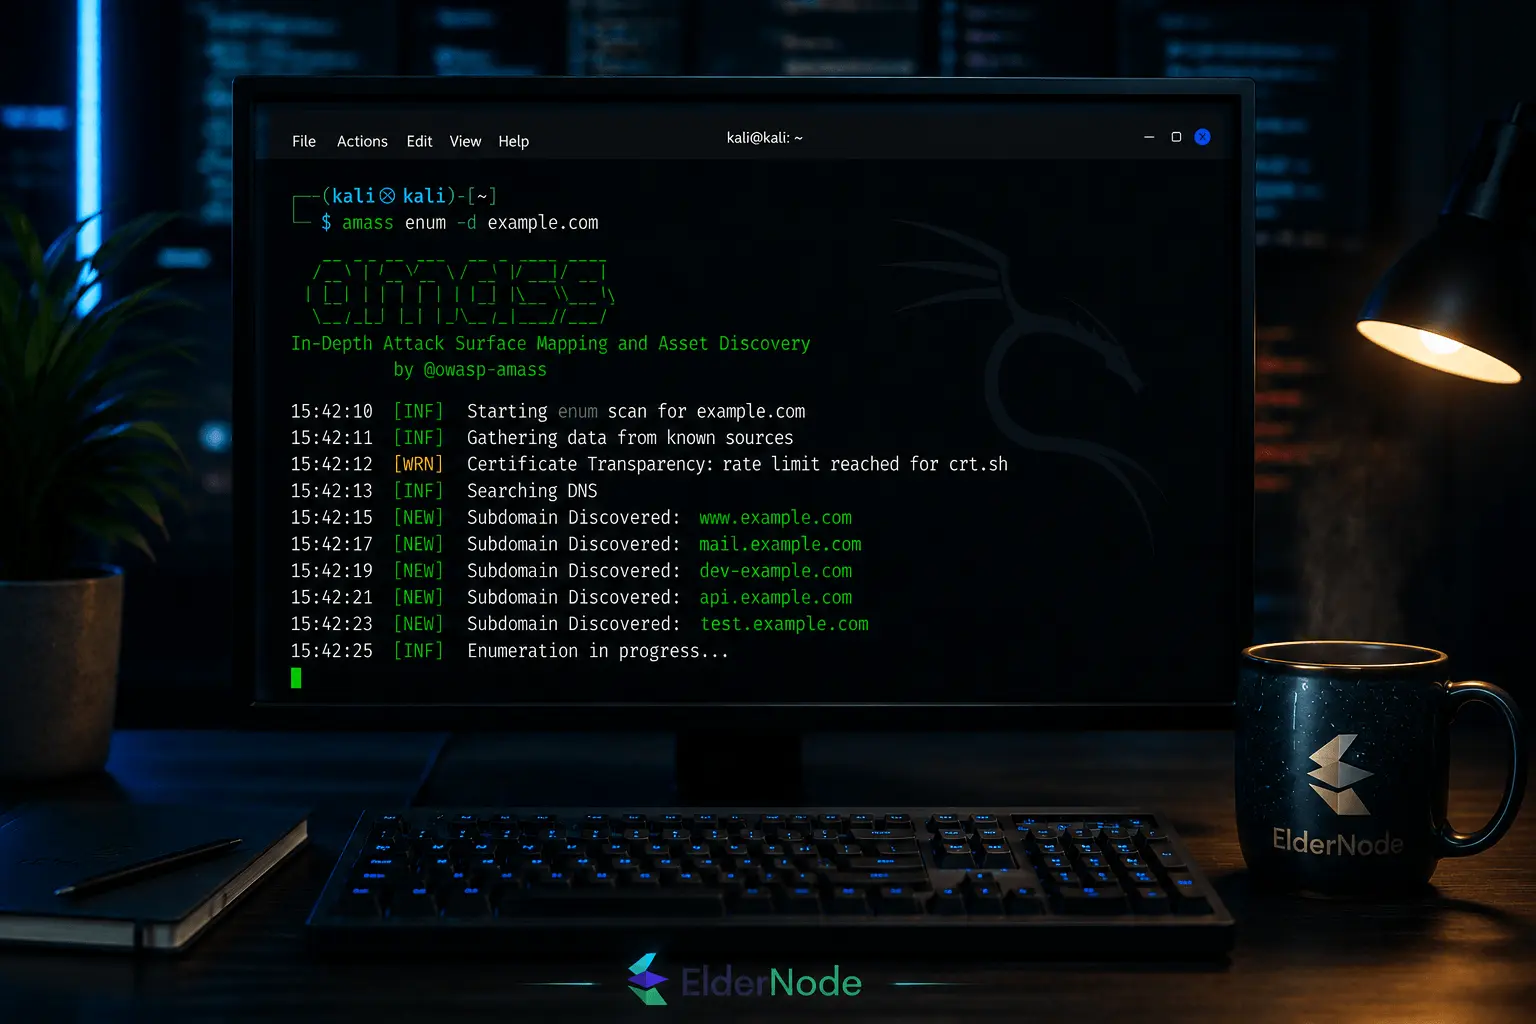
With Amass installed, you can start scanning right away. Open a terminal and enter:
amass enum -d example.com
Use your own target domain instead of example.com.
Once the command starts, Amass checks different public sources and begins listing any subdomains it finds. The output appears live in the terminal, so you can watch the results come in as the scan runs.
For a quick first test, this command is usually all you need.
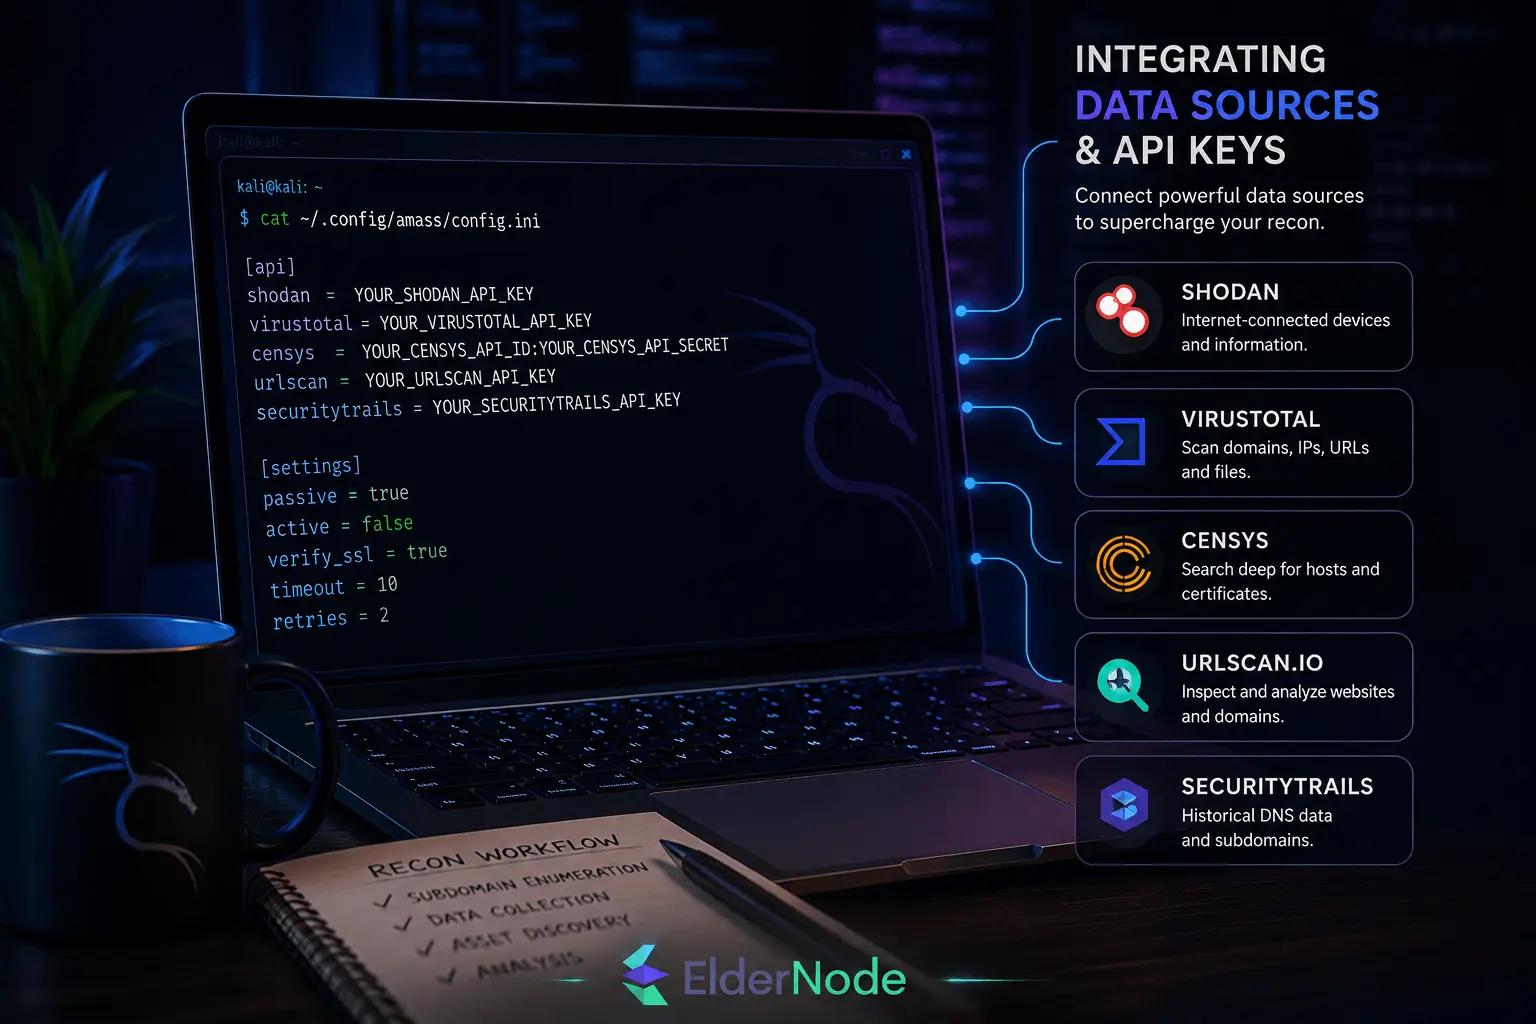
Integrating Data Sources and API Keys
Amass works out of the box, but you’ll usually get better results after adding a few API keys.
A lot of users connect services like Shodan, VirusTotal, and Censys because those platforms can provide extra reconnaissance data during scans.
The setup is pretty simple. You generate an API key from the service you want to use, place it in the Amass config file, and then run your scan normally.
Best Practices and Legal Considerations
Amass is useful for reconnaissance, but it’s important to use it. Before scanning a target, make sure you’re actually allowed to test it.
A lot of people begin with passive scans since they rely mostly on public information and create less direct interaction with the target.
It also helps to update Amass from time to time and keep a copy of your scan results, especially if you plan to come back and review the information later.
Conclusion
After spending some time with Amass on Kali Linux, you start realizing how much recon work it can automate. Instead of manually checking subdomains and DNS records one by one, the tool pulls everything together in a much faster way.