Special Offer





How to Install and Use OpenCV on AlmaLinux



Today, I will show you how to set up OpenCV on AlmaLinux 8.10. You’ll need SSH access to your server and a user account with sudo privileges to install Python.
Once OpenCV is installed, we’ll try it out on one of your photos. We’ll copy a color JPEG from your computer to the server, use OpenCV to make a grayscale copy, and download it to see how it turned out.
Setting Up Python on AlmaLinux 8.10
First, we need to log in to the server via SSH and check which version of AlmaLinux we are working with before installing Python:
cat /etc/almalinux-release
You should see version 8.10 here. If your system shows version 8.4, please update it to version 8.10 before proceeding. With version 8.10 installed and the standard AppStream repository enabled, I can install Python 3.12 and pip:
sudo dnf install python3.12 python3.12-pip
Next, I will create a folder for the image and the script that will process (convert) it. I’ll name it ‘opencv-demo’ and place it in my home directory:
mkdir -p ~/opencv-demo
cd ~/opencv-demo
Inside the ‘opencv-demo’ folder, I will create a virtual environment—naming it ‘.venv’—using the version of Python I just installed:
python3.12 -m venv .venv
This creates the virtual environment. To use it in the current SSH session, I run the following command:
source .venv/bin/activate
I will keep this session open for the next step so that when OpenCV is installed, the relevant files are placed within the .venv folder of this specific project.
Install OpenCV and Verify the Installation
For image testing, I will use the “headless” version of the OpenCV library. This version can read a JPEG file and save a grayscale version of it on a Linux VPS, so you do not need a desktop environment on the server.
I am installing OpenCV within a virtual environment I created earlier. You should do the same: keep the .venv virtual environment active and run this command in the same SSH session, using your regular user account.
python -m pip install --upgrade pip
python -m pip install --only-binary=:all: opencv-python-headless
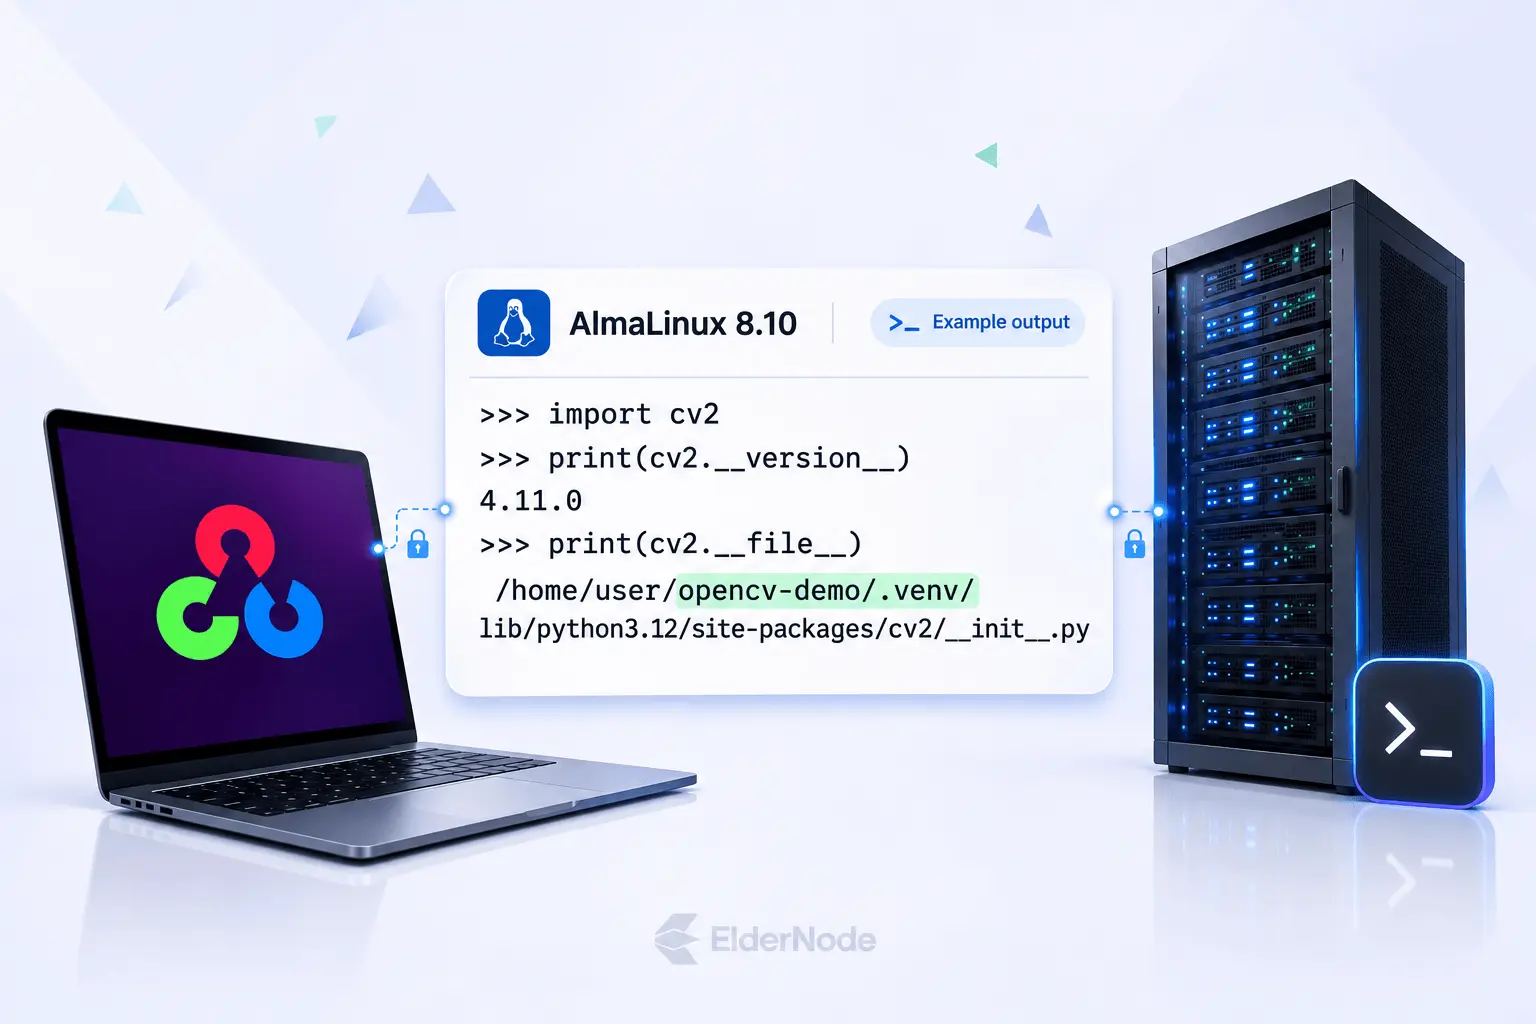
Before copying the JPEG file to the server, I want to check whether Python can load OpenCV. The package I installed via pip is called opencv-python-headless. In Python, I use the command import cv2 to load it.
python -c "import cv2; print(cv2.__version__); print(cv2.__file__)"
The first line displays the OpenCV version. If you see a version number, the import worked. The second line shows the file loaded by Python; the path to this file should include opencv-demo/.venv/. If the displayed path points to a different directory, run the command source ~/opencv-demo/.venv/bin/activate and perform the check again.
Use OpenCV to Convert a Photo to Grayscale
For this test, I’m using a color JPEG file available on the system. Any photo will work; the one I’m using is just a typical image taken with a phone. On my computer, I open a terminal in the folder where the photo is stored and upload it using the command below. You should replace photo.jpg with your own filename and user@server with your SSH login credentials. On the server side, the uploaded file will be named input.jpg.
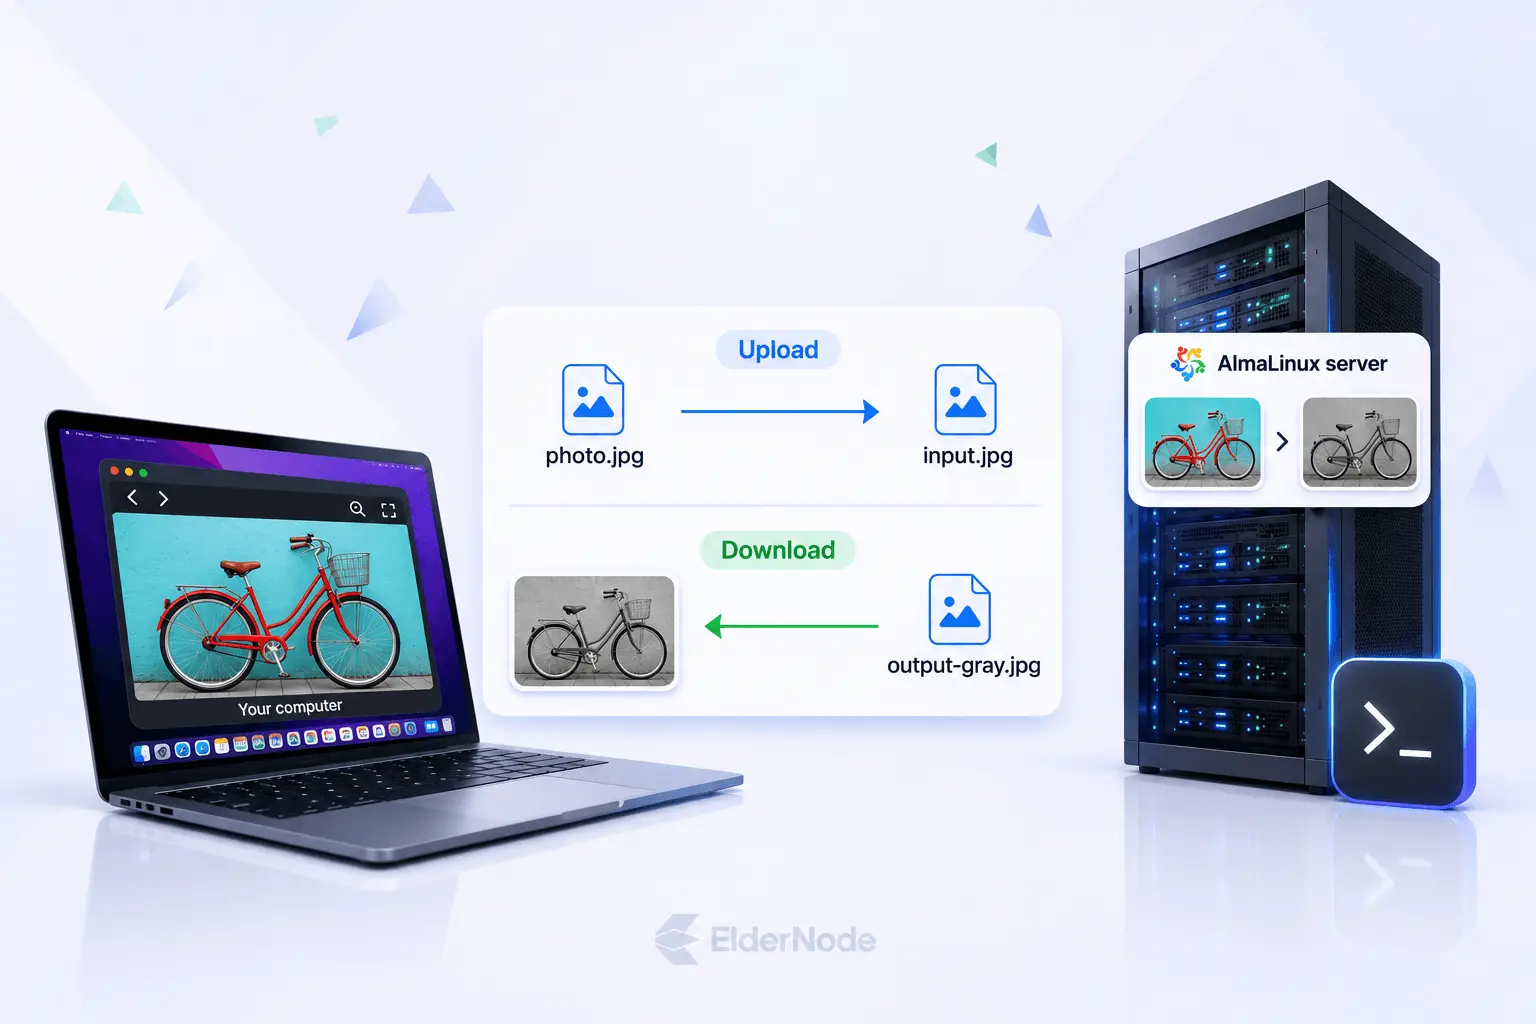
scp photo.jpg user@server:~/opencv-demo/input.jpg
Next, I return to the SSH session, where the virtual environment is still active, and execute the following command block from the ~/opencv-demo directory. This command reads the image, converts it to grayscale, and saves the result alongside the original file.
python - <<'PY'
import cv2

photo = cv2.imread("input.jpg")
if photo is None:
raise SystemExit("Could not read input.jpg. Check the filename and directory.")

gray = cv2.cvtColor(photo, cv2.COLOR_BGR2GRAY)

if not cv2.imwrite("output-gray.jpg", gray):
raise SystemExit("Could not save output-gray.jpg. Check directory permissions.")

height, width = gray.shape
print(f"Saved output-gray.jpg ({width} x {height} pixels)")
PY
The cv2.imread() function loads a color image with channels in the order of Blue, Green, and Red (BGR). This is also the origin of the term “BGR” in COLOR_BGR2GRAY. This conversion turns the colors into shades of gray, and the width and height of the image stay the same.
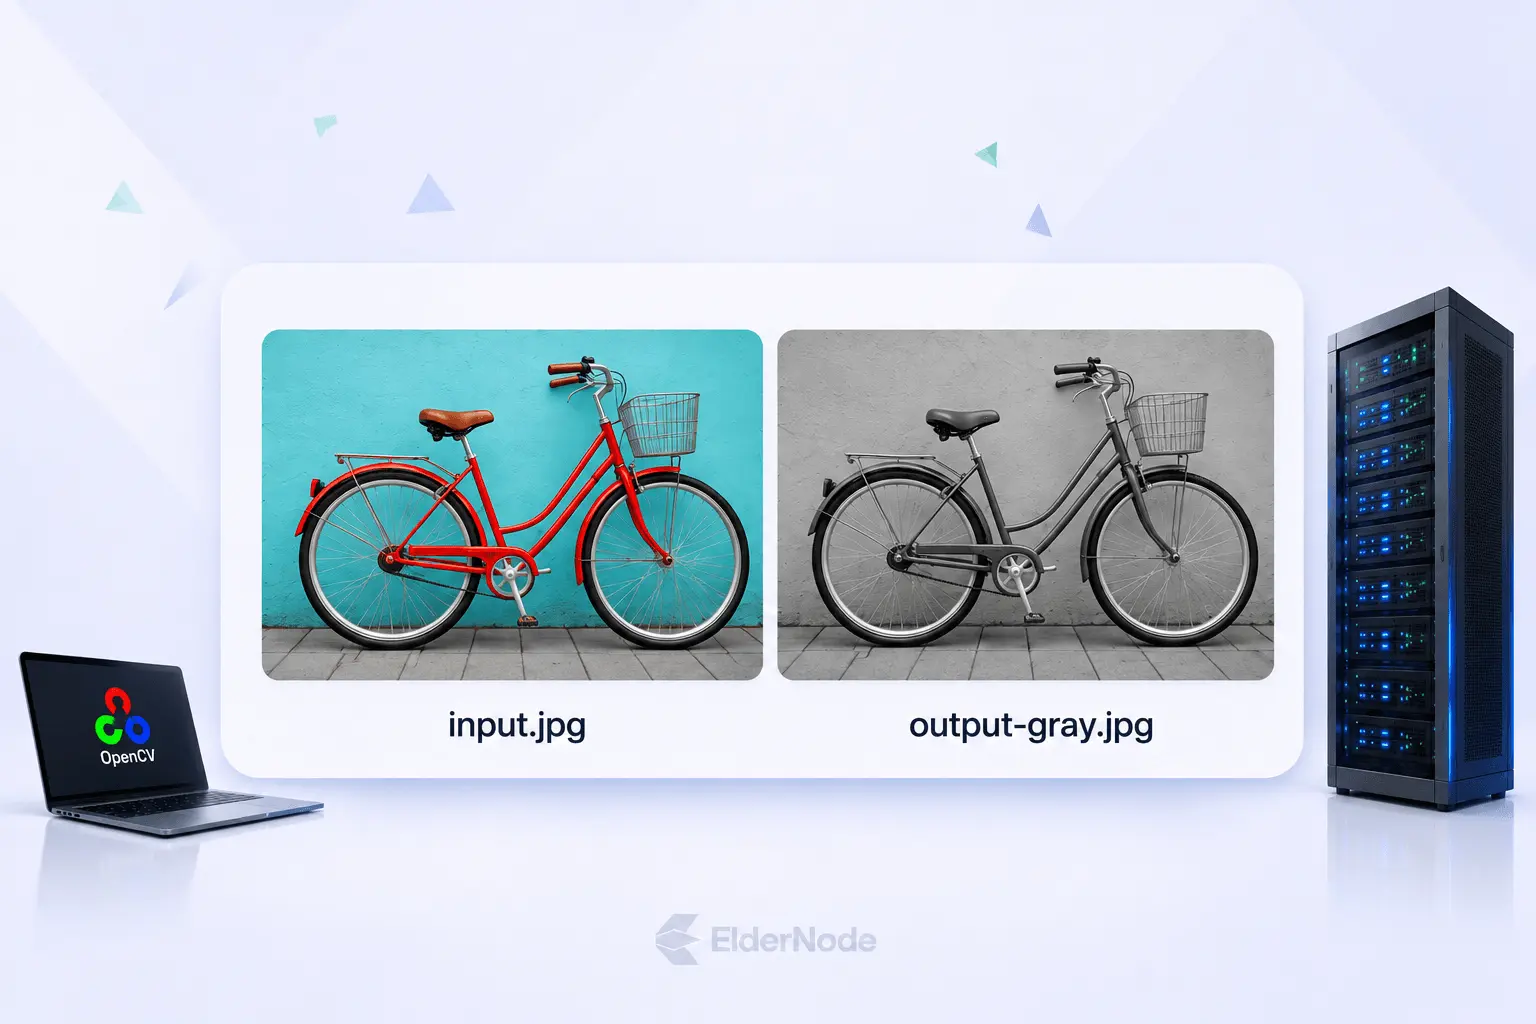
To see the result, go back to the terminal on your own computer, not the SSH one, and download the new file. That dot (.) at the end of the command is what tells scp to put the image in whatever folder you’re currently in. Open output-gray.jpg from there and compare it with the original.
scp user@server:~/opencv-demo/output-gray.jpg .
The final dot tells scp to save the image in your current folder. Open output-gray.jpg there to compare it with your original photo.
The next time you connect via SSH, run these two commands to enable the use of OpenCV again.
cd ~/opencv-demo
source .venv/bin/activate
If you would like to try a different image, upload it as input.jpg and repeat the conversion process.