Special Offer



How to Install Cilium on Kubernetes Cluster Talos Linux



If you’re setting up Cilium on Talos Linux nodes, the cleanest path is: start with no default CNI, disable kube-proxy, then Install Cilium on Kubernetes Cluster Talos Linux via Helm. This tutorial covers exactly that, a fresh Talos cluster, which is the safest scenario to work with. If your cluster’s already running Flannel or another CNI, don’t swap networking in place, use a proper migration plan instead.
For an Eldernode Linux VPS setup, run these commands from your local workstation or an admin jump host, and make sure every VPS node can reach both the control-plane endpoint and the node IPs you plan to advertise.
Before we dive in, let’s get the boring-but-necessary stuff sorted:
- Your Talos nodes should be powered on and ready to accept machine config.
- Locally, you’ll need talosctl, kubectl, and helm, the usual suspects.
- Make sure your Kubernetes version actually gets along with the Cilium release you’re eyeing. Trust me, checking this now saves you a debugging session later.
- Open up your firewall for node-to-node and node-to-control-plane traffic. Nothing kills momentum faster than a silent connection timeout.
- Pick your Cilium Helm chart version, just drop the leading “v” when you do. Chart versions follow SemVer, so think 1.19.6, not v1.19.6. That prefix is reserved for container image tags.
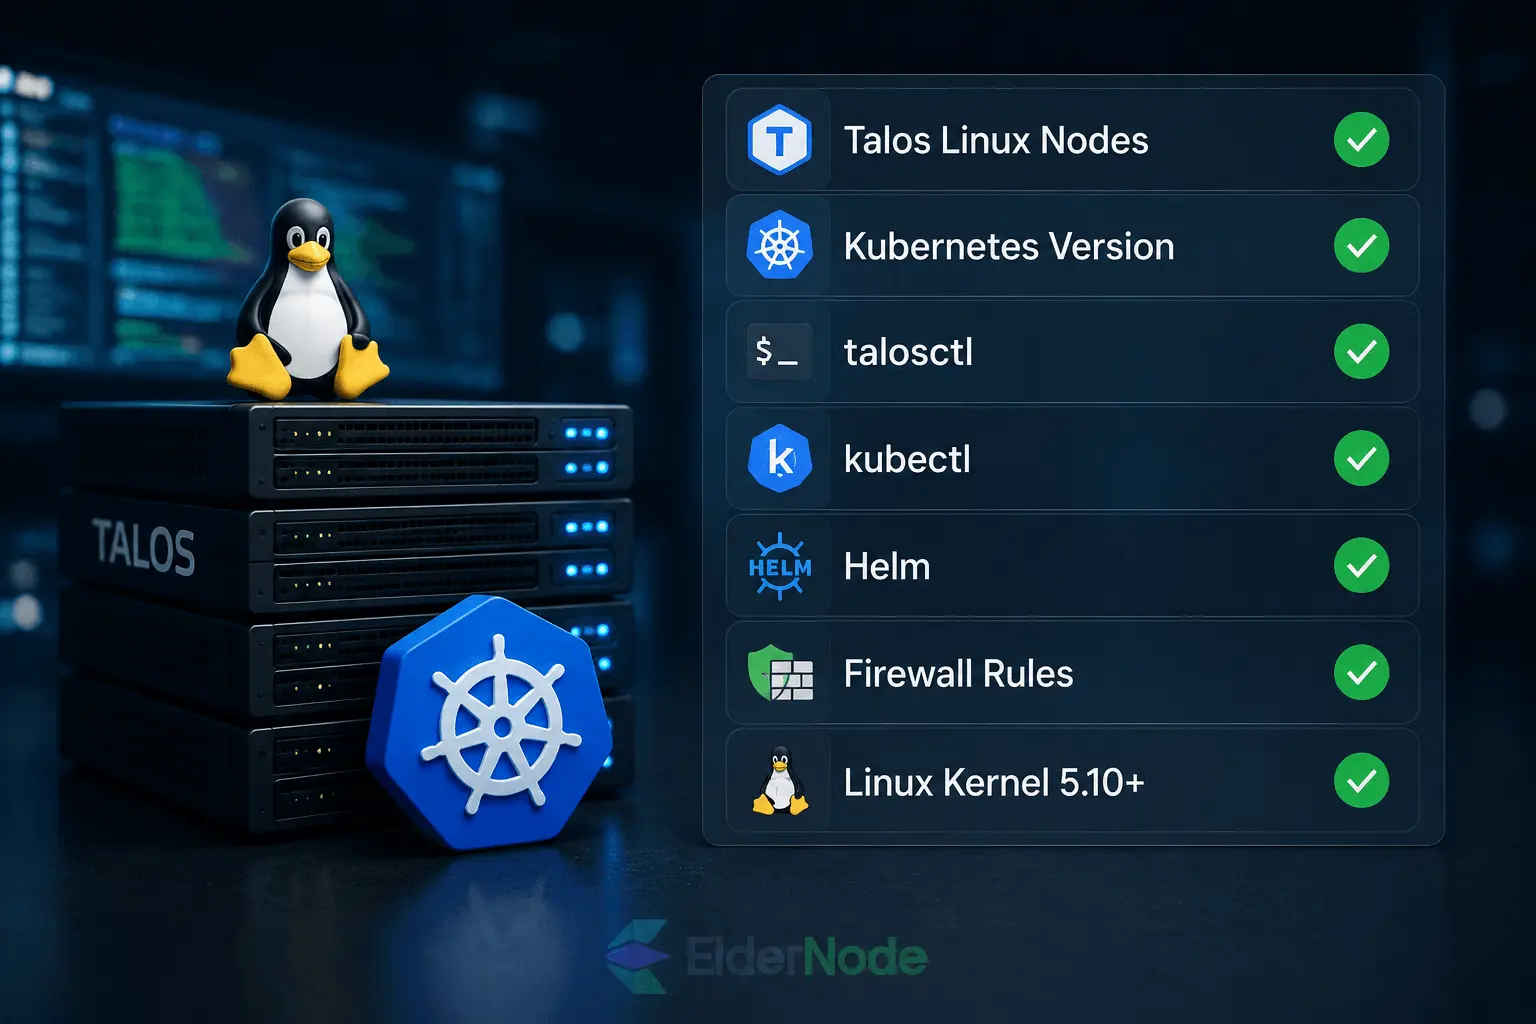
One more thing before you move on: you’ll want Linux kernel 5.10 or newer, and if you’re on Talos, make sure you’re running 1.5.0+, that’s what Cilium’s actually tested against.
Alright, let’s lock in a few variables so we don’t have to repeat ourselves:
bashexport CLUSTER_NAME="talos-cilium"
export CONTROL_PLANE_IP="203.0.113.10"
export ENDPOINT="https://${CONTROL_PLANE_IP}:6443"
export CILIUM_VERSION="<supported-cilium-chart-version>"
Swap in your real control-plane IP for 203.0.113.10, and set CILIUM_VERSION to whatever chart you’ve already confirmed works. That’s it, foundation’s set.
Step 1: Prepare the Talos CNI patch
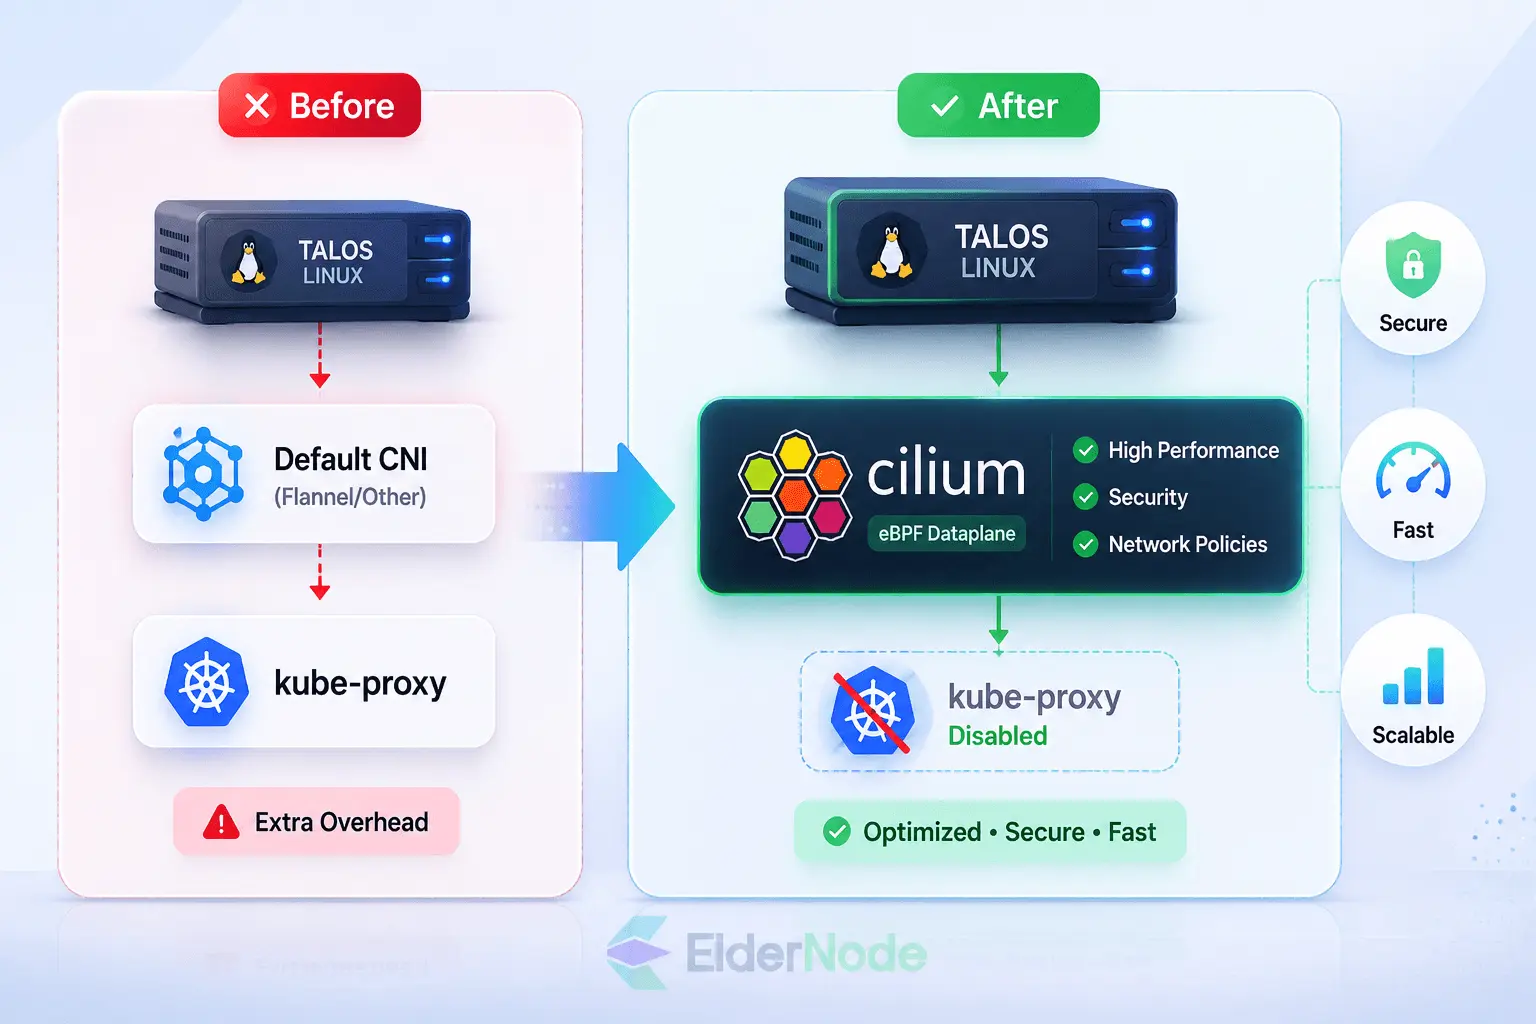
Talos normally manages the cluster CNI unless you tell it not to. For this Cilium installation, set the Talos CNI name to none and disable kube-proxy so Cilium can provide kube-proxy replacement. The official Cilium Talos instructions call out both settings: cluster.network.cni.name: none and cluster.proxy.disabled: true.
Create patch.yaml:
cat > patch.yaml <<'EOF' cluster: network: cni: name: none proxy: disabled: true EOF
This tutorial uses Cilium’s eBPF kube-proxy replacement. If you intentionally want to keep kube-proxy, do not disable it, and set kubeProxyReplacement=false in your Cilium values instead. For most new Talos deployments, however, the kube-proxy-free setup is the cleaner option.
Step 2: Generate Talos machine configs
Now let’s get Talos talking the language we want it to. Generate the configuration with your patch baked in:
talosctl gen config \
"${CLUSTER_NAME}" \
"${ENDPOINT}" \
--config-patch @patch.yaml
This spits out a handful of files in your current directory, controlplane.yaml, worker.yaml, and talosconfig among them. Keep these safe; you’ll be leaning on them for the rest of the setup.
Next, let’s get the control-plane node configured. Run this:
talosctl apply-config \
--insecure \
--nodes "${CONTROL_PLANE_IP}" \
--file controlplane.yaml
Once that’s done, it’s time to bring your worker nodes into the fold. Apply the worker config like so:
talosctl apply-config \
--insecure \
--nodes "<worker-node-ip>" \
--file worker.yaml
Just swap in the actual IP for each worker node, and repeat this step for every single worker VPS you’re bringing into the cluster. Yes, it’s a bit repetitive, but it’s a small price for a properly configured fleet.
Step 3: Bootstrap Kubernetes
Time to breathe life into your control plane. Bootstrap it with:
talosctl bootstrap \
--nodes "${CONTROL_PLANE_IP}" \
--endpoints "${CONTROL_PLANE_IP}" \
--talosconfig talosconfig
Now let’s grab your kubeconfig so kubectl knows where to point:
talosctl kubeconfig . \
--nodes "${CONTROL_PLANE_IP}" \
--endpoints "${CONTROL_PLANE_IP}" \
--talosconfig talosconfig

export KUBECONFIG="${PWD}/kubeconfig"
Here’s where things might look a little alarming if you’re not expecting it: your nodes probably won’t show as Ready yet. Don’t panic, that’s completely normal at this stage, since there’s no CNI installed. In fact, Talos’s own documentation points out that when CNI is set to none, the bootstrap process can appear to stall around phase 18/19 with the node stuck in a “not ready” state, and that this is exactly the window where you’re meant to step in and deploy Cilium. (talos.dev)
So take this as your cue, not a red flag. On to Cilium.
Step 4: Install Cilium on Talos Linux with Helm
Alright, this is the part we’ve been building toward, installing Cilium through the official OCI Helm chart, but tuned to fit Talos’s quirks. And I do mean quirks: none of the values below are copy-pasted defaults. Each one earns its place because Talos insists on doing things its own way.
- ipam.mode=kubernetes, hands IPAM over to Kubernetes.
- kubeProxyReplacement=true, turns on kube-proxy replacement.
- Reuses Talos’s existing cgroup v2 mount instead of letting Cilium create its own.
- Points Cilium to Talos’s local KubePrism endpoint (localhost:7445) to reach the API server.
Cilium’s Talos guide explains KubePrism this way, and also recommends reusing the existing cgroup mount rather than duplicating it.
Here’s the install command:
helm install cilium oci://quay.io/cilium/charts/cilium \
--version "${CILIUM_VERSION}" \
--namespace kube-system \
--set ipam.mode=kubernetes \
--set kubeProxyReplacement=true \
--set securityContext.capabilities.ciliumAgent="{CHOWN,KILL,NET_ADMIN,NET_RAW,IPC_LOCK,
SYS_ADMIN,SYS_RESOURCE,DAC_OVERRIDE,FOWNER,SETGID,SETUID}" \
--set securityContext.capabilities.cleanCiliumState="{NET_ADMIN,SYS_ADMIN,SYS_RESOURCE}" \
--set cgroup.autoMount.enabled=false \
--set cgroup.hostRoot=/sys/fs/cgroup \
--set k8sServiceHost=localhost \
--set k8sServicePort=7445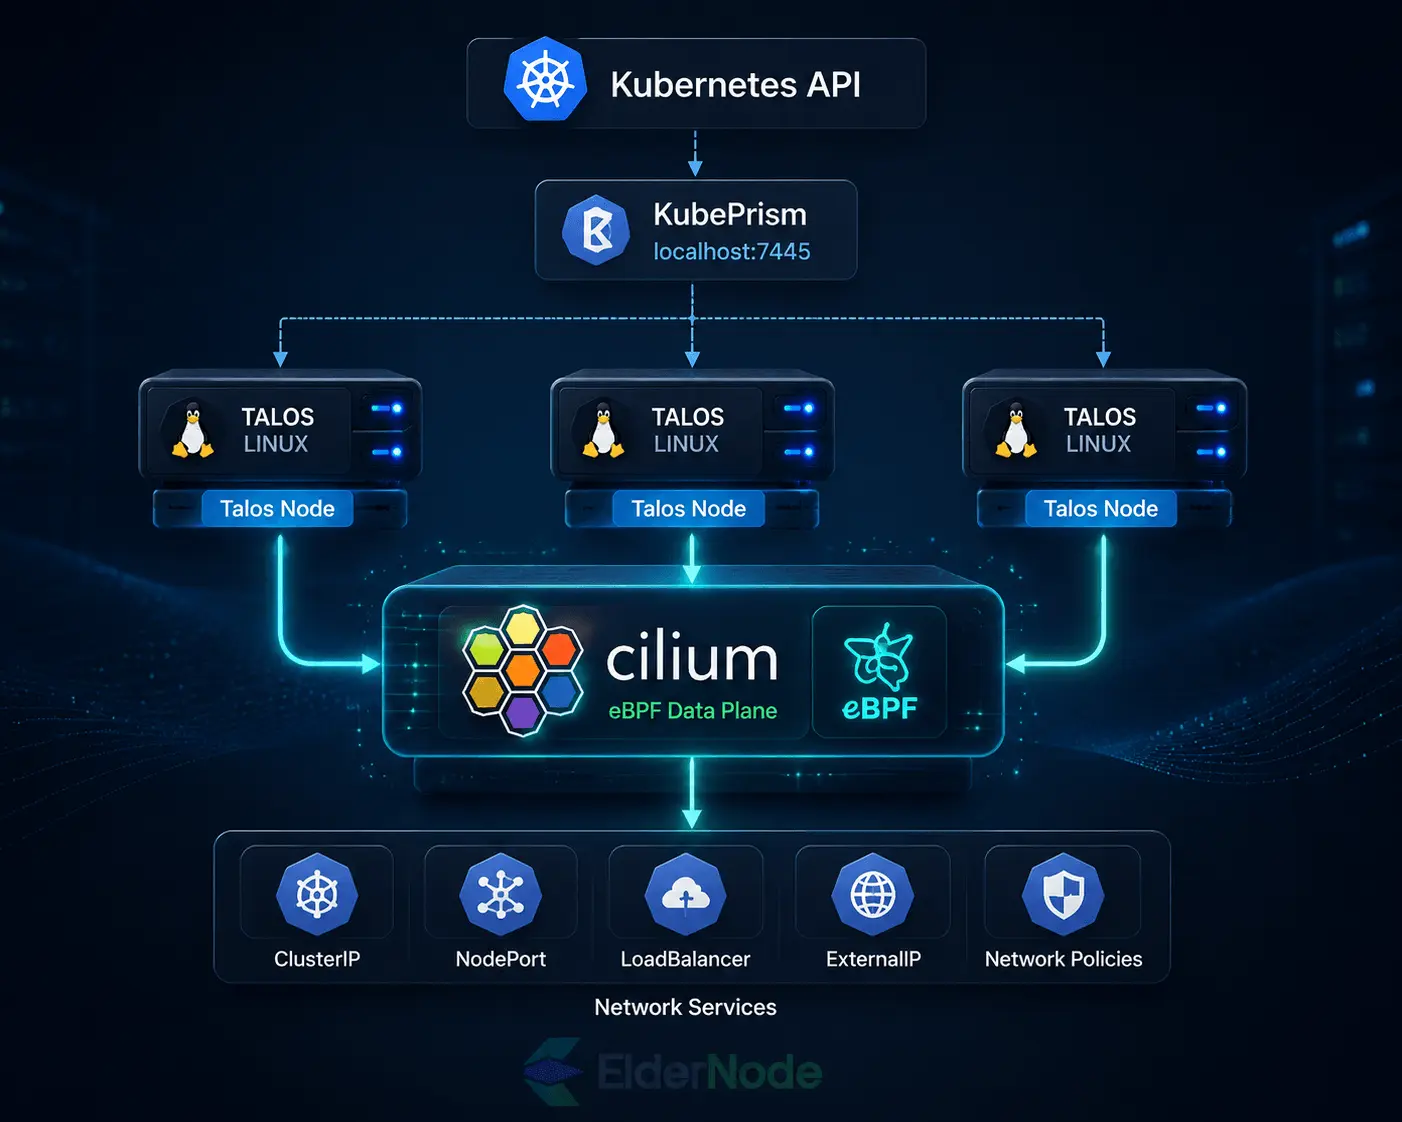
One thing worth flagging: SYS_MODULE is missing from the capability list on purpose. Talos doesn’t let workloads load kernel modules, so Cilium’s docs say to drop it when installing on Talos.
Once this finishes, that “not ready” node from earlier should flip to Ready on its own.
Step 5: Watch the rollout
Alright, this is where it gets fun. You’ve done the hard part; now you just get to watch it come alive. First, check whether the Cilium DaemonSet has actually finished rolling out:
kubectl -n kube-system rollout status daemonset/cilium
While you wait, peek in on the Cilium pods themselves, think of it as checking the pulse:
kubectl -n kube-system get pods -l k8s-app=cilium -o wide
Then pull back and look at the whole picture, everything running in kube-system:
kubectl -n kube-system get pods
Here’s a little heads-up so you don’t get spooked: CoreDNS will probably just sit there, stuck in Pending or ContainerCreating, and stare back at you. That’s not a bug, it’s just waiting its turn. DNS can’t really do anything until Cilium is up and handling traffic, so this is your cluster politely saying “almost there.” Give it a minute or two. Once Cilium finishes settling in, you’ll watch your nodes quietly flip to Ready, and DNS will wake up right along with them, like nothing was ever wrong in the first place.
Step 6: Validate networking
One last check before you call it done, does the networking actually work?
If you have the Cilium CLI installed:
cilium status --wait
Then run a connectivity test:
cilium connectivity test
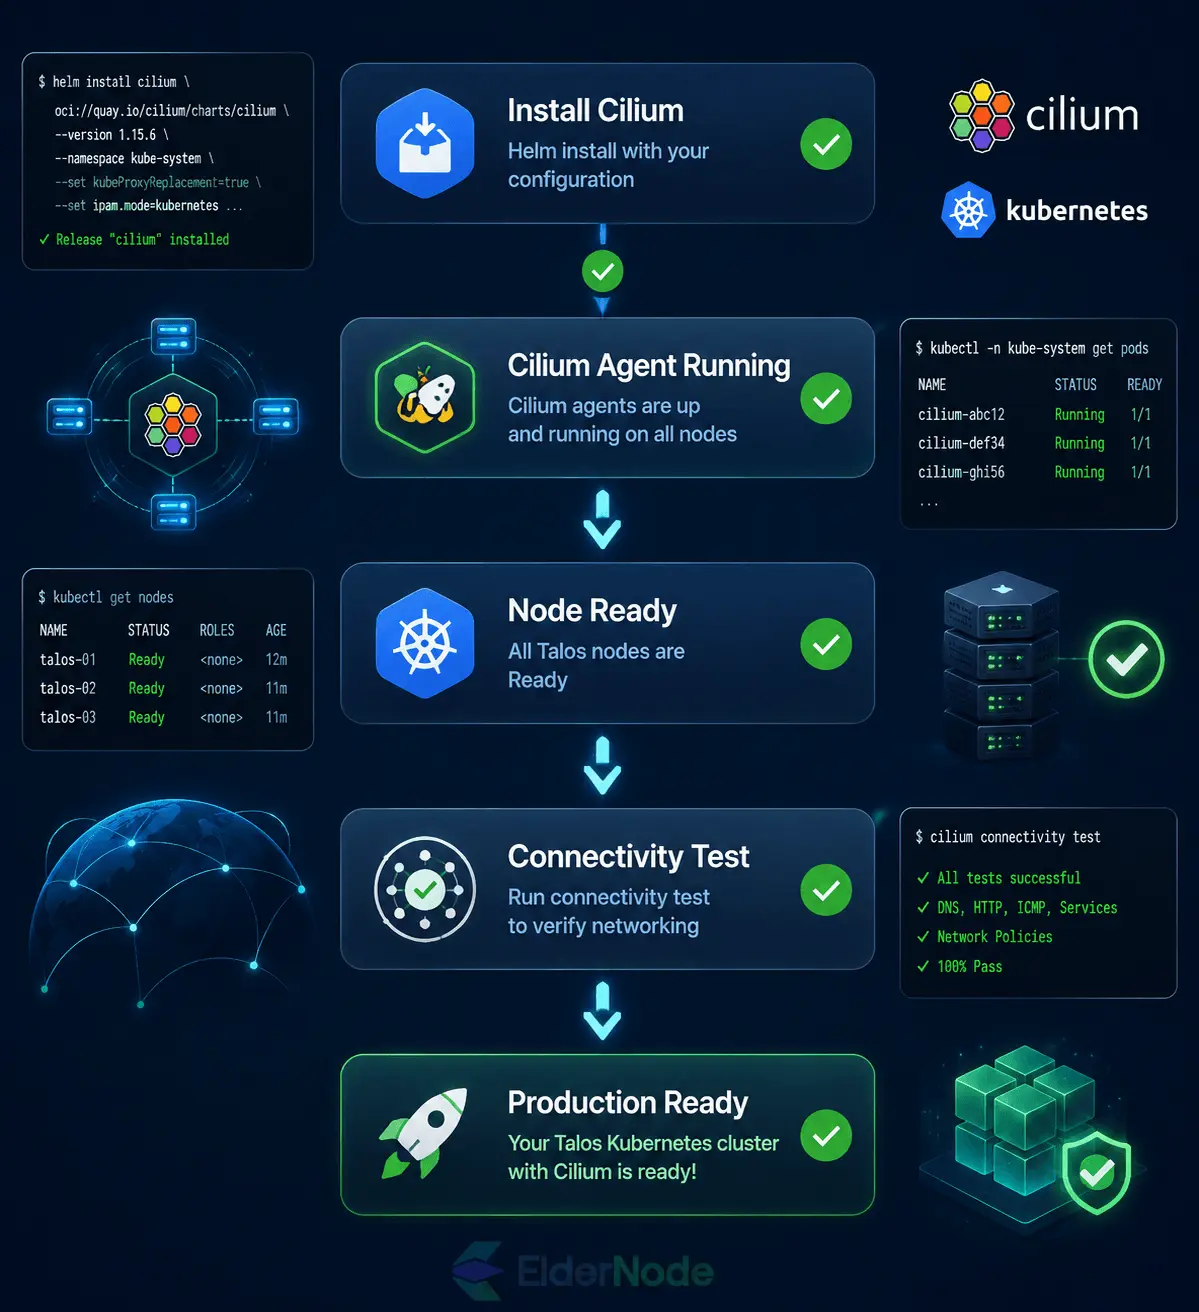
Cilium’s own validation guide uses these two commands, status –wait for agent/operator health, connectivity test for actual traffic paths.
To confirm kube-proxy replacement is active, check from a Cilium pod directly:
kubectl -n kube-system exec daemonset/cilium -- cilium-dbg status
Look for KubeProxyReplacement in the output. With it enabled, Cilium handles ClusterIP, NodePort, LoadBalancer, and external-IP services itself.
If all this checks out, your cluster’s networking is solid and ready for real workloads.
Troubleshooting quick fixes
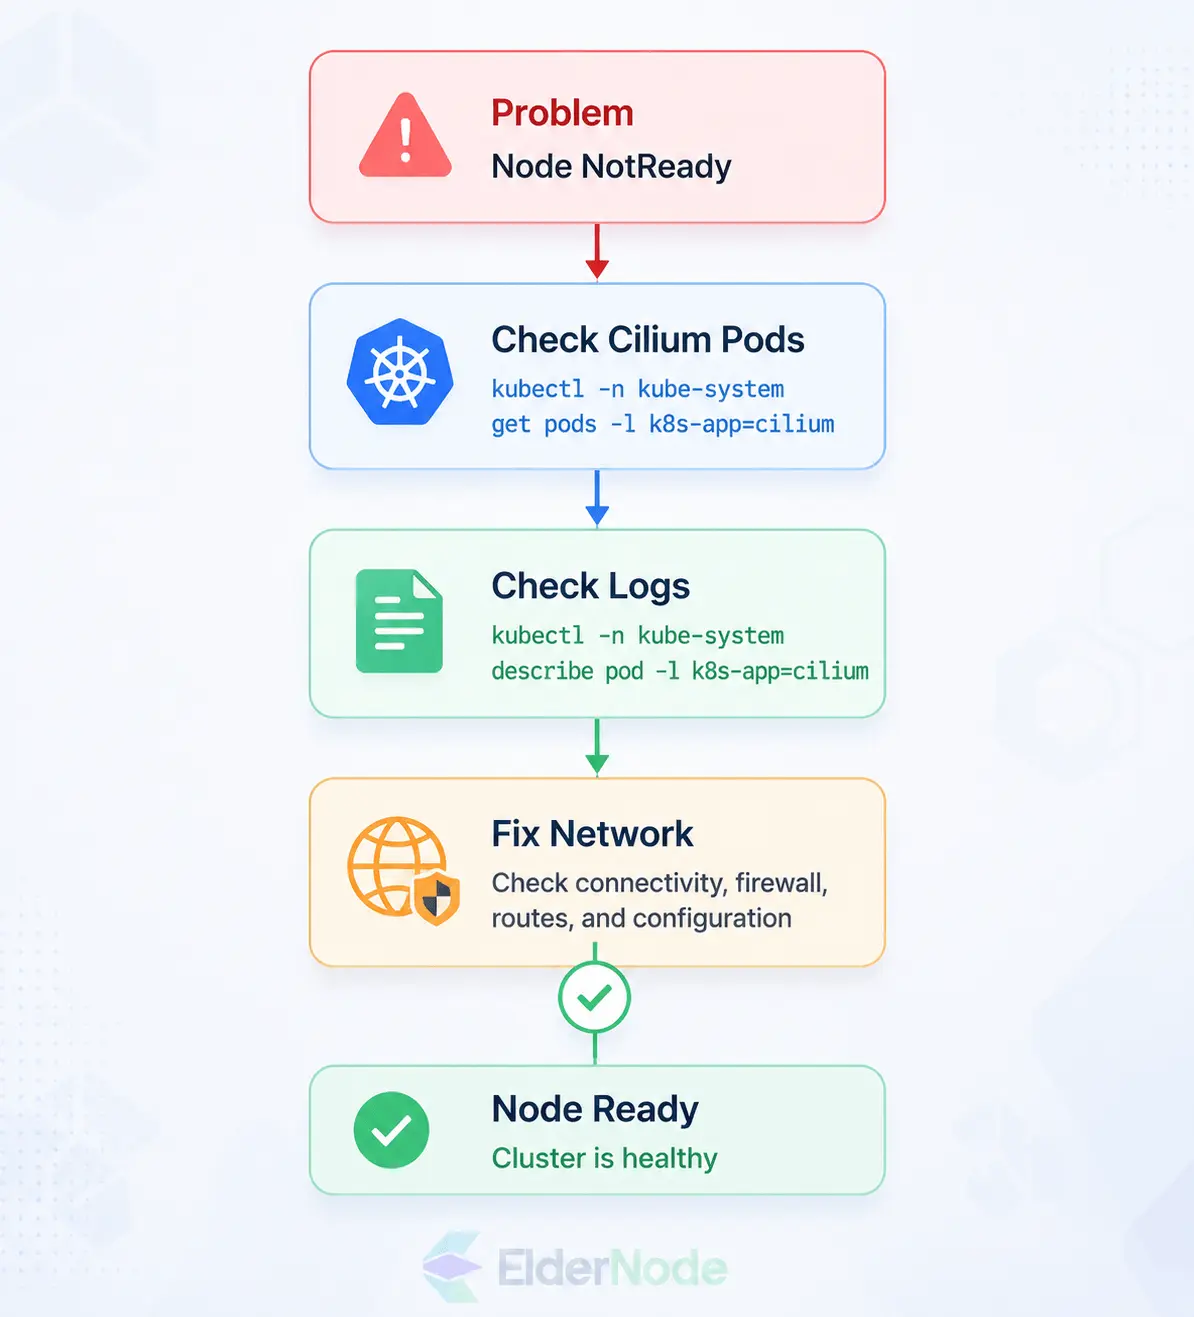
Nodes remain NotReady
First, check the Cilium pods:
kubectl -n kube-system get pods -l k8s-app=cilium
If Cilium is not scheduled or is crash-looping, inspect events:
kubectl -n kube-system describe pod -l k8s-app=cilium
Common causes include a wrong CILIUM_VERSION, KubePrism not listening on localhost:7445, or firewall restrictions between nodes.
kube-proxy is still running
Check for the kube-proxy DaemonSet:
kubectl -n kube-system get daemonset kube-proxy
If it exists on a new cluster, your Talos patch was not applied before bootstrap. Rebuild the cluster or follow a proper migration path. Cilium’s migration documentation uses a staged process for existing clusters rather than simply deleting the old CNI.
DNS does not work
Confirm CoreDNS is running:
kubectl -n kube-system get pods -l k8s-app=kube-dns
If you enabled advanced eBPF host-routing settings, review the Talos-specific DNS note in the Cilium documentation. The Cilium Talos notes mention that Talos host DNS forwarding and Cilium eBPF host-routing may require bpf.hostLegacyRouting=true.
Finish and next steps
You now have a working Cilium installation on a Kubernetes cluster running Talos Linux. From here, you can add Hubble, configure NetworkPolicies, tune LoadBalancer behavior, or prepare an upgrade workflow with Helm.
If you are building this lab or production base on Eldernode Linux VPS, keep your Talos configs, Helm values, and selected Cilium version in version control so every node can be rebuilt consistently.