Special Offer





How to Make Modded Minecraft Server
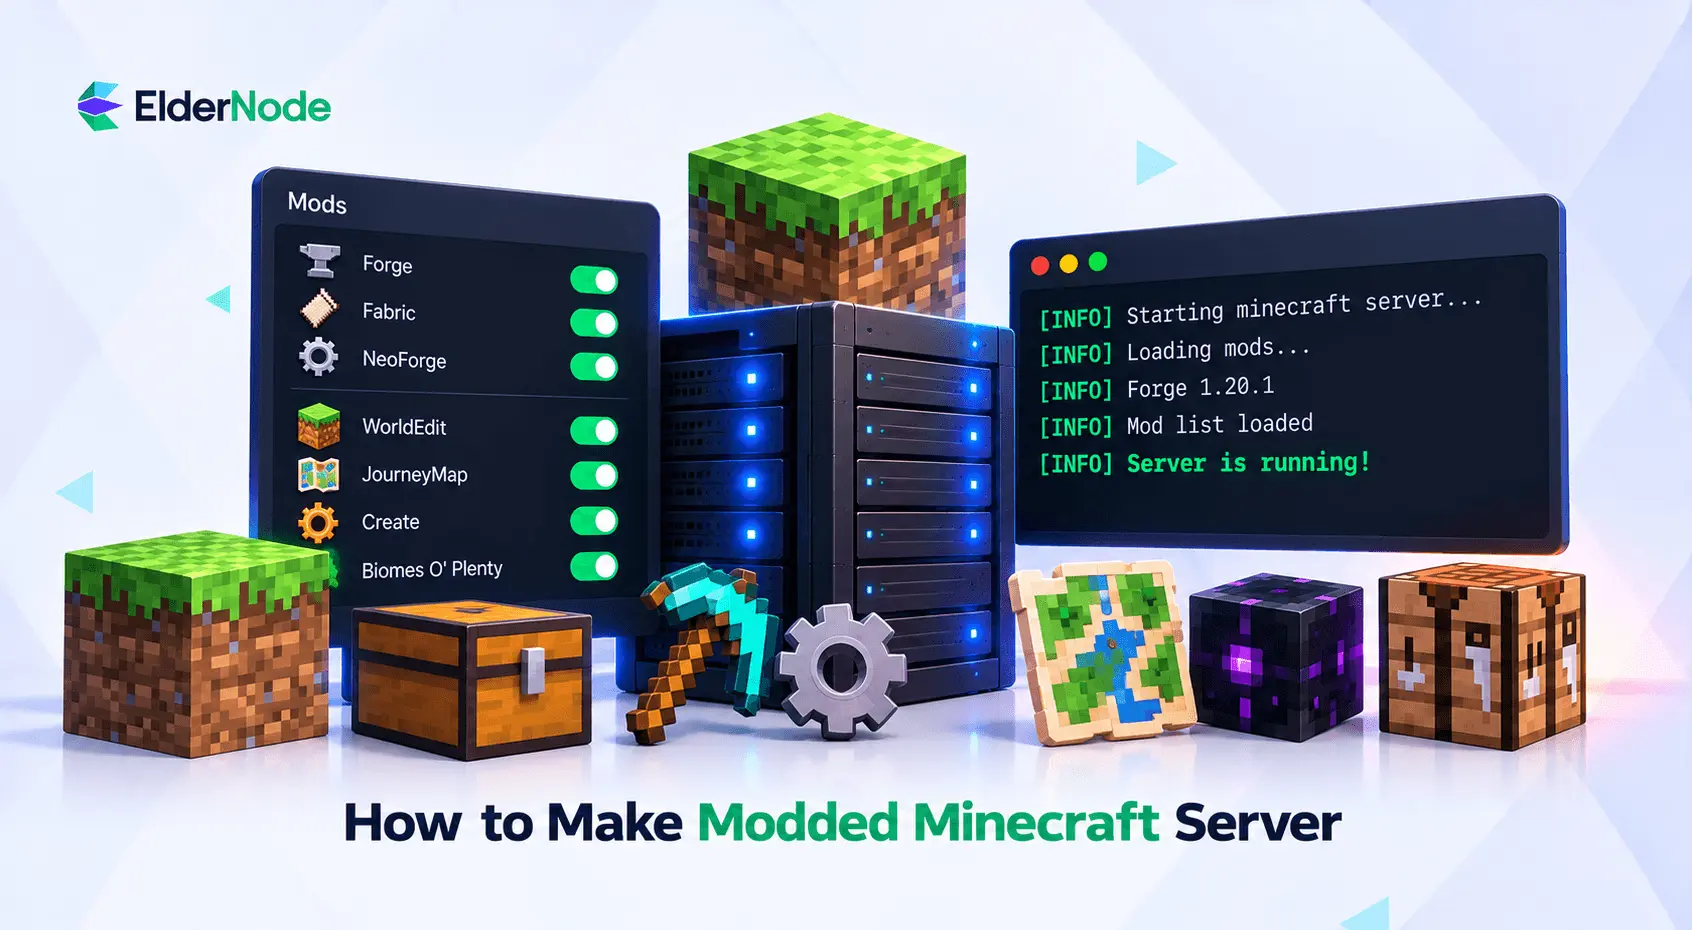



Want to play Minecraft with your friends in a world that’s all yours? Set up a modded server. In this guide, you’ll learn how to Make Modded Minecraft Server so everyone plays with the same mods and rules, and you’re all building on the same thing.
Start by picking a Java Edition version and a mod loader that works with it. Forge, Fabric, and NeoForge are the usual choices. Then drop the mods you want onto the server. Last step: get your friends set up with that same version and the same mods on their computers, and they can join in.
What do you need before you start?
You’ll need a place to run the server, either your own computer or a hosting plan, plus a folder for the server files and a Java version that fits your Minecraft version and mod loader. Everyone joining needs Minecraft: Java Edition and the same mods. Using a modpack? Check its server requirements first.
Before downloading anything, decide whether you want to self-host from your own computer or use a paid host.
Choose the right mod loader
A mod loader allows Minecraft to load and run mods. Choose the loader required by your mods or modpack. Players also need a compatible client setup when the pack includes mods required on both sides; some server-only mods work with unmodified clients.
Common options include:
- Forge: A long-running choice for many large modpacks and content-heavy mods.
- Fabric: A lightweight, modular option popular for performance mods and many modern modpacks.
- NeoForge: A separate loader that developed from Forge. Use it when your mods or modpack require NeoForge, and check compatibility rather than assuming a Forge mod will work.
Using a modpack? Just follow its version, loader, and install instructions. Picking mods yourself? Check that each one works with your Minecraft version and loader.
How to create a modded Minecraft server step by step
1. Pick your Minecraft version and mod loader first. Using a modpack? Grab its server download if there is one. Going solo? Make sure every mod matches your version and loader.
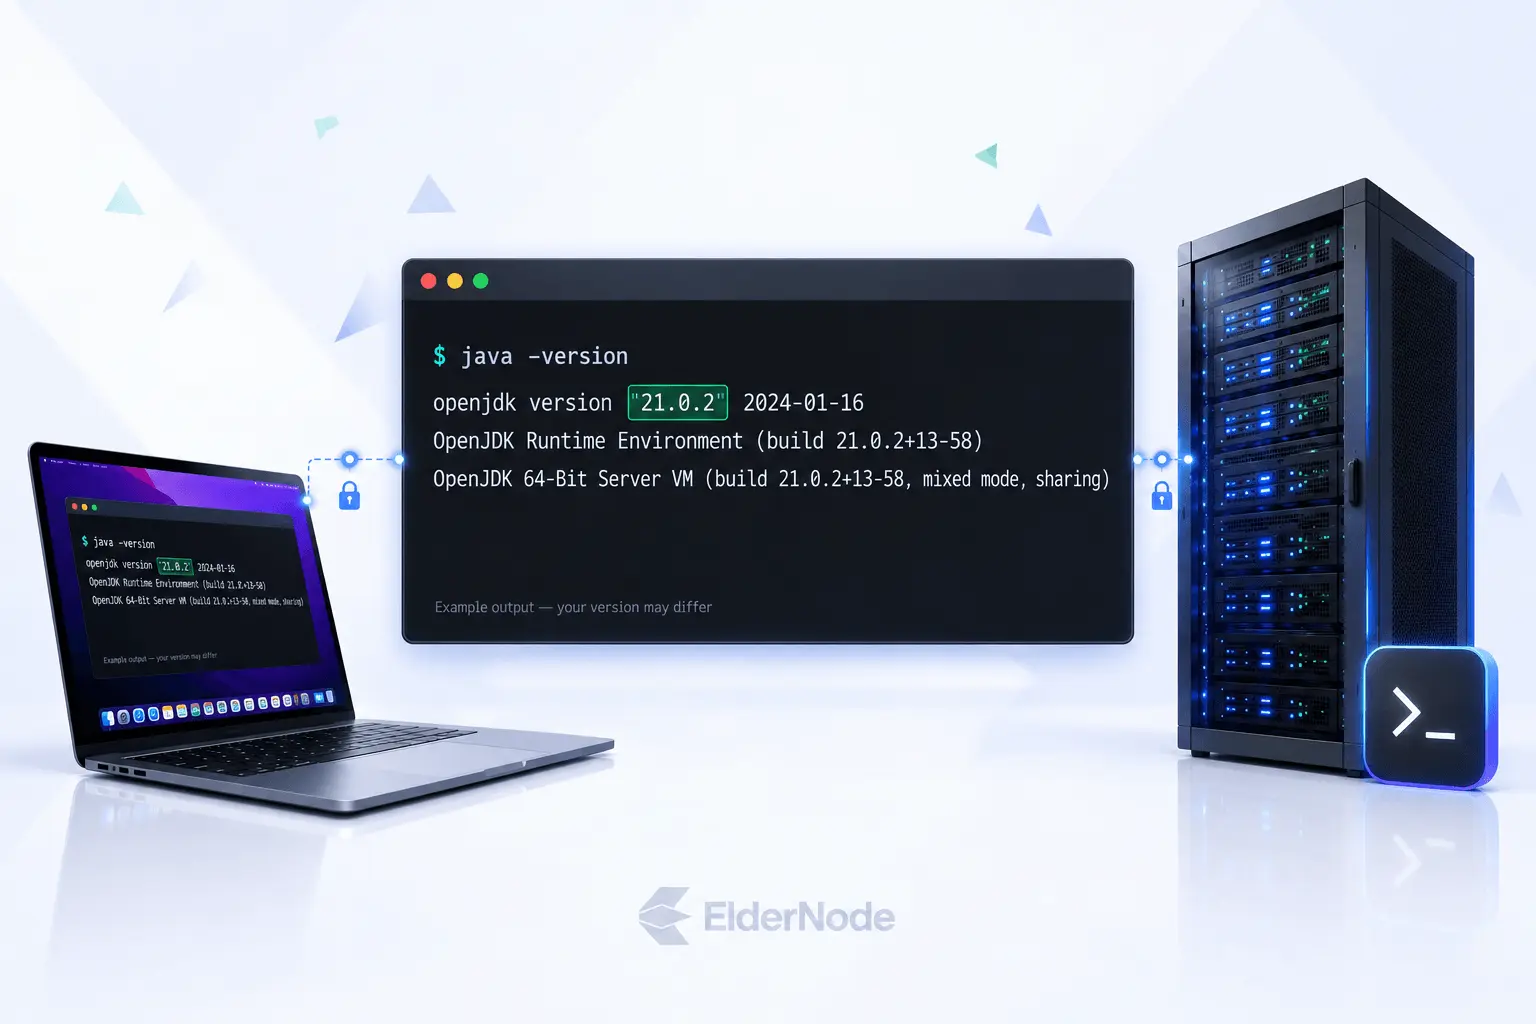
2. Open a terminal and run java -version to see which Java you’ve got. Then check it against what your Minecraft version and loader need. Watch out, though: your launcher can use its own Java, so what the terminal shows might not be what the game actually runs on.
3. Make a separate folder just for the server, not your regular Minecraft one. If you downloaded a modpack server package, unzip it there.
4. Follow your loader’s or modpack’s instructions to install the server files, then start it with the script or command they give you. It’s different for each loader.
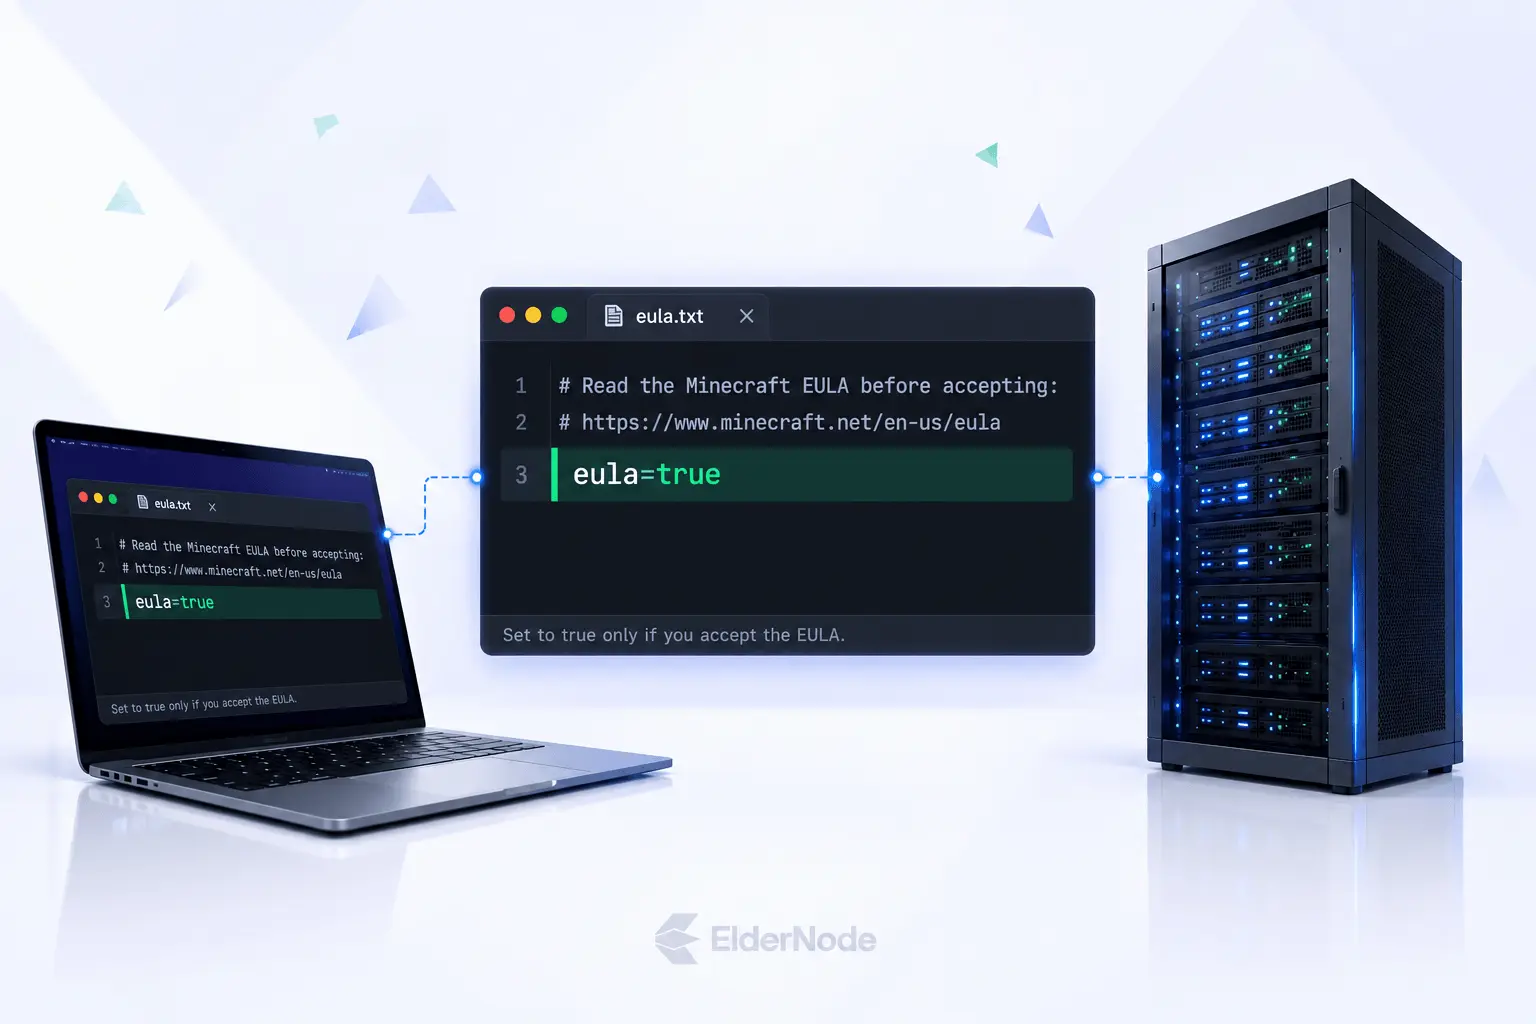
5. Review the EULA. The initial startup may stop after creating eula.txt. Read the agreement linked in that file. If you accept it, change eula=false to eula=true and save.
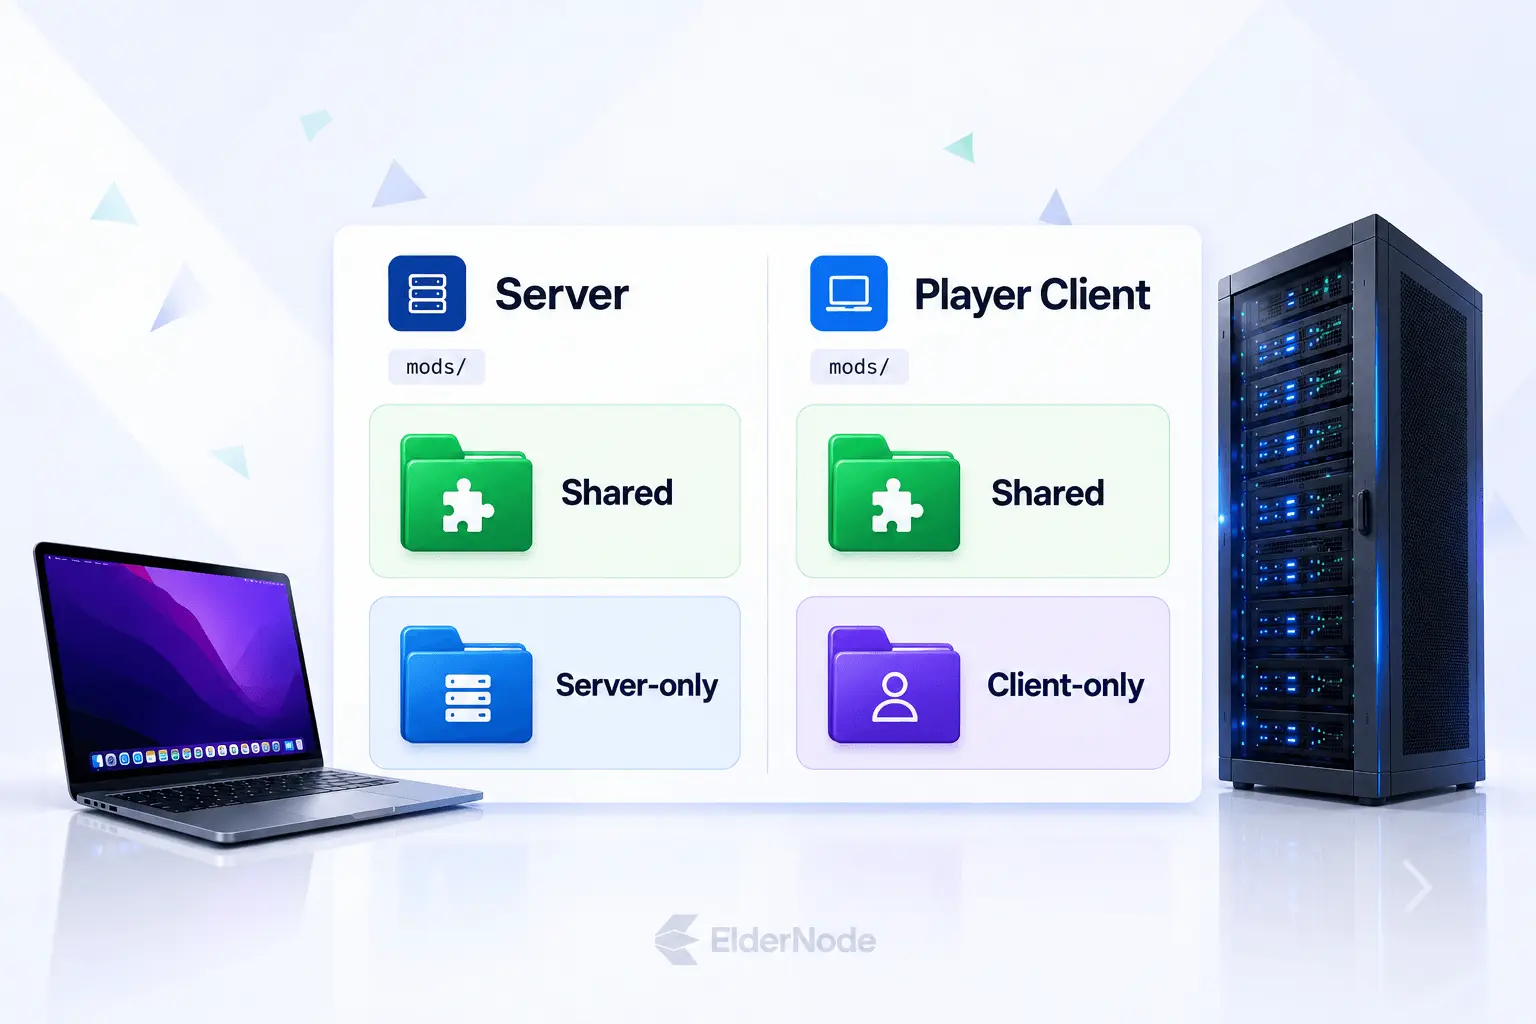
6. With the server stopped, drop your mods and their dependencies into the mods folder. Leave client-only mods out. Using a server pack? Follow its instructions before adding or swapping anything.
7. Prepare each player’s client. Use the Minecraft and loader versions required by the pack. Install the required shared and client-side mods. Server-only mods do not need to be copied to players’ computers.
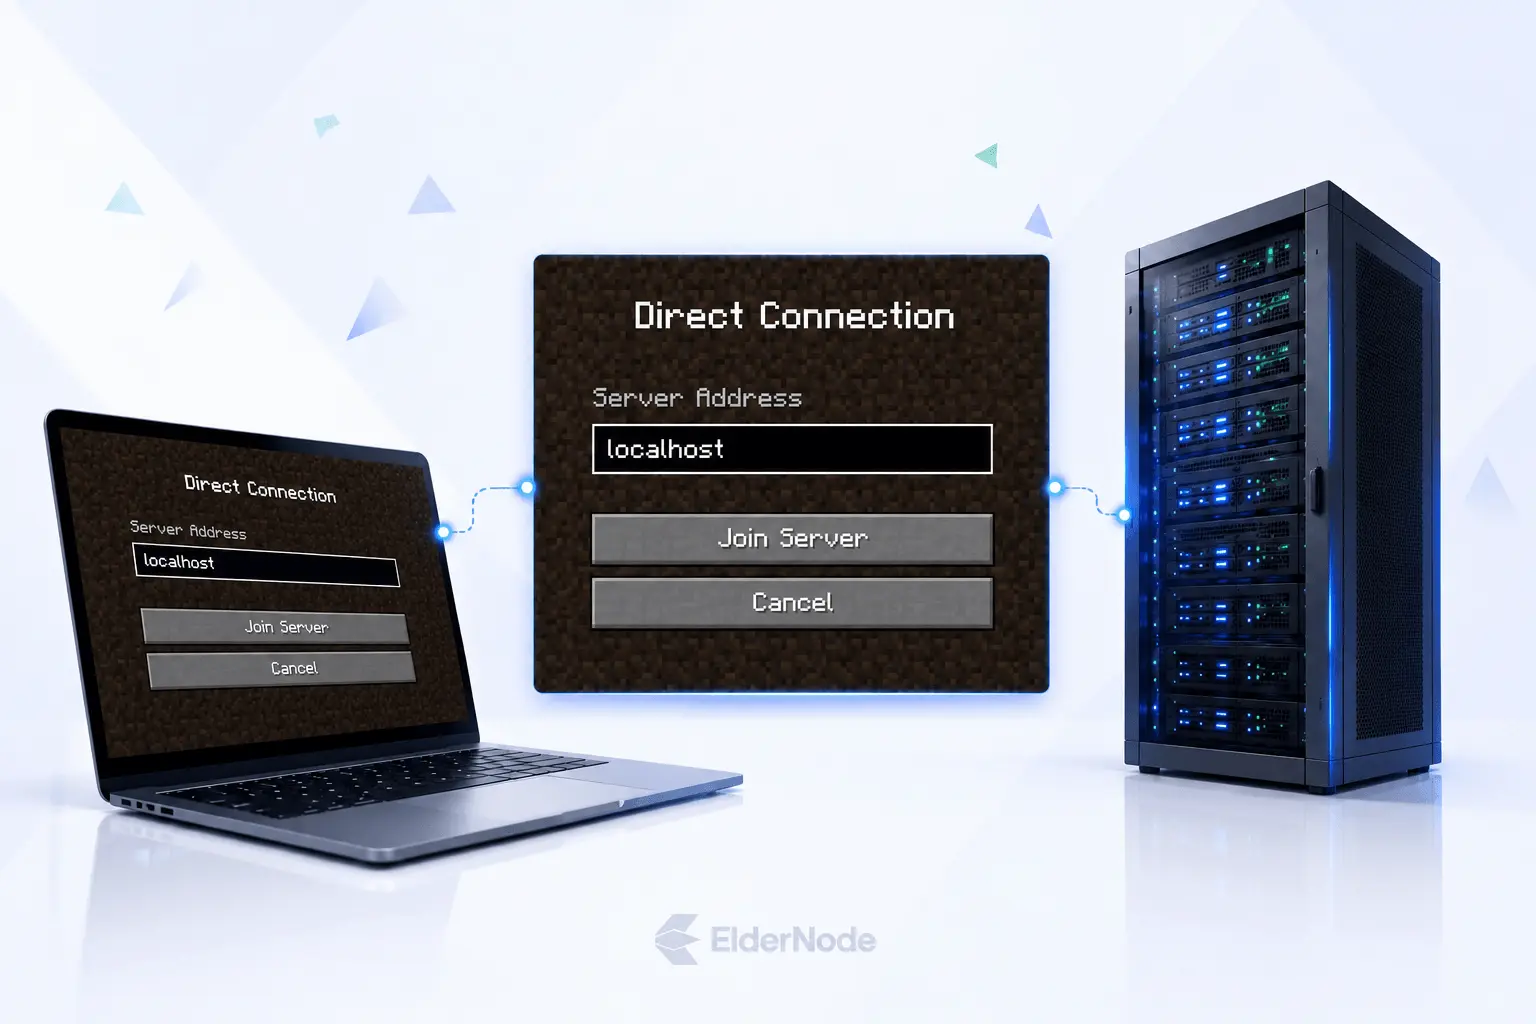
8. Fire up the server with your loader’s startup script and give it a minute to finish loading. Then try joining with localhost if you’re on the same computer, or use the server’s local IP if you’re on another one at home.
9. Time to let your friends in. On a host, share the address and port they give you. At home, open your firewall and forward TCP port 25565 on your router. If that doesn’t work, your provider may use CGNAT. Turn on the allowlist before sharing the address.
Add mods without creating conflicts
Minecraft server mods can change world generation, mobs, machines, dimensions, performance, storage, and almost everything else.
Use this checklist before launching:
- Download mods from reputable project pages or official modpack sources.
- Confirm the mod supports your Minecraft version.
- Check that the mod actually works with your loader, like Forge or Fabric.
- Find out if the mod needs to be on just the server, just the client, or both.
- Avoid adding many new mods at once; test in small batches.
- Back up your world before changing the mod list.
Check compatibility before adding performance mods, just as you would with any other mod. Back up the world before removing mods that add blocks, items, biomes, or dimensions; existing saves may depend on that content. Test changes on a copy of the server first. For a large collection of mods, a maintained modpack with server files can reduce manual setup work.
Hosted and self-hosted servers work differently
Hosting at home means the server runs on your own hardware, and you can get into the files whenever you like. The tradeoff is that everything falls on you. You have to keep the computer on, make regular backups, and set up the network so your friends can connect. How well it runs also comes down to what you have: a weak processor, too little memory, or a slow internet connection will show up as lag for everyone.
A managed Minecraft host may provide a control panel, modpack installers, and backup tools. A general-purpose VPS usually requires more manual setup. Either option lets the server run independently of your gaming PC and avoids the need to forward Minecraft traffic through your home router. Check what the plan includes before choosing.
Troubleshooting the most common problems
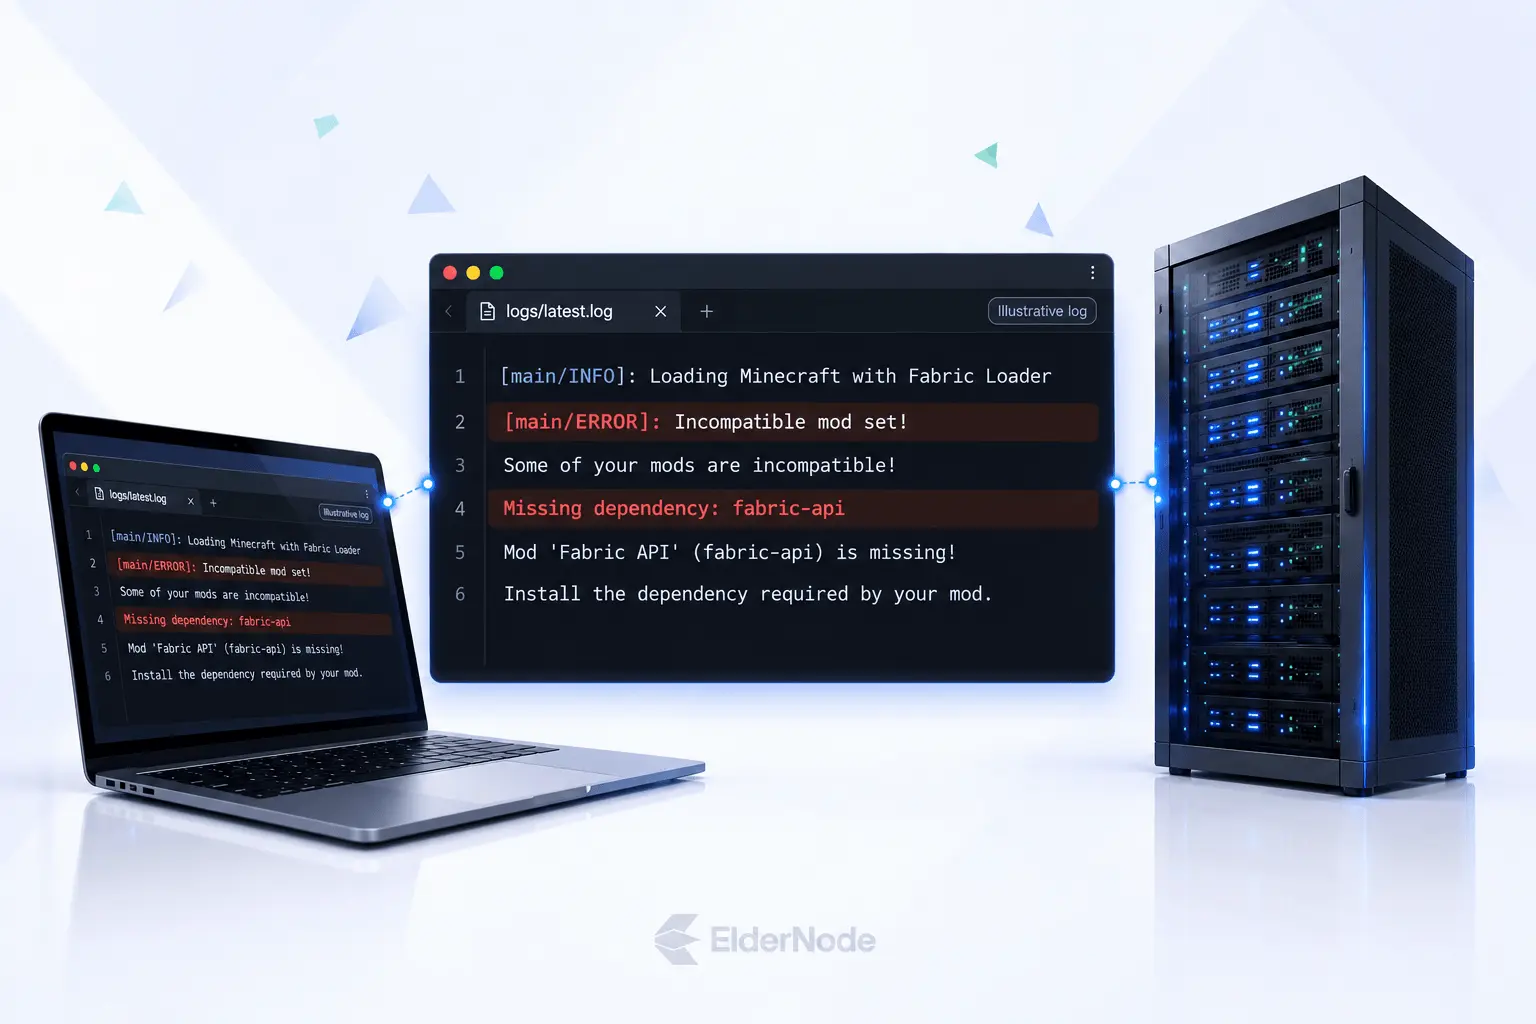
If the server won’t start or a friend can’t join, don’t start changing things yet. Open logs/latest.log first and see what it says. If the game crashed, there may also be a report waiting in the crash-reports folder. What you’re looking for is usually pretty obvious once you find it: a mod that’s missing something it depends on, a version that doesn’t match, or an error that names the exact mod causing the trouble.
Start with these fixes:
- Mod compatibility errors: Check the required Minecraft, loader, and mod versions. Install missing dependencies and compare the mods required on both sides; the complete client and server folders do not need to be identical.
- Server crashing on startup? Don’t delete anything yet. Read the error first, check your Java version, and think about what you changed last. Try any fix on a backup copy.
- Can’t connect? First make sure the server has finished starting up. Then check the address, port, allowlist, and firewall. If you’re hosting at home, look at your router’s port forwarding too, since CGNAT can block incoming connections.
- Lag or rubber-banding: Check server CPU load, memory use, and the network connection. Lower simulation or view distance and test again. Adding RAM will not fix every cause of lag.
- World errors after removing mods: Stop the server and restore a backup with the matching mods and configuration files. Avoid repeatedly loading and saving the affected world.
Do not troubleshoot with your only copy of the world. Backups are boring until they save a build, a base, or an entire season of progress.