Special Offer
 How to Install FTP Server on Windows Server 2019 [Step-by-Step]


How to install FTP Server on Windows Server 2019, if you’ve ever tried to move files between two systems on a Windows network, you’ve probably run into this need. FTP is one of those old but still-useful tools that just works when you want a simple way to upload or grab files remotely. It runs over TCP/IP and lets you manage folders between machines without messing with shared drives or complicated scripts.
Windows Server doesn’t have FTP running by default, but the good news is it’s already built into IIS you just need to turn it on. In this quick guide, I’ll show you how to install and enable FTP Server on Windows Server 2019 step by step, using the built-in Server Manager.
If you don’t have a test environment yet, you can spin up a Windows VPS from Eldernode it’s ready in minutes and works perfectly for trying this setup safely before doing it on production.
Install FTP Server on windows server 2019
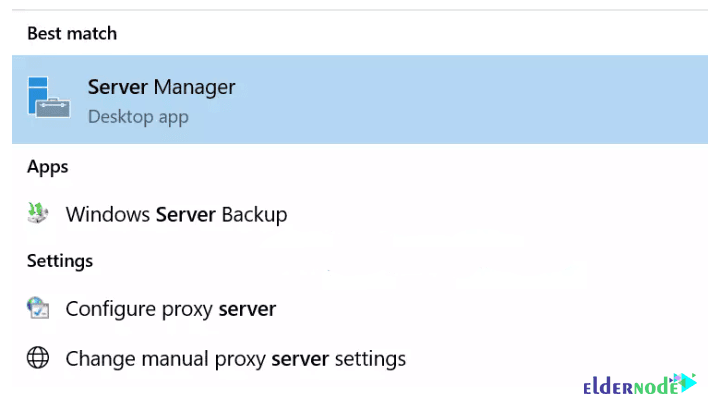
Step 1: Open Server Manager
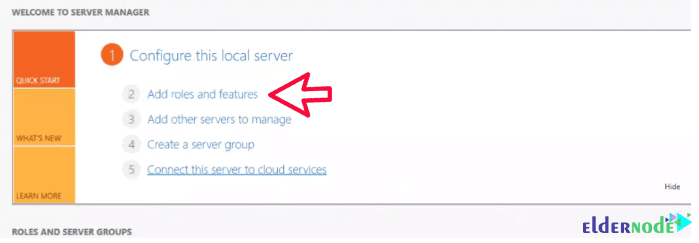
In the first step, press the Windows button and search for Server Manager. Then click Add Roles and Features.
*
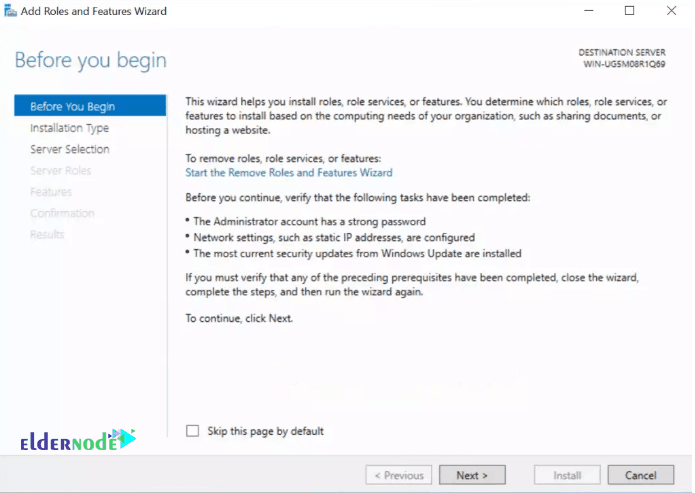
Step 2: Open the Add Roles and Features windows
On the “Add Roles and Features Wizard” page, simply click “OK” to continue.
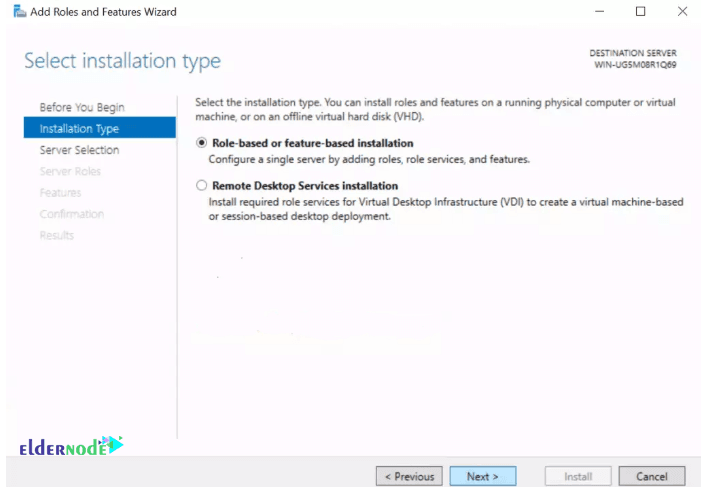
Step 3: Choose Installation Types
When you reach the “Installation type” page, select “Role-based or feature-based installation” and click “Next”.
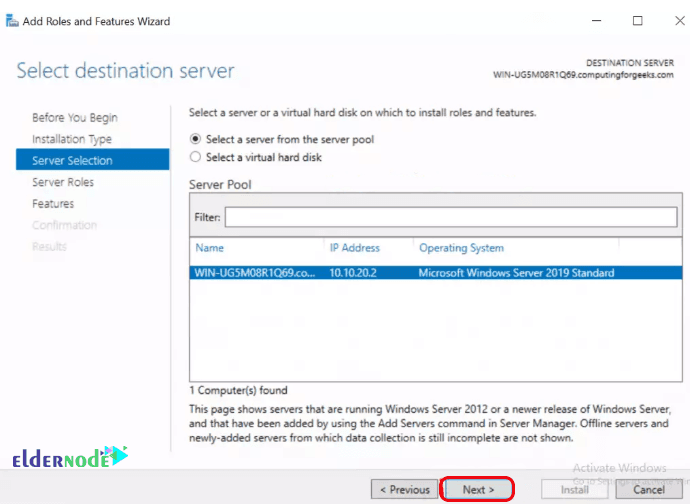
Step 4: Select the Target Server
Select the server where you want to install FTP (NFS in the original wizard) and click “Next”.
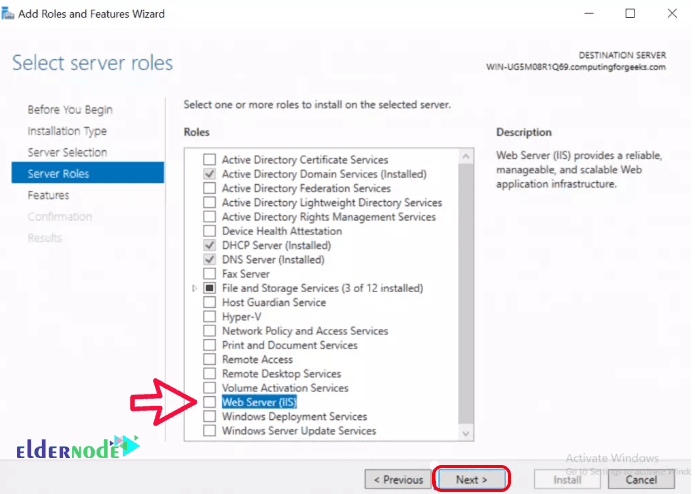
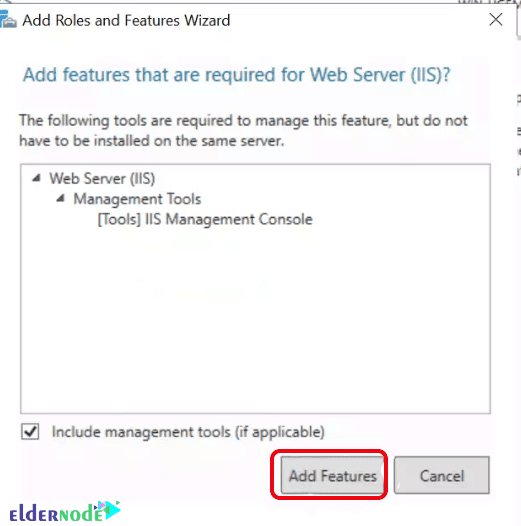
Step 5: Enable Web Server (IIS)
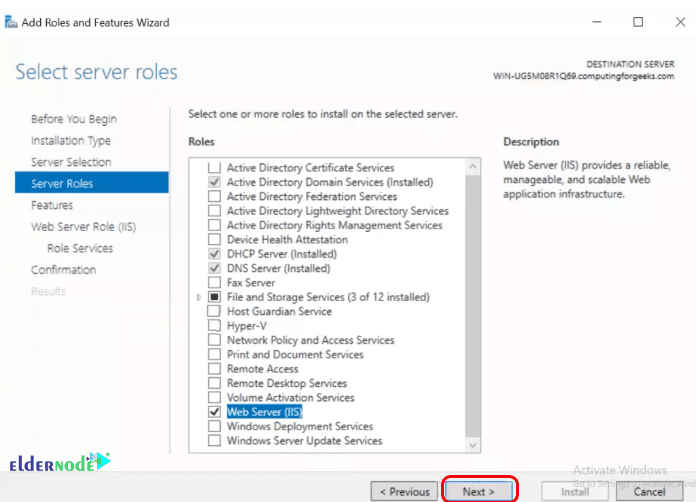
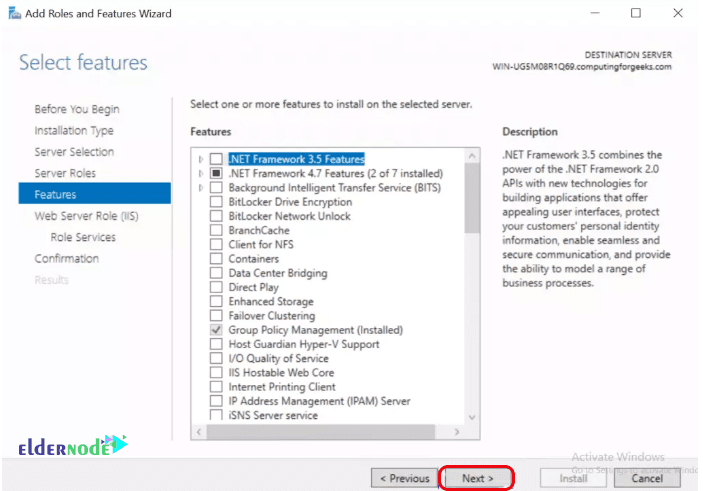
Step 6: Skip Optional Features
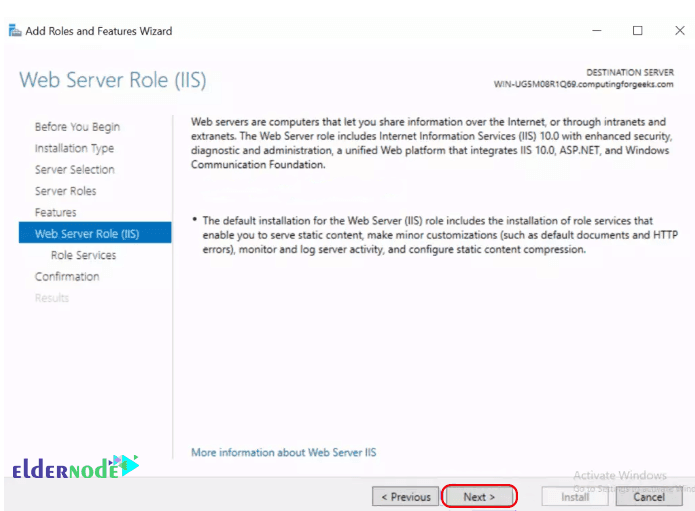
In the “Select Features” step, just click “Next”, and again click “Next” on the “Web Server Role (IIS)” page.
****
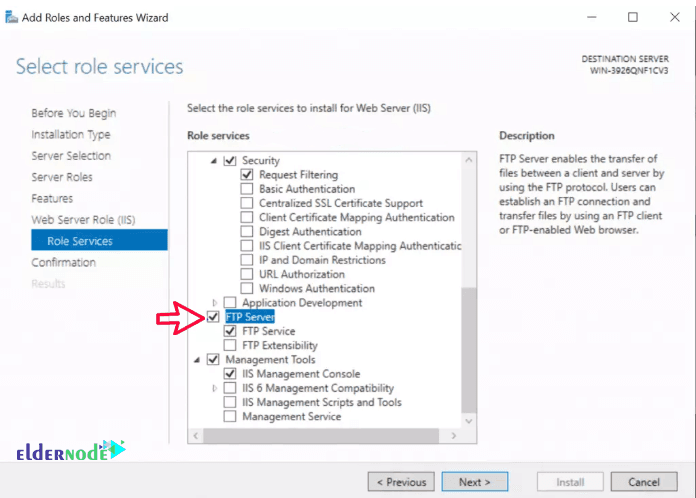
Step 7: Select Role Services
On the Role Services page select File Server one and hit Next. Then click on Install and wait for your server to finish up installing.
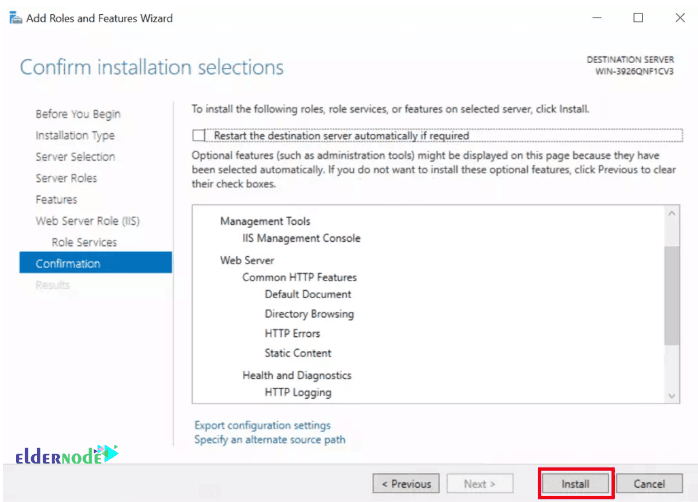
Step 8: Install the FTP Server
At this point, just click “Install.” Sit back for a minute while Windows adds the FTP components. Once completed, you’ll see the confirmation screen showing that the FTP components have been installed successfully.
Tips:
FTP uses port 21 by default, so make sure it’s open in your firewall.
You can test the connection using an FTP client like FileZilla by entering your server IP.
Conclusion
So yeah… that’s about it.
Your FTP Server should be alive on Windows Server 2019 by now. If you can connect through FileZilla or even your browser and see the directory, that means you did it right. I’d still say before you give anyone access check the permissions once more. Windows loves to hide small gotchas that break later.
I’ll probably write the next bit soon, about the configuration stuff users, folders, and access rules.
If you ran into something weird, drop a comment. I’ve been through most of the usual errors by now.
Oh, and if you’re just testing this out and don’t want to mess with your main server, spin up a quick Windows VPS from Eldernode. It takes a few minutes and behaves almost the same as a real box.
Let me know in the comments if it worked for you I’d love to hear.
Anyway, good luck and don’t forget to back up before experimenting too much.