Special Offer



How to Install Moodle on Ubuntu 24.04
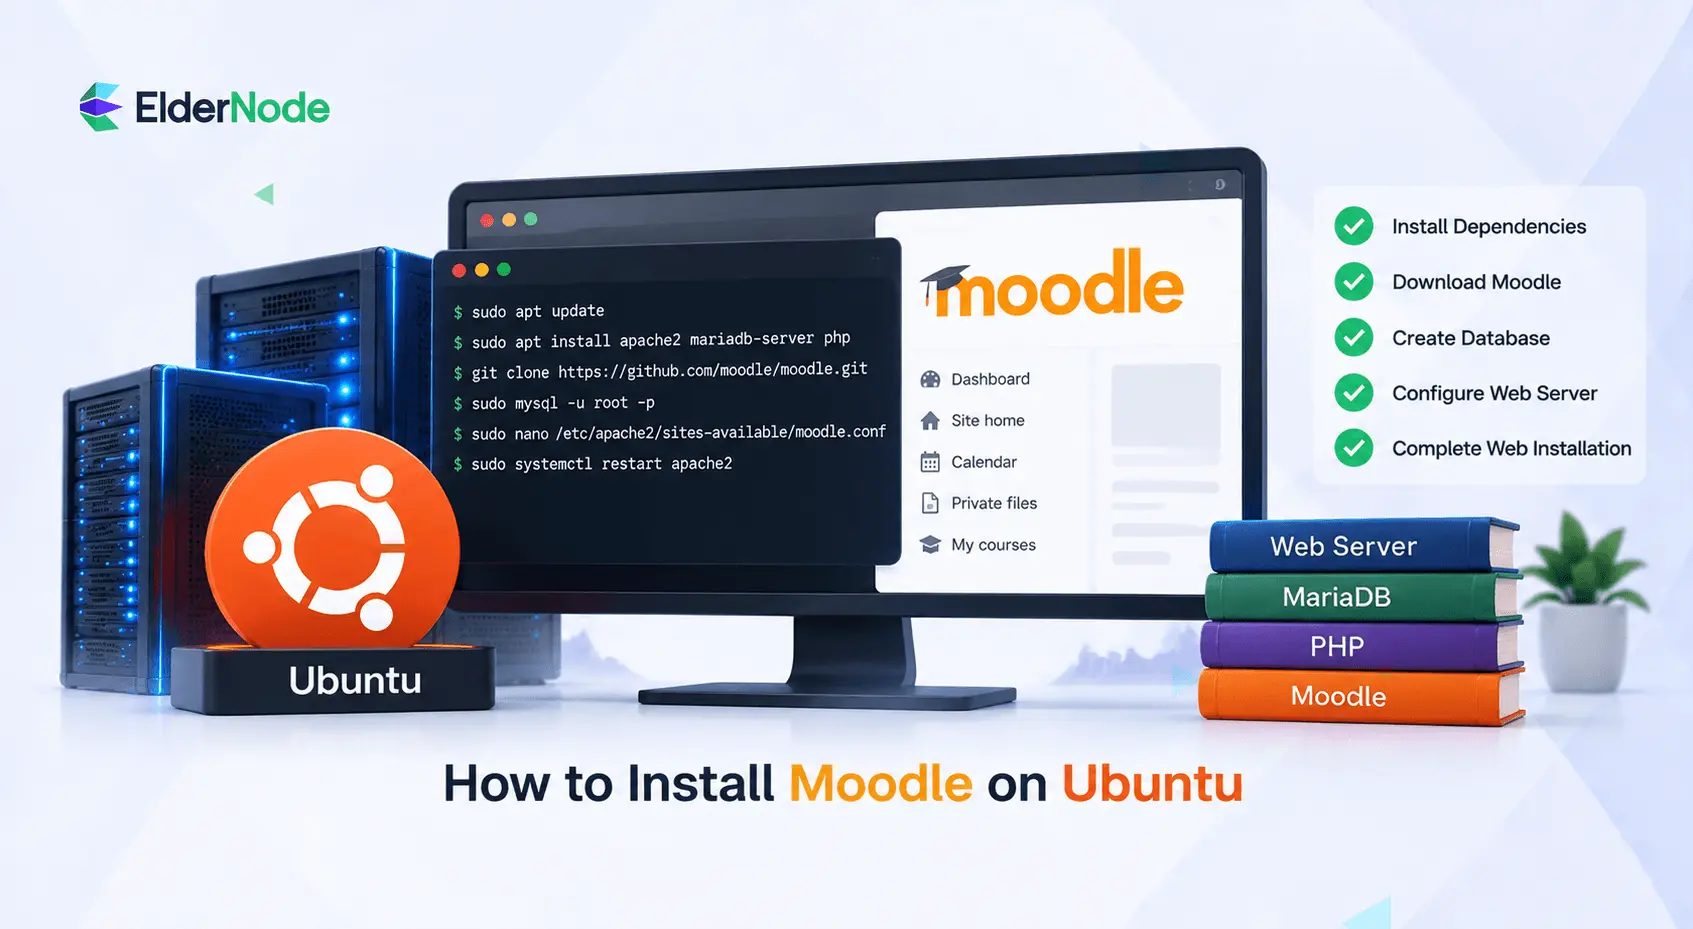



Want to get Moodle running on Ubuntu 24.04? This guide has you covered. We’ll set up your server with a web server, MariaDB, PHP, and Git, then pull down Moodle, create its database, and walk through the web installer. If you’ve ever wondered how to Install Moodle on Ubuntu, you’ll find step-by-step instructions here. At the end, we’ll do a few quick security checks so you’re not leaving anything open. It’s written for a fresh Moodle VPS or cloud server where you already have sudo access, so you can follow along without any surprises.
What to have ready before installing Moodle on Ubuntu?
Not much, really. Grab a fresh Ubuntu server, a user with sudo rights, SSH access, and either a domain name or the server’s public IP. Moodle also needs a web server, a database, and PHP, but we’ll get to those. The good news is that Moodle’s Ubuntu guide is built around Ubuntu 24 and PHP 8.3, and Ubuntu 24.04 LTS already comes with PHP 8.3, so nothing clashes.
Here’s your checklist before starting:
- Ubuntu 24.04 server where you can use sudo
- A domain pointed at the server (I’d recommend it, because HTTPS is so much easier that way)
- SSH access as a regular sudo user, not root
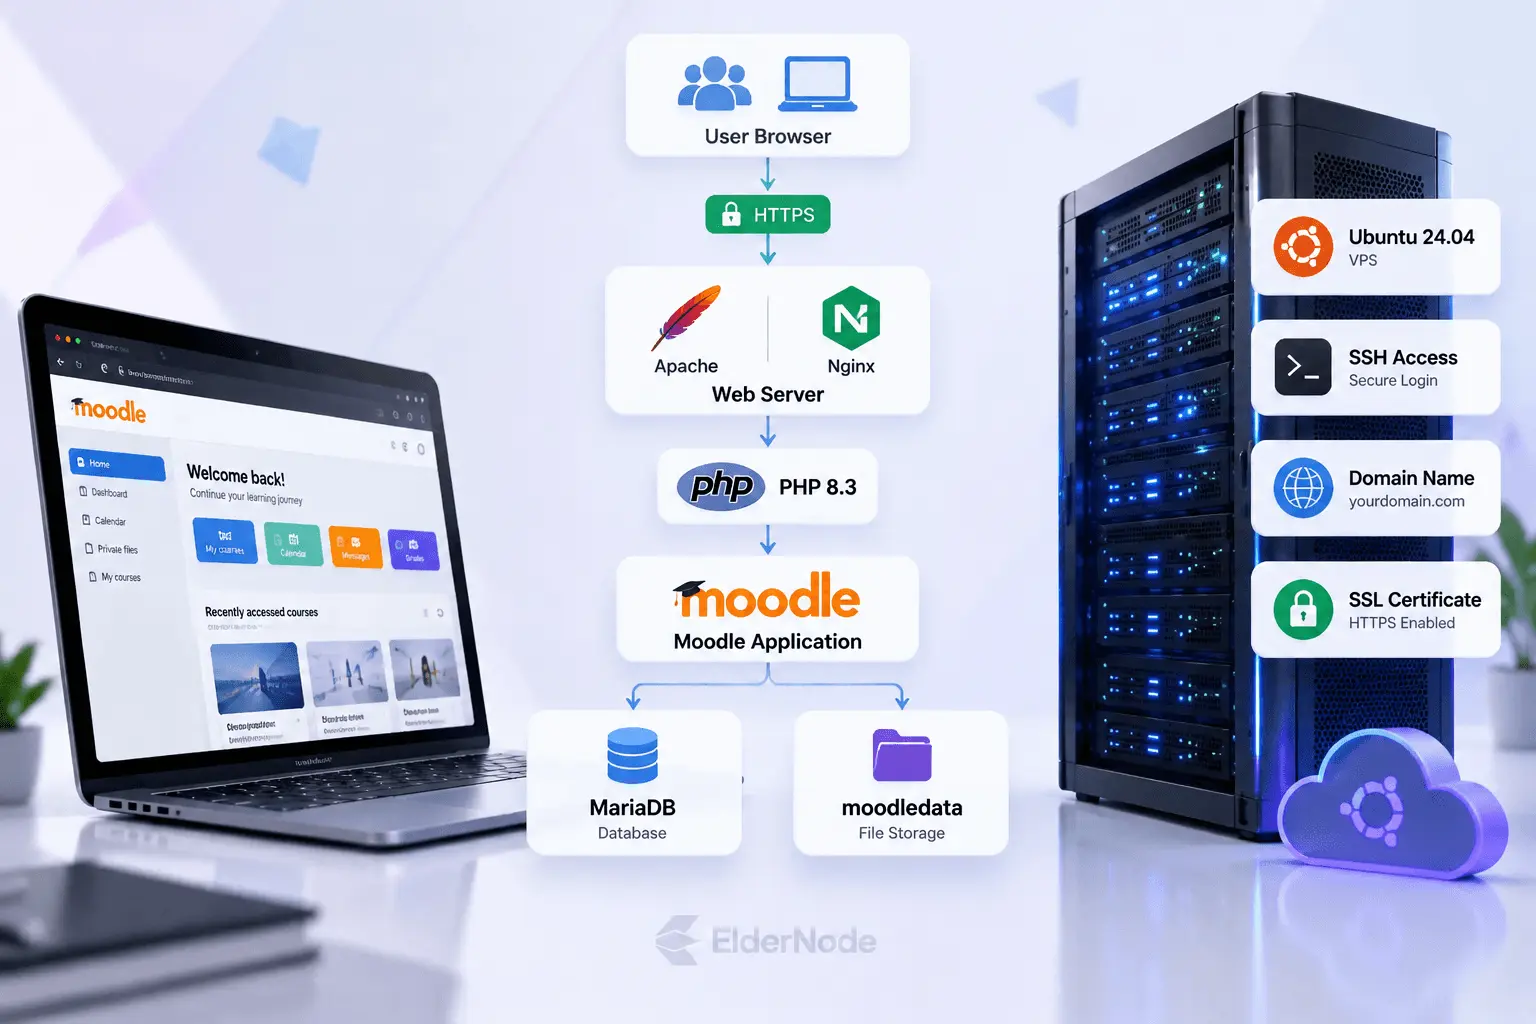
1. Update Ubuntu and install the packages you’ll need
Let’s start by updating your system, so Moodle installs against the latest packages from your Ubuntu repositories. After that, you’ll install the PHP extensions, MariaDB, Git, and Composer, plus a few helper tools Moodle leans on for file handling, spell checking, and scheduled jobs.
First, please update the system.
sudo apt update
sudo apt upgrade -y
Then install PHP and its extensions. Moodle is picky about these, so don’t skip any.
sudo apt install -y php8.3-fpm php8.3-cli php8.3-curl php8.3-zip php8.3-gd php8.3-xml php8.3-intl php8.3-mbstring php8.3-soap php8.3-bcmath php8.3-exif php8.3-ldap php8.3-mysql
sudo apt install -y mariadb-server mariadb-client unzip git composer graphviz aspell
clamav ghostscript ufw
If a package fails to install, just run sudo apt update again and double-check that you’re really on Ubuntu 24.04.
2. Install and configure the web server
Choose one web server: Apache or Nginx. Moodle’s Ubuntu documentation presents both options and warns not to install both for the same site.
For Apache:
sudo apt install -y apache2 libapache2-mod-fcgid sudo a2enmod proxy_fcgi setenvif rewrite sudo systemctl enable --now apache2 php8.3-fpm
For Nginx:
sudo apt install -y nginx sudo systemctl enable --now nginx php8.3-fpm
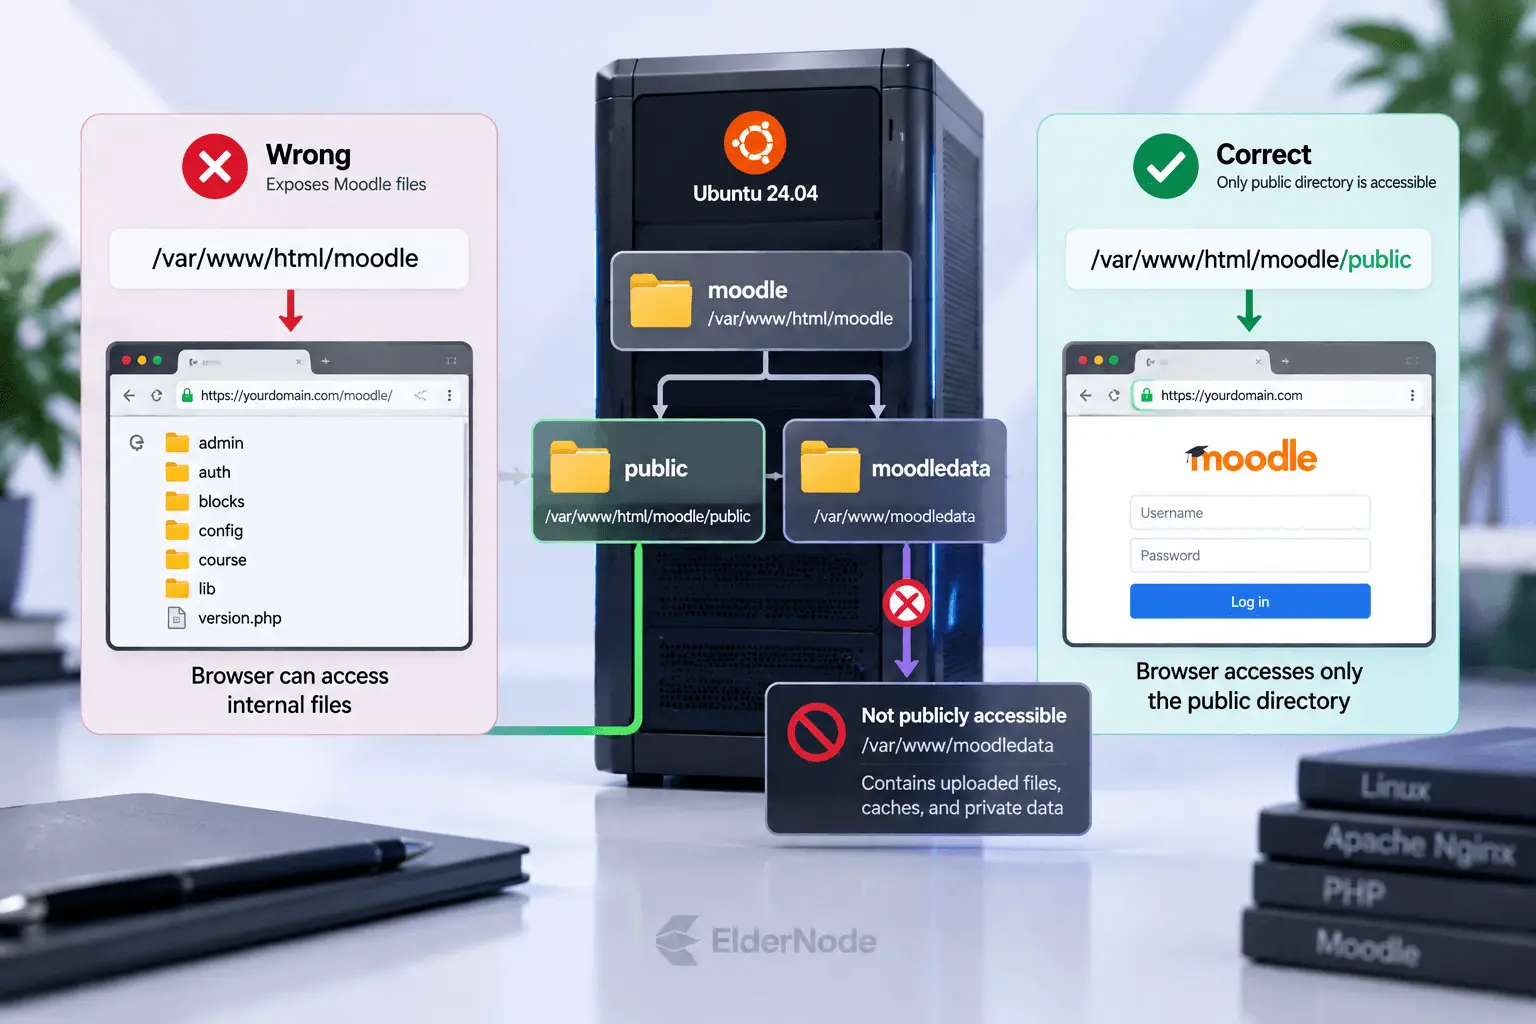
Create a virtual host after you decide where Moodle will live. In this tutorial, the Moodle code path is /var/www/html/moodle, and the public web root is Moodle’s public directory. That separation matters because the browser should not expose internal application files.
3. Tune PHP for Moodle
Set reasonable defaults now, then adjust later based on your course upload policy. Moodle’s Ubuntu guide sets max_input_vars, post_max_size, and upload_max_filesize during installation.
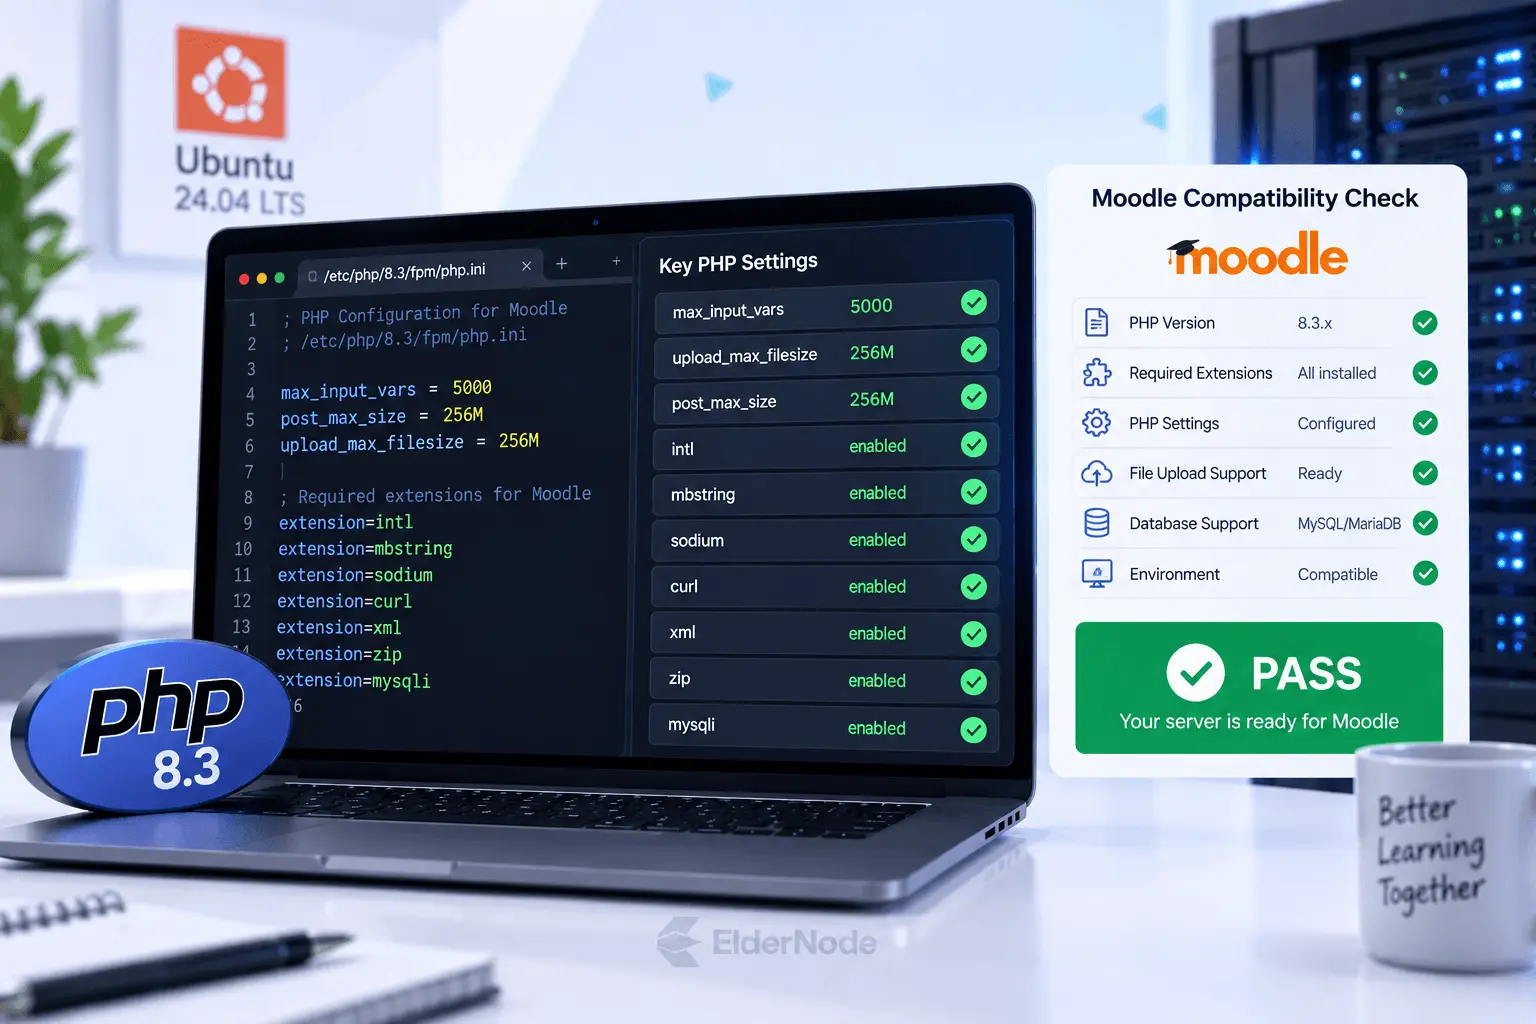
sudo sed -i 's/^;*max_input_vars =.*/max_input_vars = 5000/' /etc/php/8.3/fpm/php.ini sudo sed -i 's/^post_max_size =.*/post_max_size = 256M/' /etc/php/8.3/fpm/php.ini sudo sed -i 's/^upload_max_filesize =.*/upload_max_filesize = 256M/' /etc/php/8.3/fpm/php.ini sudo systemctl reload php8.3-fpm
Repeat equivalent changes in /etc/php/8.3/cli/php.ini if you will run command-line maintenance jobs. If uploads still fail later, check Moodle’s course limits, PHP limits, and the web server’s body-size limits together.
4. Download Moodle with Git
Moodle’s release page lists supported versions; as of September 27, 2026, Moodle 5.2 is the current stable branch, with Moodle 4.5 as the current LTS security branch.
sudo mkdir -p /var/www/html sudo git clone -b v5.2.3 https://github.com/moodle/moodle.git /var/www/html/moodle sudo chown -R www-data:www-data /var/www/html/moodle cd /var/www/html/moodle sudo -u www-data composer install --no-dev --classmap-authoritative
Always verify the latest supported tag before a production Moodle installation because release status changes over time.
5. Set up the Moodle data directory and cron
Moodle needs a separate moodledata folder for uploaded files, caches, sessions, and other generated content. Keep it outside the public web root, otherwise anyone could end up browsing private course files straight from the browser. Moodle also recommends running cron every minute so its scheduled tasks stay on track.
sudo mkdir -p /var/www/moodledata
sudo chown -R www-data:www-data /var/www/moodledata
sudo chmod -R 770 /var/www/moodledata
echo '* * * * * /usr/bin/php /var/www/html/moodle/admin/cli/cron.php >/dev/null' | sudo crontab -u www-data -
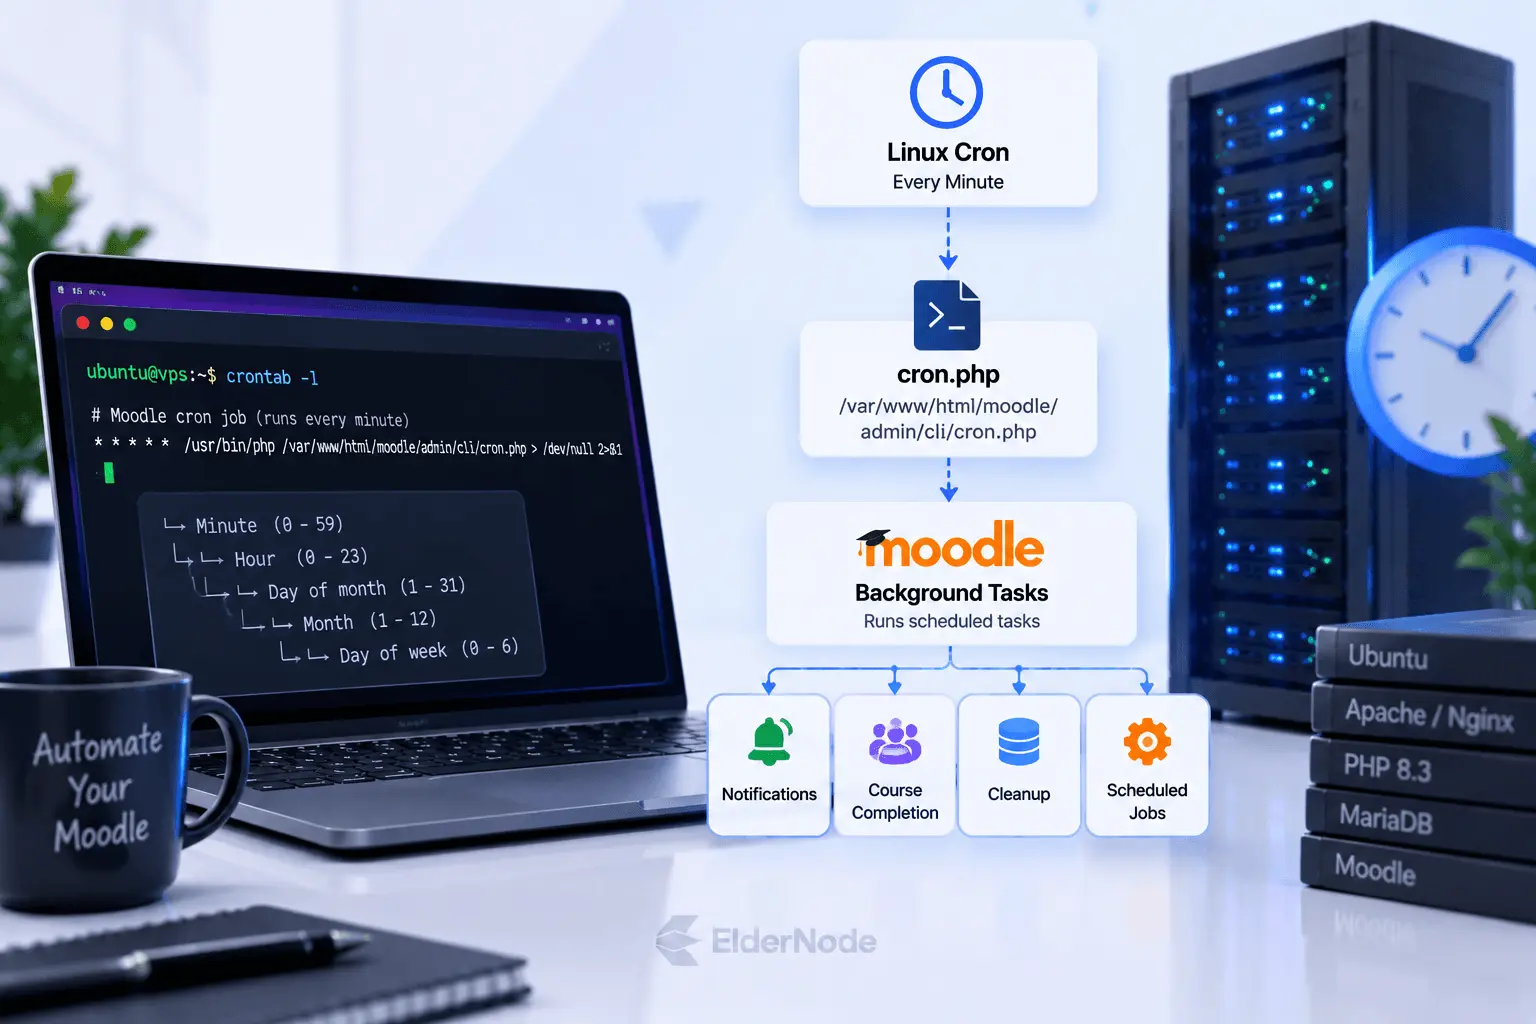
Cron quietly handles things like notifications, course completion checks, and cleanup in the background. So if your pages load fine but activities start acting weird, check that cron is running first. It’s a much likelier culprit than a plugin or theme, and it saves you a lot of needless digging.
6. Create the MariaDB database
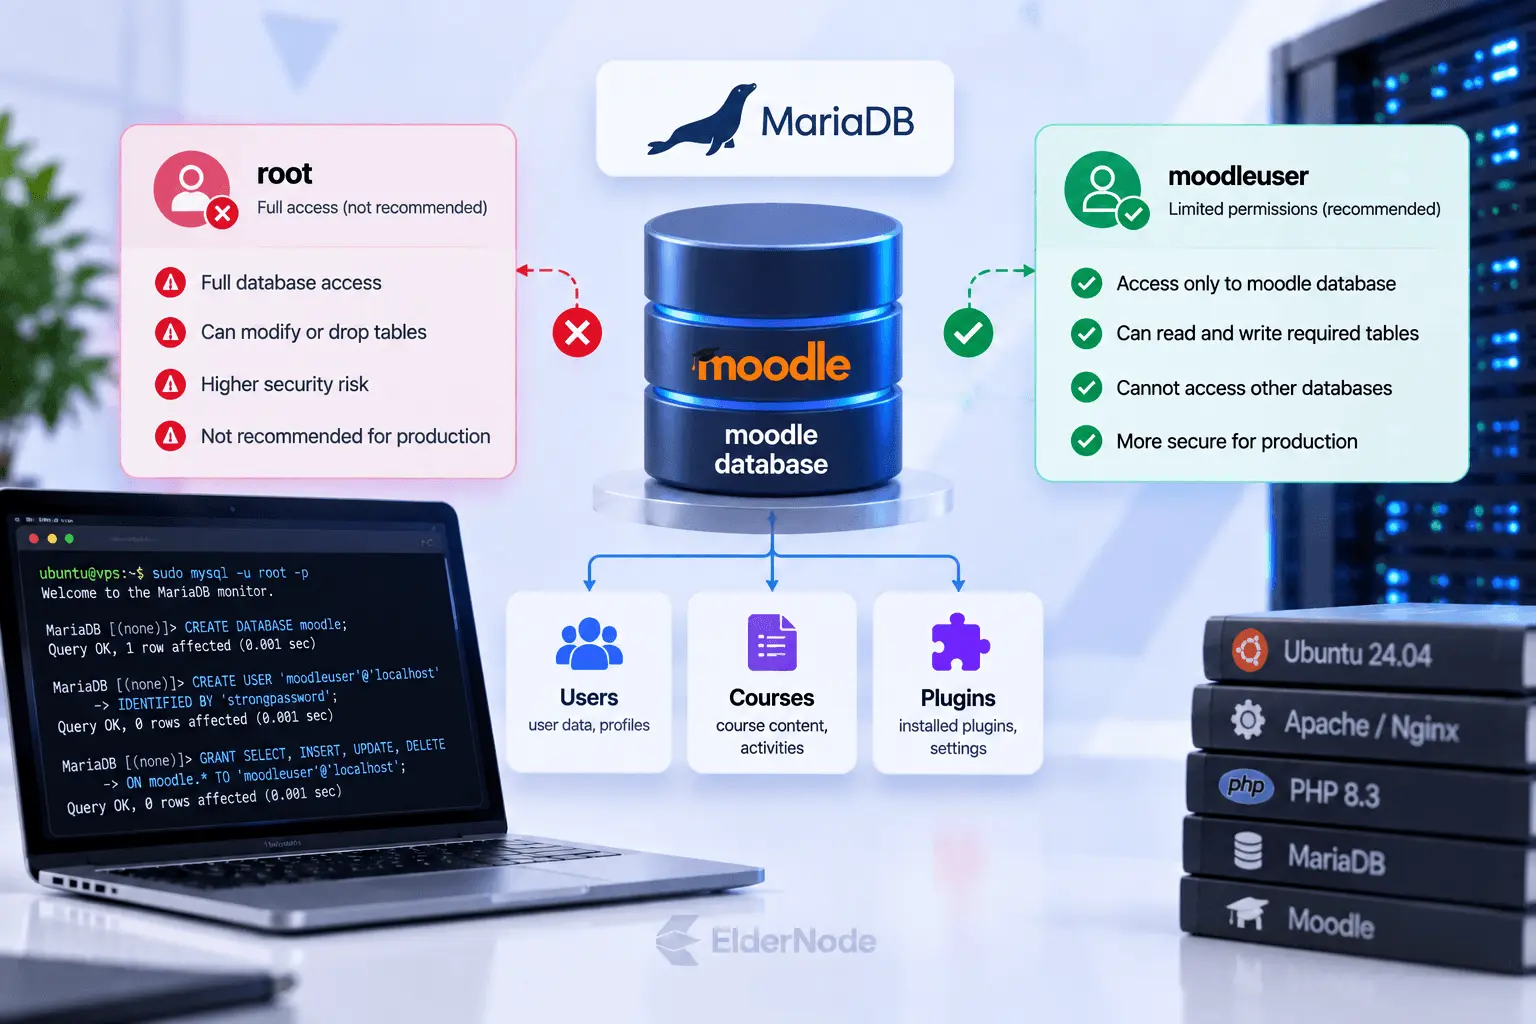
Create a dedicated database and user instead of using the database root account. Moodle’s guide uses utf8mb4 character support and grants the application user the privileges it needs for normal operation.
MYSQL_MOODLEUSER_PASSWORD=$(openssl rand -base64 18)
sudo mysql <<EOF
CREATE DATABASE moodle DEFAULT CHARACTER SET utf8mb4 COLLATE utf8mb4_unicode_ci;
CREATE USER ‘moodleuser’@’localhost’ IDENTIFIED BY ‘$MYSQL_MOODLEUSER_PASSWORD’;
GRANT SELECT, INSERT, UPDATE, DELETE ON moodle.* TO ‘moodleuser’@’localhost’;
GRANT CREATE, CREATE TEMPORARY TABLES, DROP, INDEX, ALTER ON moodle.* TO ‘moodleuser’@’localhost’;
EOF
echo $MYSQL_MOODLEUSER_PASSWORD
Save the generated password securely. You will need it for the command-line installer or browser-based Moodle setup wizard.
7. Run the Moodle installer
Now it’s time to finish the setup. Swap in your own domain for https://learning.example.com, change the site name to whatever you like, and use a real admin email address.
MOODLE_ADMIN_PASSWORD=$(openssl rand -base64 18)
sudo -u www-data /usr/bin/php /var/www/html/moodle/admin/cli/install.php \
--non-interactive \
--lang=en \
--wwwroot="https://learning.example.com" \
--dataroot=/var/www/moodledata \
--dbtype=mariadb \
--dbhost=localhost \
--dbname=moodle \
--dbuser=moodleuser \
--dbpass="$MYSQL_MOODLEUSER_PASSWORD" \
--fullname="My Moodle Site" \
--shortname="Moodle" \
--adminuser=admin \
--adminpass="$MOODLE_ADMIN_PASSWORD" \
[email protected] \
--agree-license
echo $MOODLE_ADMIN_PASSWORD
Once the install finishes, lock the file permissions back down to safe values:
sudo find /var/www/html/moodle -type d | sudo xargs chmod 755
sudo find /var/www/html/moodle -type f | sudo xargs chmod 644
Then open your Moodle site in a browser and log in as admin. Take a minute to swap out anything that’s still a placeholder, especially the admin email, the site name, and any temporary passwords. It’s an easy thing to forget, and you’ll be glad you did it early.
8. Secure the finished Moodle server
Run MariaDB’s hardening script, enable a firewall, and configure HTTPS with Certbot once your domain points to the server. Moodle’s Ubuntu production notes include database hardening, UFW rules, HTTPS conversion, SSH key use, root SSH removal, unattended upgrades, backups, and antivirus configuration.
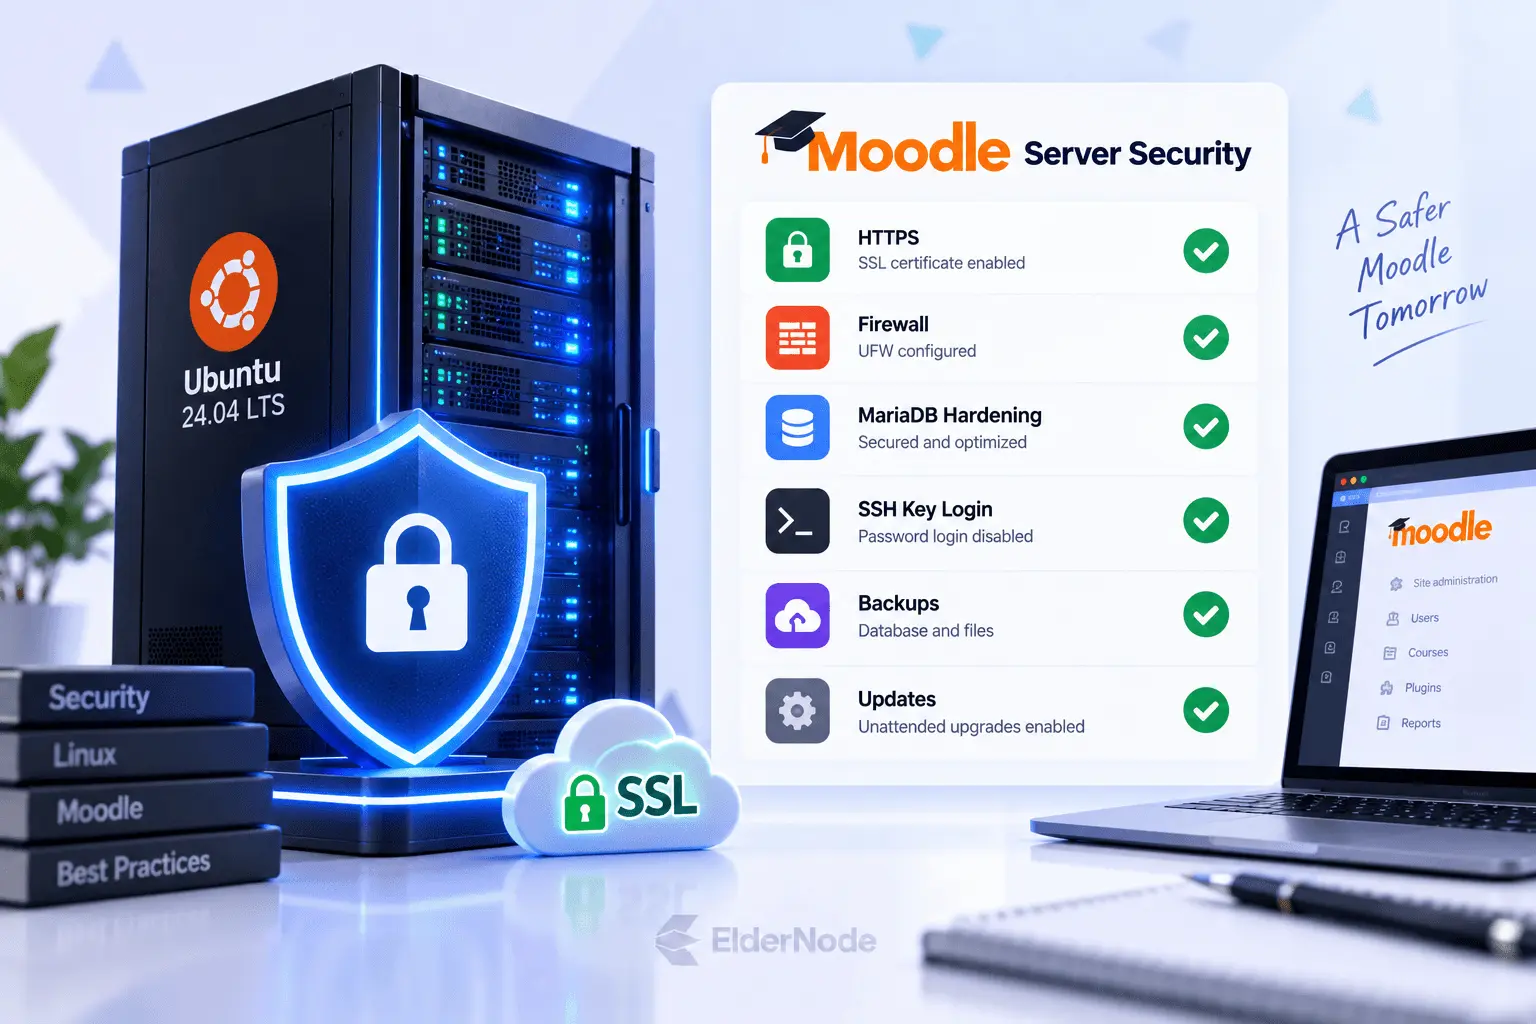
sudo mariadb-secure-installation sudo ufw allow 22/tcp sudo ufw allow 'Apache Full' sudo ufw --force enable
For HTTPS on Apache:
sudo apt install -y certbot python3-certbot-apache sudo certbot --apache
For HTTPS on Nginx:
sudo apt install -y certbot python3-certbot-nginx sudo certbot --nginx
What should you check after the Moodle installation?
Once the install is done, take a few minutes to make sure everything actually works. Open the homepage over HTTPS, check that the admin dashboard isn’t flagging any critical server issues, confirm cron is running every minute, and try uploading a file in a test course. After that, set up a backup plan for both the database and moodledata. If you lose either one, getting your courses back gets really hard.
Here’s a quick checklist to run through before you invite anyone in:
- Replace the temporary admin details and keep your credentials somewhere safe
- Make sure Moodle shows the right HTTPS site URL
- Test creating a course, enrolling a user, uploading a file, and sending an email
- Turn on unattended security updates in Ubuntu if that suits your setup
- Schedule regular backups for the database and your files
- Look over any plugin before you add it to a production server