Special Offer


Welcome to this quick and clever guide on how to obtain a Free USA VPS while utilizing Eldernode. In this guide, we will walk you through the step-by-step process, ensuring you can take advantage of Eldernode’s excellent services without any cost. Let’s dive in!
10 Step to Get Free USA VPS
Step 1: Visit Eldernode’s Website
To begin, open your favorite web browser and navigate to the Eldernode website by typing “eldernode.com” in the address bar. Press enter to access their homepage.
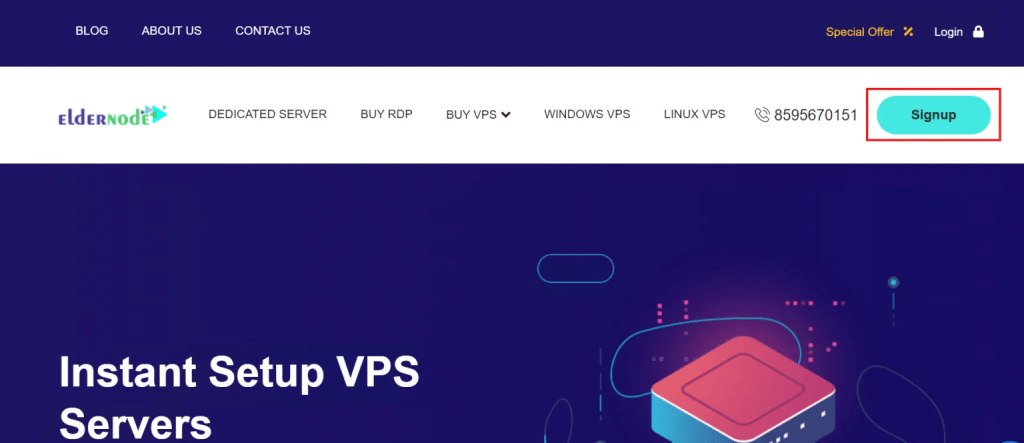
Step 2: Creating an Account
Once on the Eldernode website, locate and click on the “Sign Up” or “Register” button. Fill in all the necessary details, including your email address and desired password. Verify your email using the link sent to your inbox.
Step 3: Navigating to the VPS Section
After successfully creating your Eldernode account, log in using your credentials. On the homepage, navigate to the “Services” section and click on “VPS” from the dropdown menu.
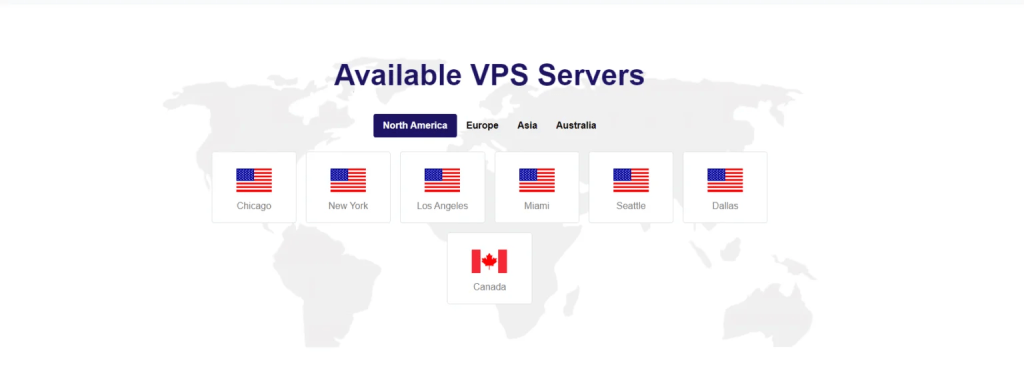
Step 4: Choosing a Location
On the VPS page, you will notice a list of available locations. Select “USA” from the provided options to narrow down your search.
Step 5: Selecting the Suitable Plan
You will now see a list of different VPS plans available in the USA. Look for the “Free Plan” and click on the “Order” button associated with it.
Or send a ticket so that the free usa vps will be delivered.
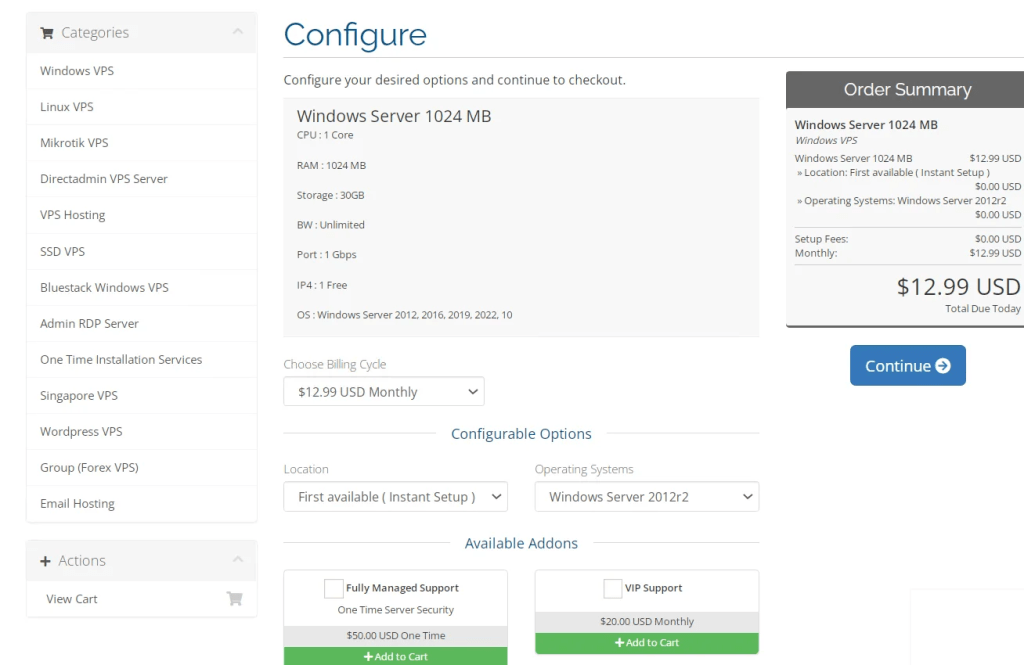
Step 6: Configuring the VPS
Before confirming your order, you may need to customize your VPS specifications. Eldernode typically provides essential features with their free VPS plan. Ensure you have selected the desired options, such as the server’s memory, storage, and operating system.
Step 7: Free VPS Order Confirmation
After configuring your VPS, double-check the details you have provided, ensuring accuracy. Once confirmed, click on the “Continue” or “Order” button to proceed.
Step 8: Completing the Order
Follow the instructions on the checkout page to finalize the order process. Eldernode may require additional verification steps to prevent abuse. Complete any necessary verification and proceed with the checkout process.
Step 9: Accessing Your Free USA VPS
Once your order has been processed and verified by Eldernode, you will receive an email containing your VPS credentials, including the IP address, username, and password. Note down this information as it will be crucial for accessing your free VPS.
Step 10: Utilizing Your Free USA VPS
To connect to your newly obtained VPS, you will require remote desktop software or SSH client, such as PuTTY. Access your desired software and enter the VPS IP address, username, and password provided by Eldernode. Hit enter or click connect to establish a connection.
Conclusion
Congratulations! By following this clever guide, you have successfully obtained a Free USA VPS through Eldernode. Now, you can utilize this VPS for various purposes like web hosting, running applications, or even testing new software. Remember to read Eldernode’s terms and conditions to fully understand the limitations of their free plan. Enjoy your newfound resource, and make the most out of your free VPS experience!
[yasr_visitor_votes size=”medium”]