How to Install Django on Ubuntu 20.04 [Step-by-Step Guide]
![How to Install Django on Ubuntu 20.04 [Step-by-Step Guide]](https://eldernode.com/wp-content/uploads/2021/02/How-to-install-Django-on-Ubuntu-20.04.webp)


When you’re getting ready to put a website online, there are a couple of things you can’t skip like making sure your project talks to a database and that your development environment is set up correctly. In this walkthrough, I’ll show you how to install Django on Ubuntu 20.04 and get the basics in place so you can start building something real without running into setup headaches.
Introduction
Honestly, the first time I tried Django I was surprised at how much busywork it cut out. Normally when you start a web project you spend hours wiring up the same things databases, login systems, security bits. With Django, most of that stuff is already there. You just drop it in and get moving.
It’s Python-based, free, and open source, so you don’t need a license or anything fancy. I’ve spun it up on little side projects just to test ideas, and I’ve also used it for apps that needed to handle real users. What I like most is that the pieces auth, database tools, security fit together without me wrestling with configs all night. Still, it’s not rigid; you can tweak it when you need to. That’s probably why so many devs stick with Django, especially when they’re deploying on a Linux box like Ubuntu 20.04.
Prerequisites
The tutorial may be more useful if you know:
1- Be careful to execute commands with root access in the user interface, you must use the Sudo command before all commands.
2- Python 3 set up with a virtual programming environment
Also, you can see more information at Initial server setup on Ubuntu 20.04
Step 1 – Install Django with pip in a Virtual Environment
The easiest way to work with Django on Ubuntu 20.04 is inside a virtual environment. This keeps your project separate from the rest of the system and avoids version conflicts.
Start by making a folder where you’ll keep your projects. Call it whatever you want here I’ll use django-apps:
mkdir django-appscd django-appsCreate your virtual environment inside the django-apps directory. Again you need to choose a suitable name. (instead of env).
virtualenv env
Active the environment with entering the following command:
. env/bin/activate
While you change the prefix to (env), it will be active, and depending on what directory you are in, the result would be as below:
(env) noodi@ubuntu:$
Install the Django package using pip, in the environment. It helps you to create and run Django applications.
pip install django
After installing, verify your Django installation by running a version check:
django-admin --version
Step 2– Adjusting Firewall Settings
You can open the port with the following command for the UFW firewall:
sudo ufw allow 8000
Step 3- Starting the Project
In this part, you can generate an application called django-admin. Run the following command to create the project directory structure.
django-admin startproject testsite
Navigate to the testsite directory.
cd testsite
Then, you would view manage.py script by running as below.
less manage.py
Press q to quit viewing the file after finishing reading the script.
To view the other files, navigate to the testsite directory.
cd testsite/
To list the contents of the directory, enter the following command.
ls
Then, you will see 4 files.
__init__.py is the entry point for your Python project.
asgi.py is a good successor of WSGI. Which is about the configuration of the optional deployment to the Asynchronous Server Gateway Interface.
settings.py lets Django know which settings are available and describes the configuration of your Django installation.
urls.py contains a urlpatterns list, that routes and maps URLs to their views.
wsgi.py contains the configuration for the Web Server Gateway Interface, which provides a standard for synchronous Python apps.
Step 4– Configuring Django
Now you can view the website on a designated host after starting the server by entering the runserver command.
We’ll need to add your server IP address to the list of ALLOWED_HOSTS in the settings.py file located ~/test_django_app/testsite/testsite/
Also, you can use your considered text editor to add the IP address. If you are using nano, run the command below.
nano ~/django-apps/testsite/testsite/settings.py
If you want to change and exit nano, hold down the CTRL+X keys and then press the y key.
Finally, you can create an administrative user by using createsuperuser command.
python manage.py createsuperuser
you will be asked to enter a username, an email address, and a password for your user.
Step 5– Accessing the Django Web App
Be sure to navigate back to the directory where manage.py is located, when the configuration is completed.
cd ~/django-apps/testsite
To replace your server-ip text with the IP of your server, run the following command.
python manage.py runserver 0.0.0.0:8000
Then, navigate to the following link to view what your skeleton website looks like, and replace the highlighted text with your server’s actual IP:
http://your-server-ip:8000/
You would see the page below as a result.
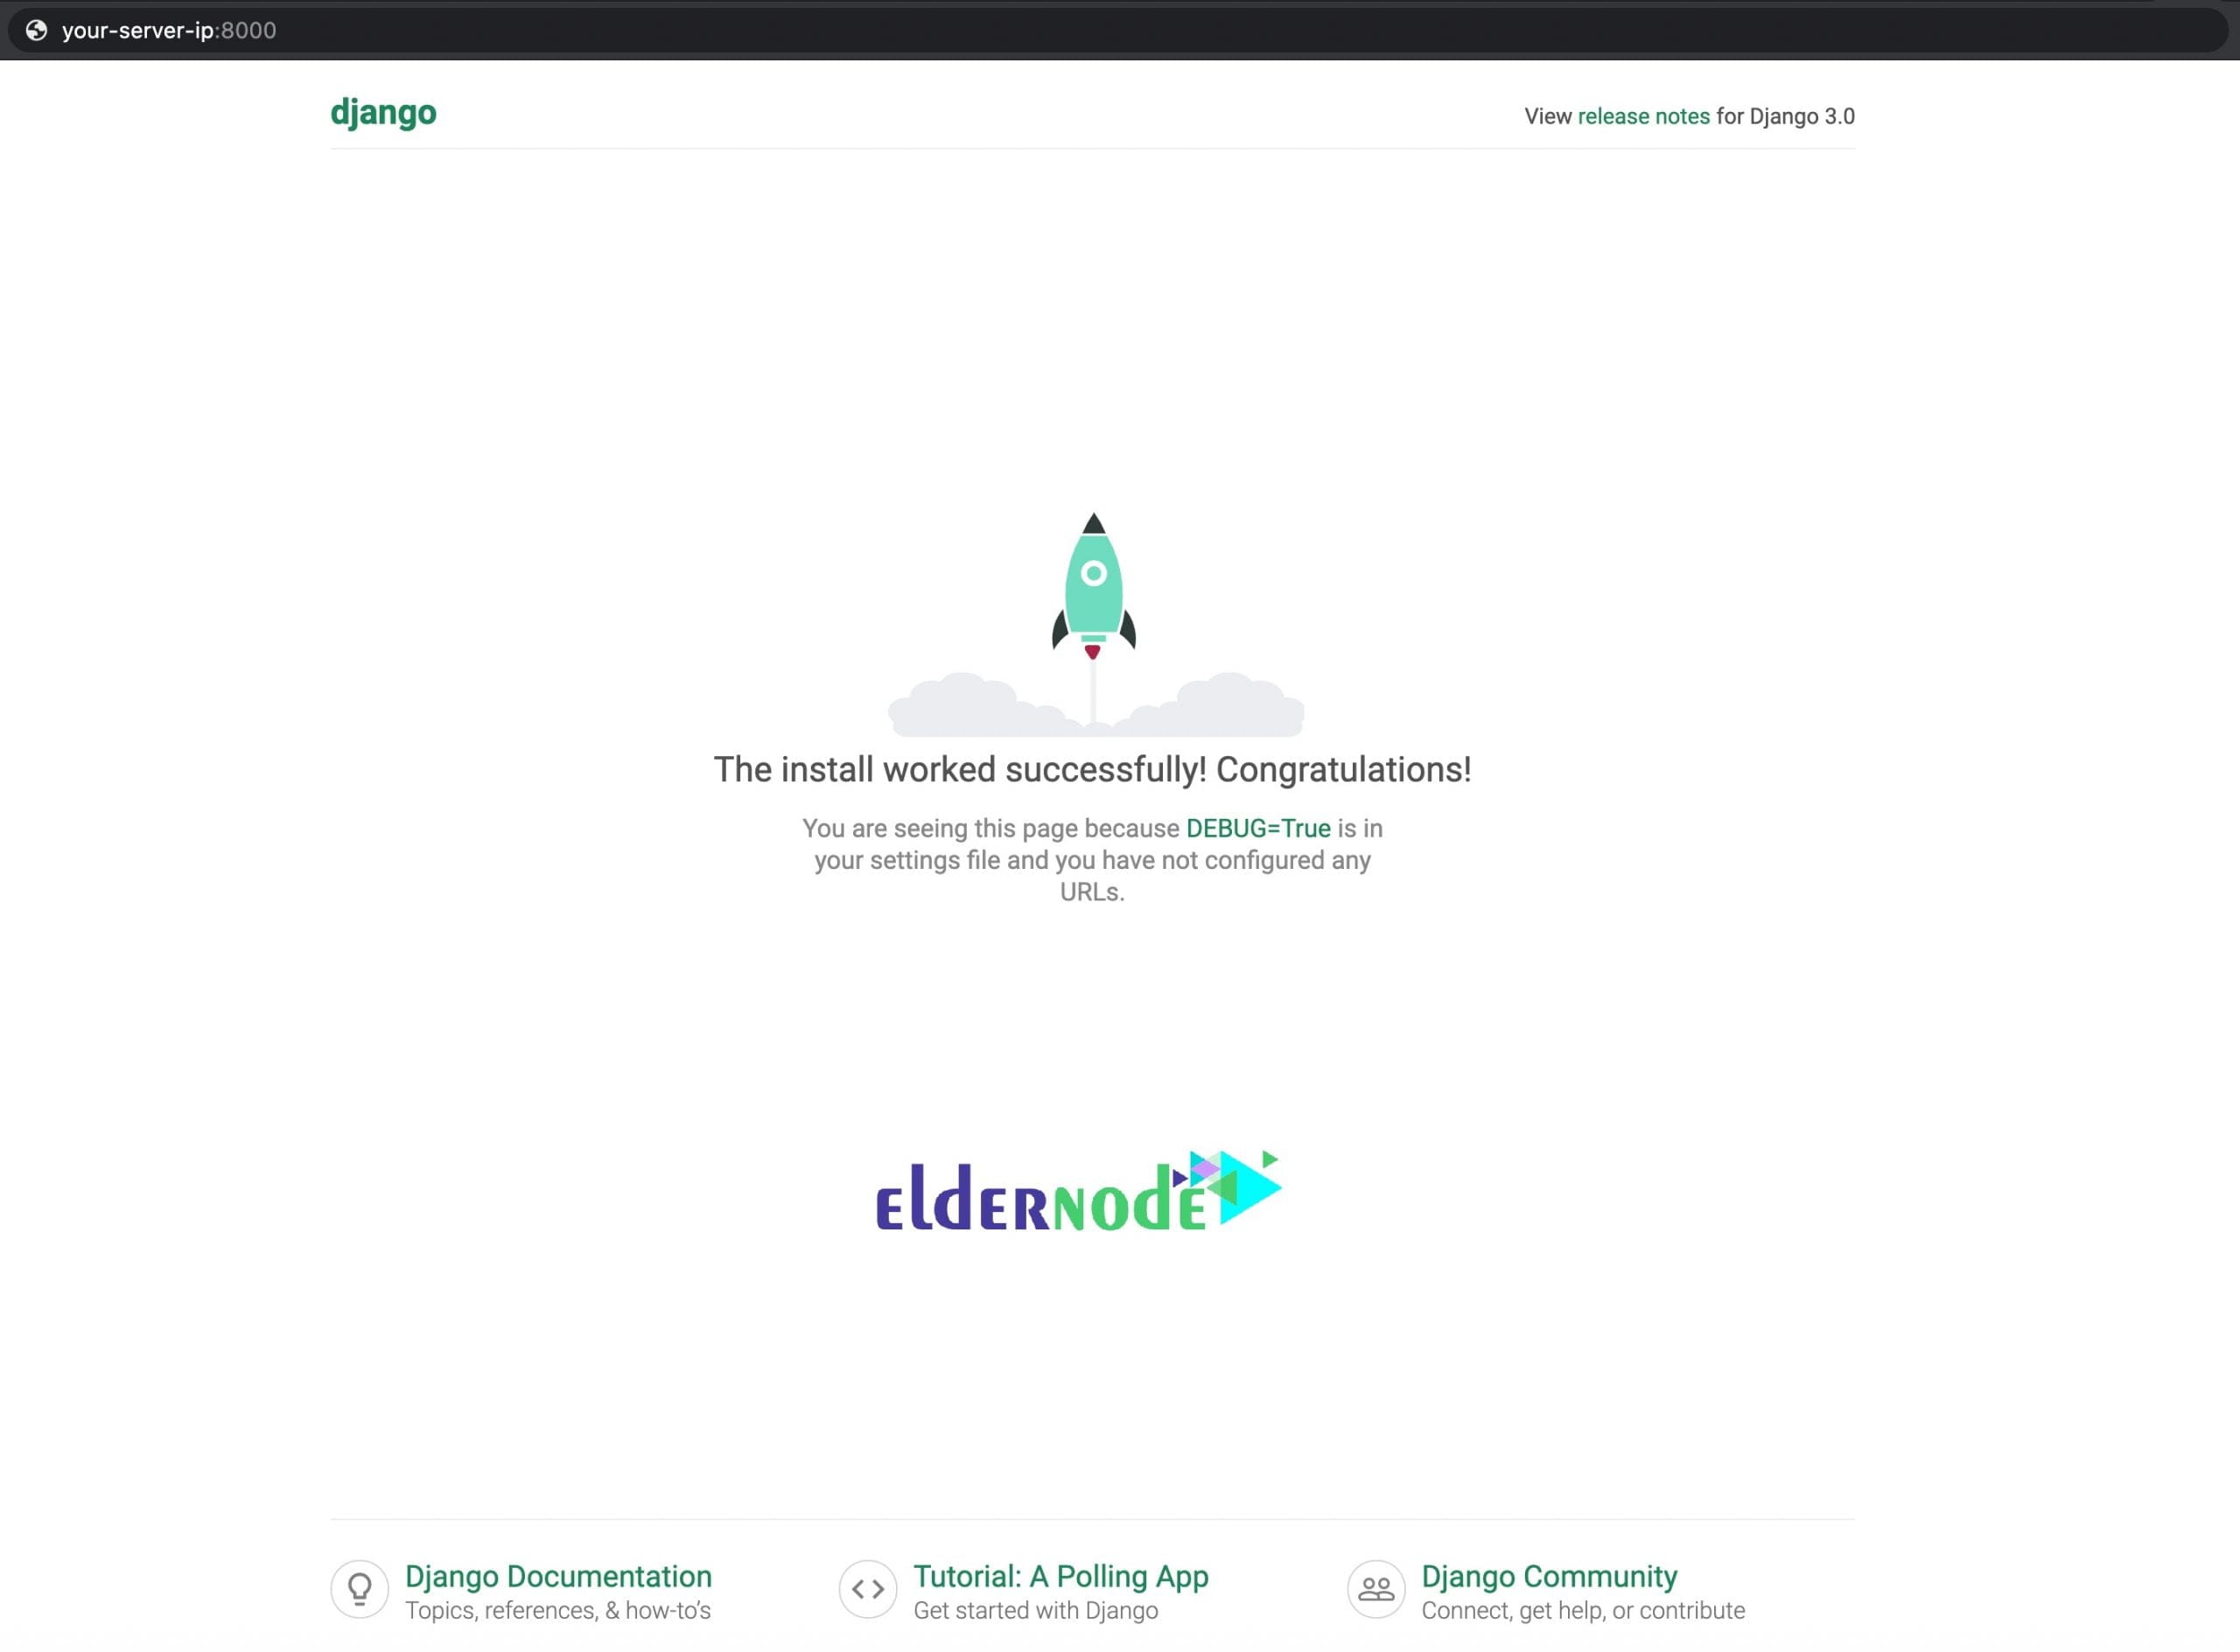
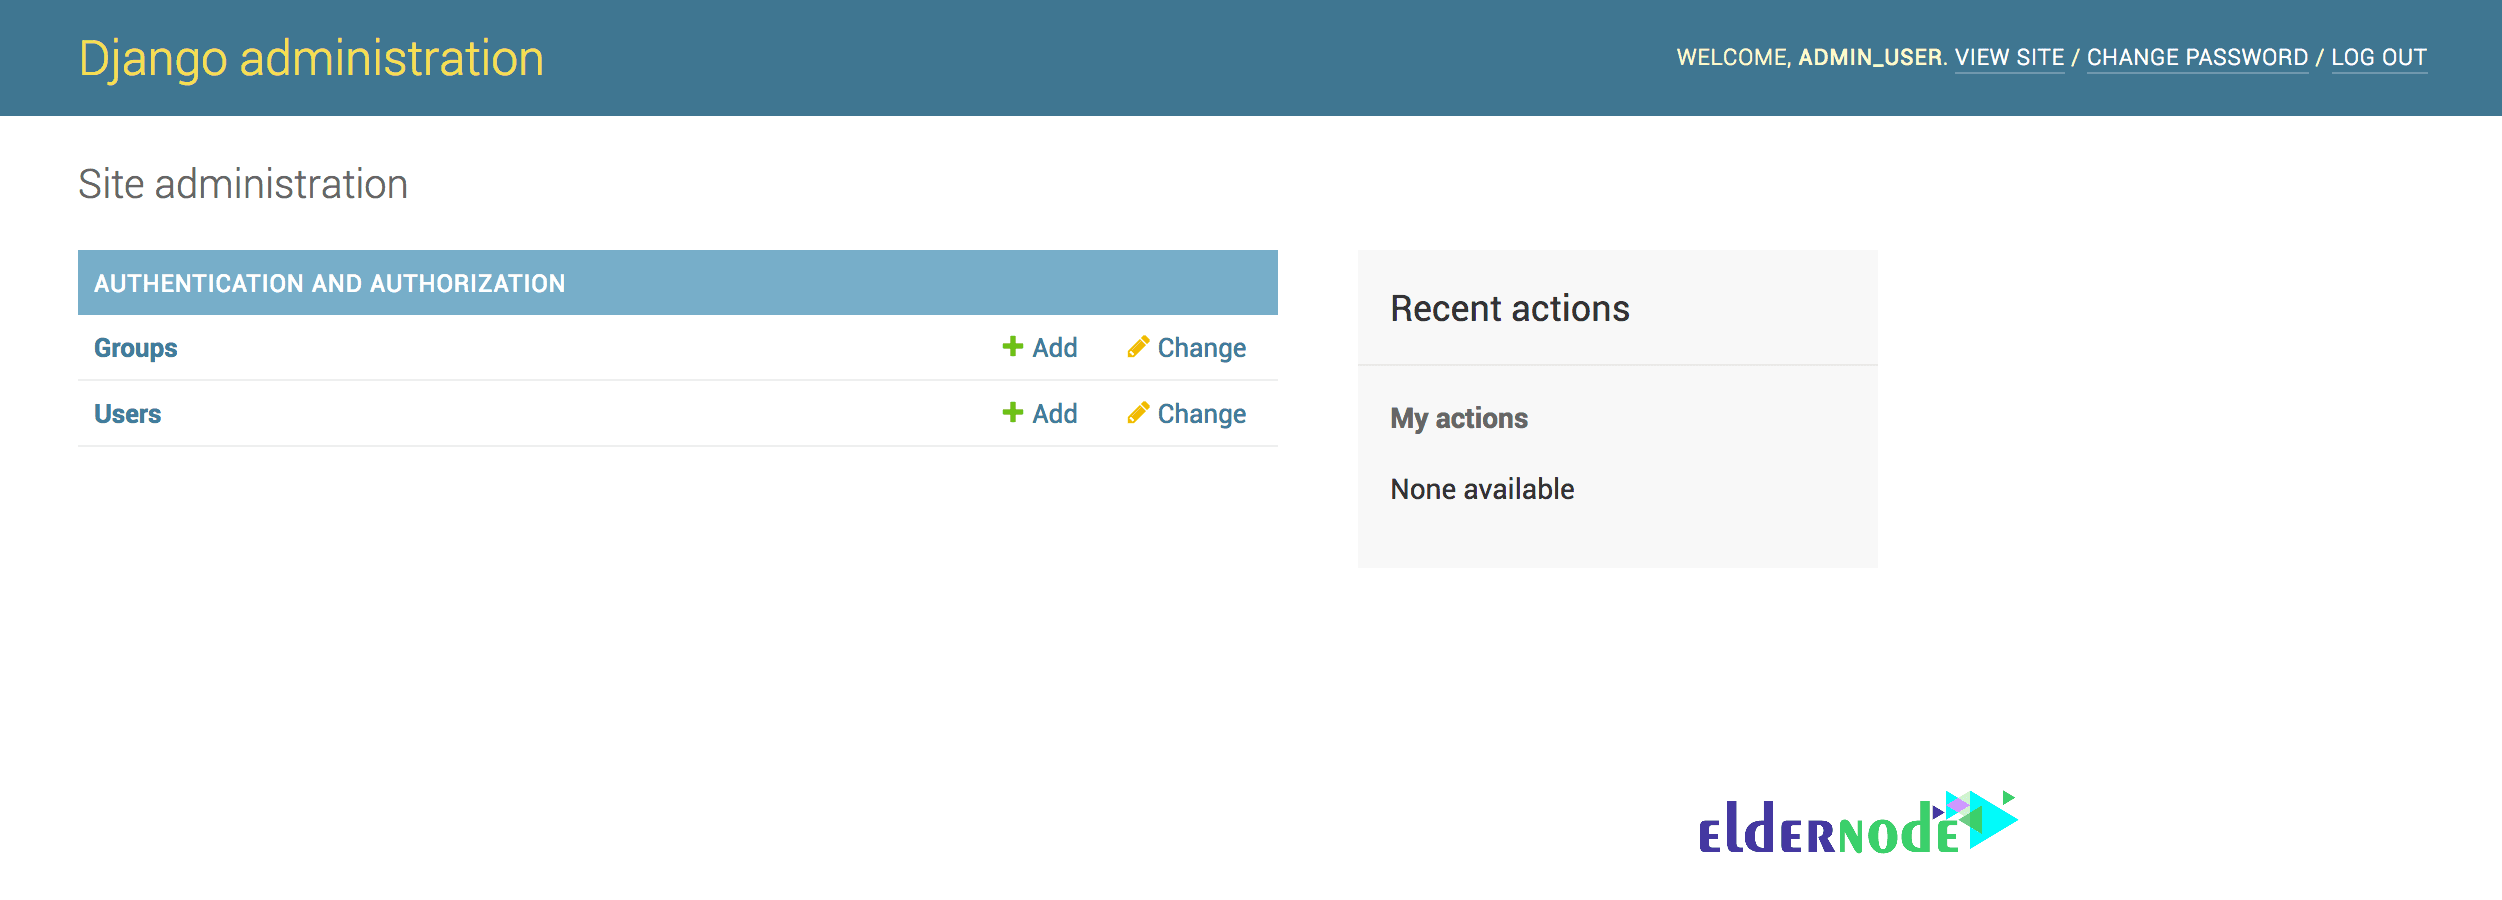
It shows that Django has been properly installed and your test project is working correctly. Also, you can add /admin/ to the end of your URL to access the admin interface.
http://your_server_ip:8000/admin/
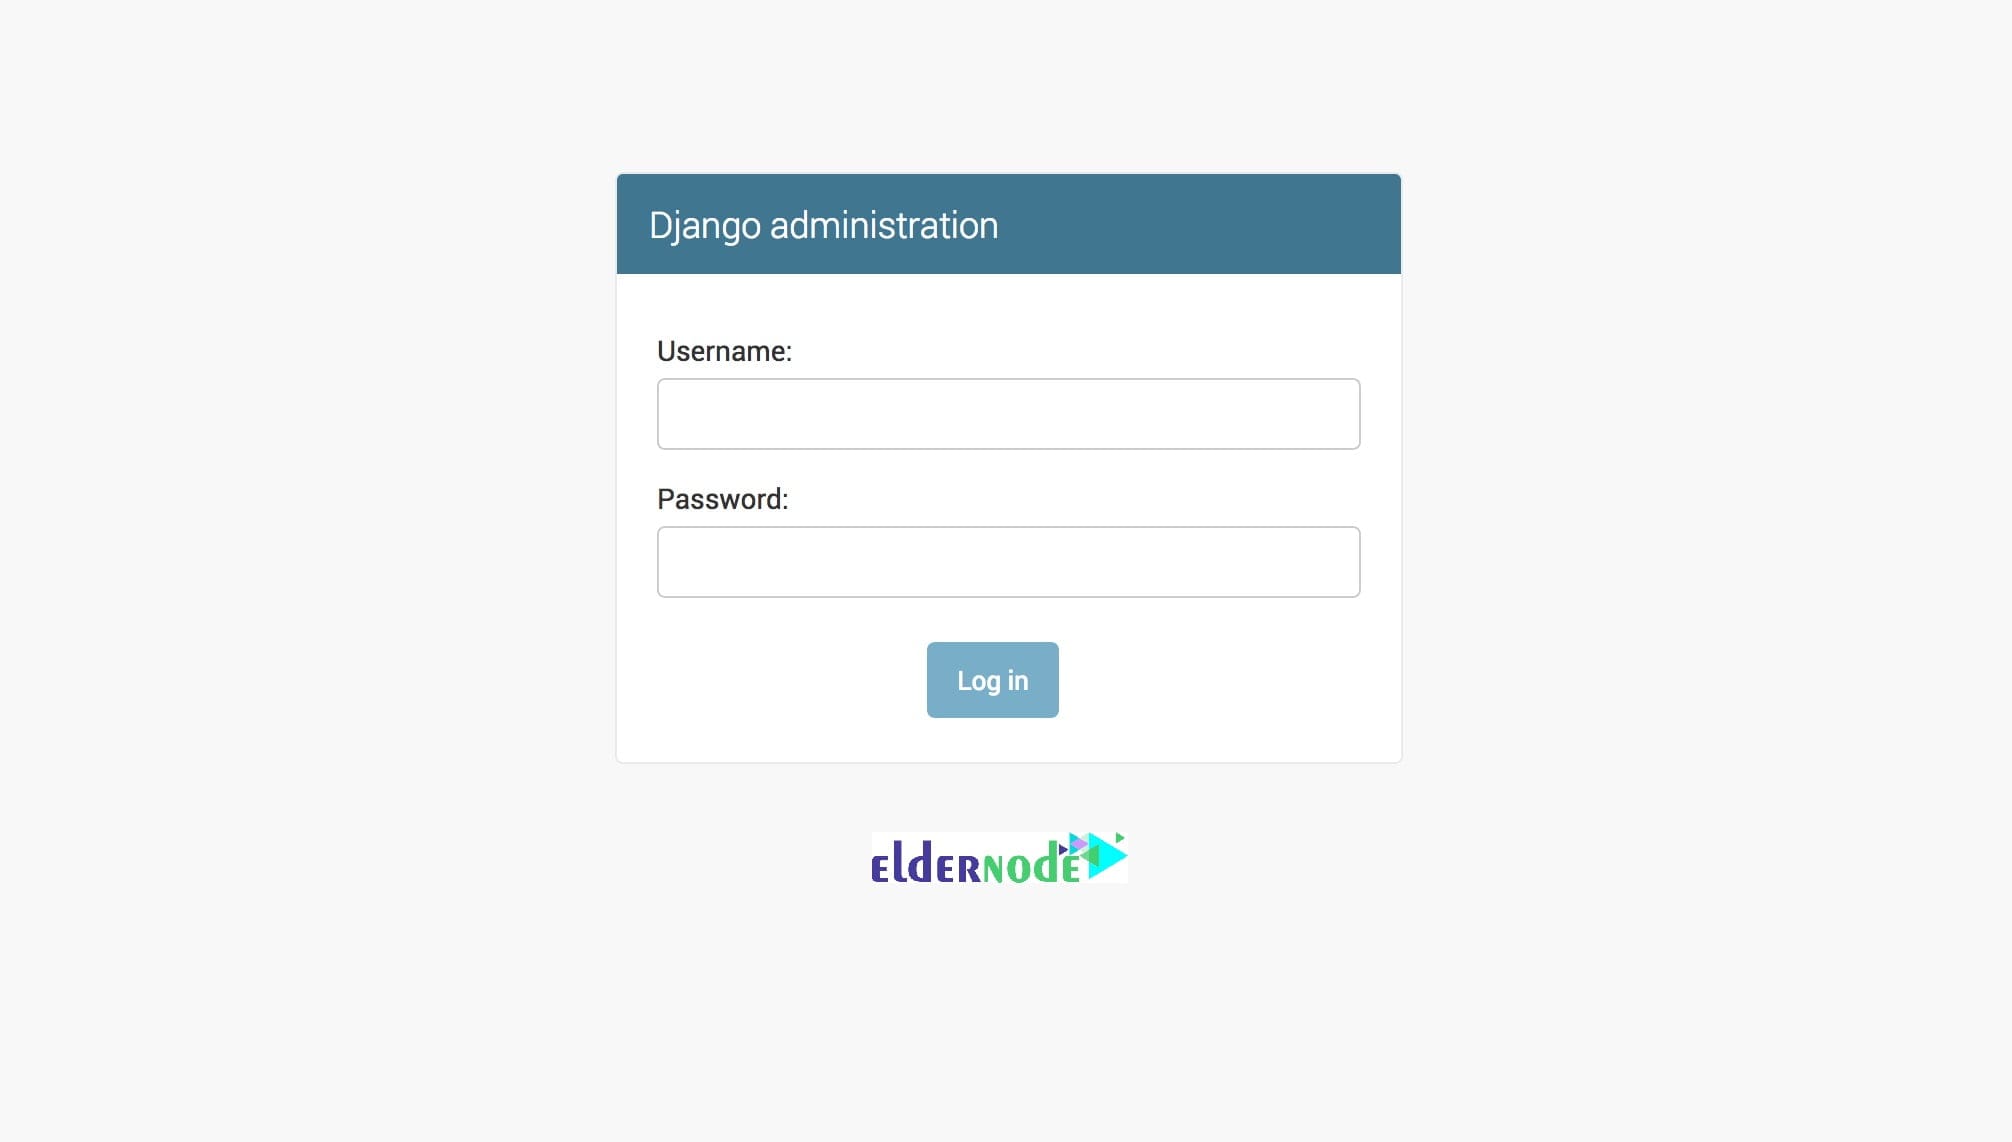
You will have access to the main admin section of the site if you enter the admin username and password that you just created.
To return to your programming environment and testing your app, press CTL + C to stop the runserver command.
To leave your Python environment, run the deactivate command.
deactivate
If you deactivate the programming environment, it will put you back to the terminal command prompt.
Conclusion
You’re all set Django is now running on Ubuntu 20.04. If something didn’t click or an error popped up, don’t stress; it happens more often than you’d think. Just drop a note in the comments or swing by our Q&A, and you’ll usually find a fix pretty quickly.
If you want to keep going, we’ve got more step-by-step guides on Linux, Django, and VPS setups that can help you level up your projects.