Special Offer
 How to Install Flipper app on Ubuntu


Debugging mobile apps can be a real headache if you don’t have the right tools. If you want to install Flipper app on Ubuntu, the best things you can use is Meta’s Flipper. It lets you see what’s happening behind the scenes, from network requests and crash logs to the data stored in local databases.
If you want to get Flipper running on your system, it’s actually pretty simple. Just a few commands in the terminal, and you’re done, then you can jump straight into debugging without wasting time. In other words, the process to install Flipper app on Ubuntu is very user-friendly for Linux developers.
Flipper Requirements for Linux Developers
Before you fire up Flipper, there are just a couple of things you want to have in place. Nothing fancy, don’t worry.
ADB (Android Debug Bridge)
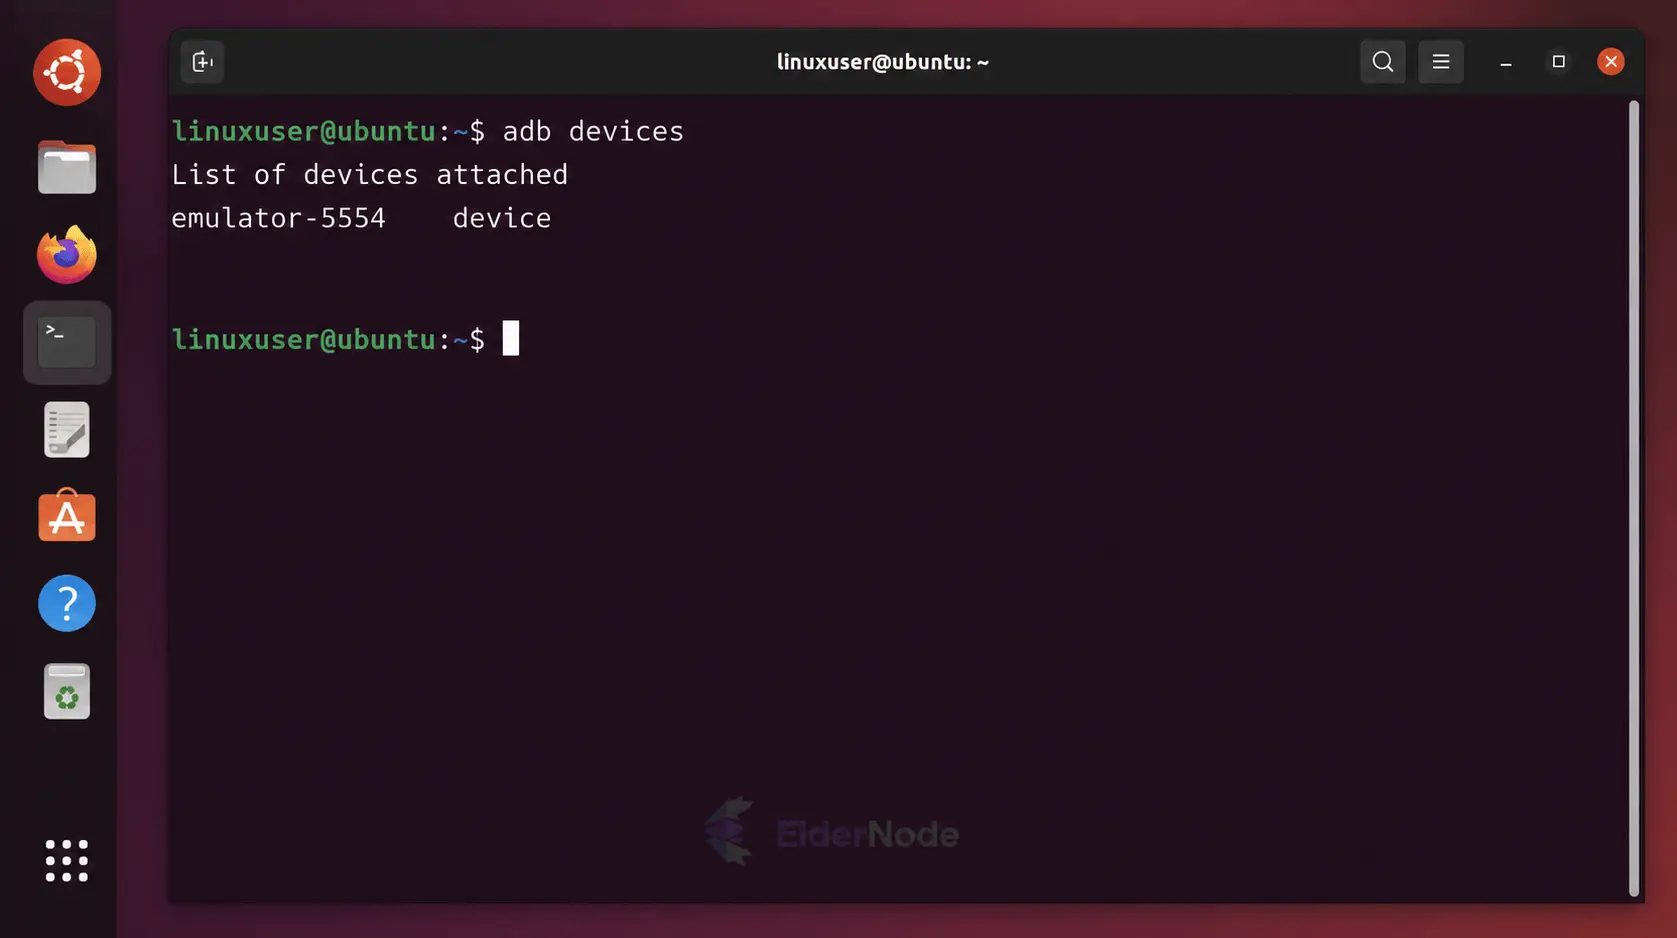
If you want to work with Android devices or emulators, ADB needs to be installed. It’s what Flipper uses to actually talk to your device. Easy fix:
sudo apt install adb
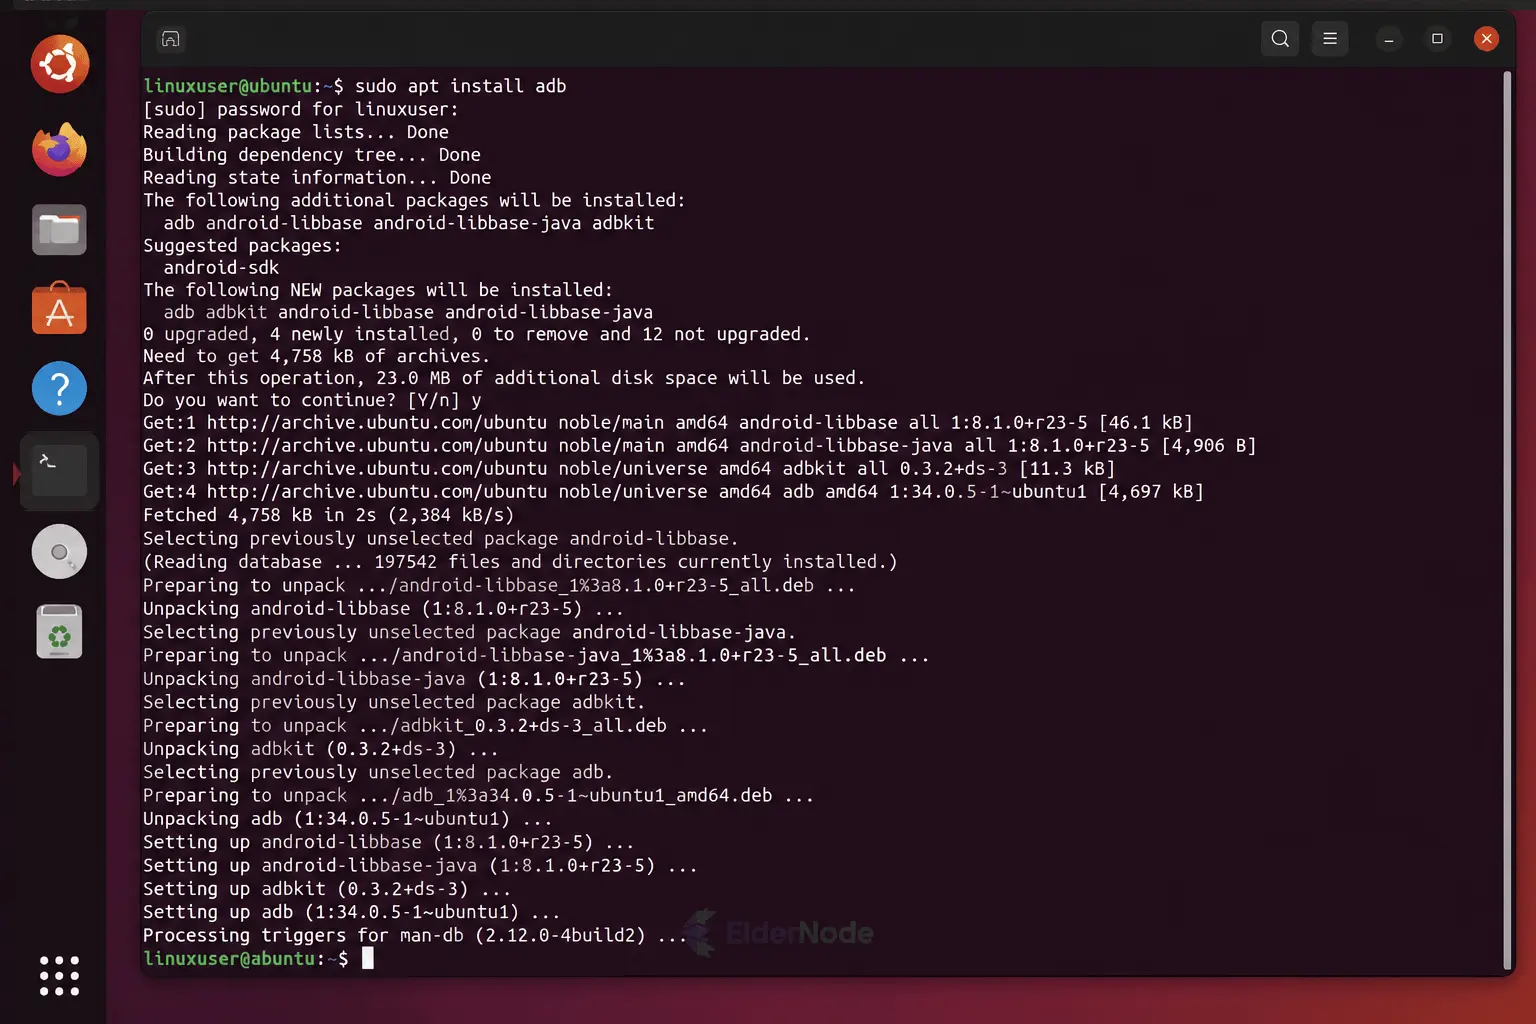
After that, Flipper can see your phone or emulator without any fuss.
Watchman
Not a must for everyone, but if you’re doing React Native stuff, Watchman is super handy. It keeps an eye on your files so Flipper knows when things change. Whether you install it from a repository or compile it yourself depends on your Linux distribution.
And that’s pretty much it! Once these are ready, you’re good to go and can start installing Flipper. if you need to install Flipper app on Ubuntu, just follow the above requirements and steps for an easy setup.
Downloading and Setting Up Flipper
There isn’t a .deb for Flipper, so the AppImage is the way to go. The Linux version of Flipper is distributed as an AppImage inside a ZIP archive. For beginners, it’s important to remember that you have to install Flipper app on Ubuntu using AppImage rather than traditional installers.
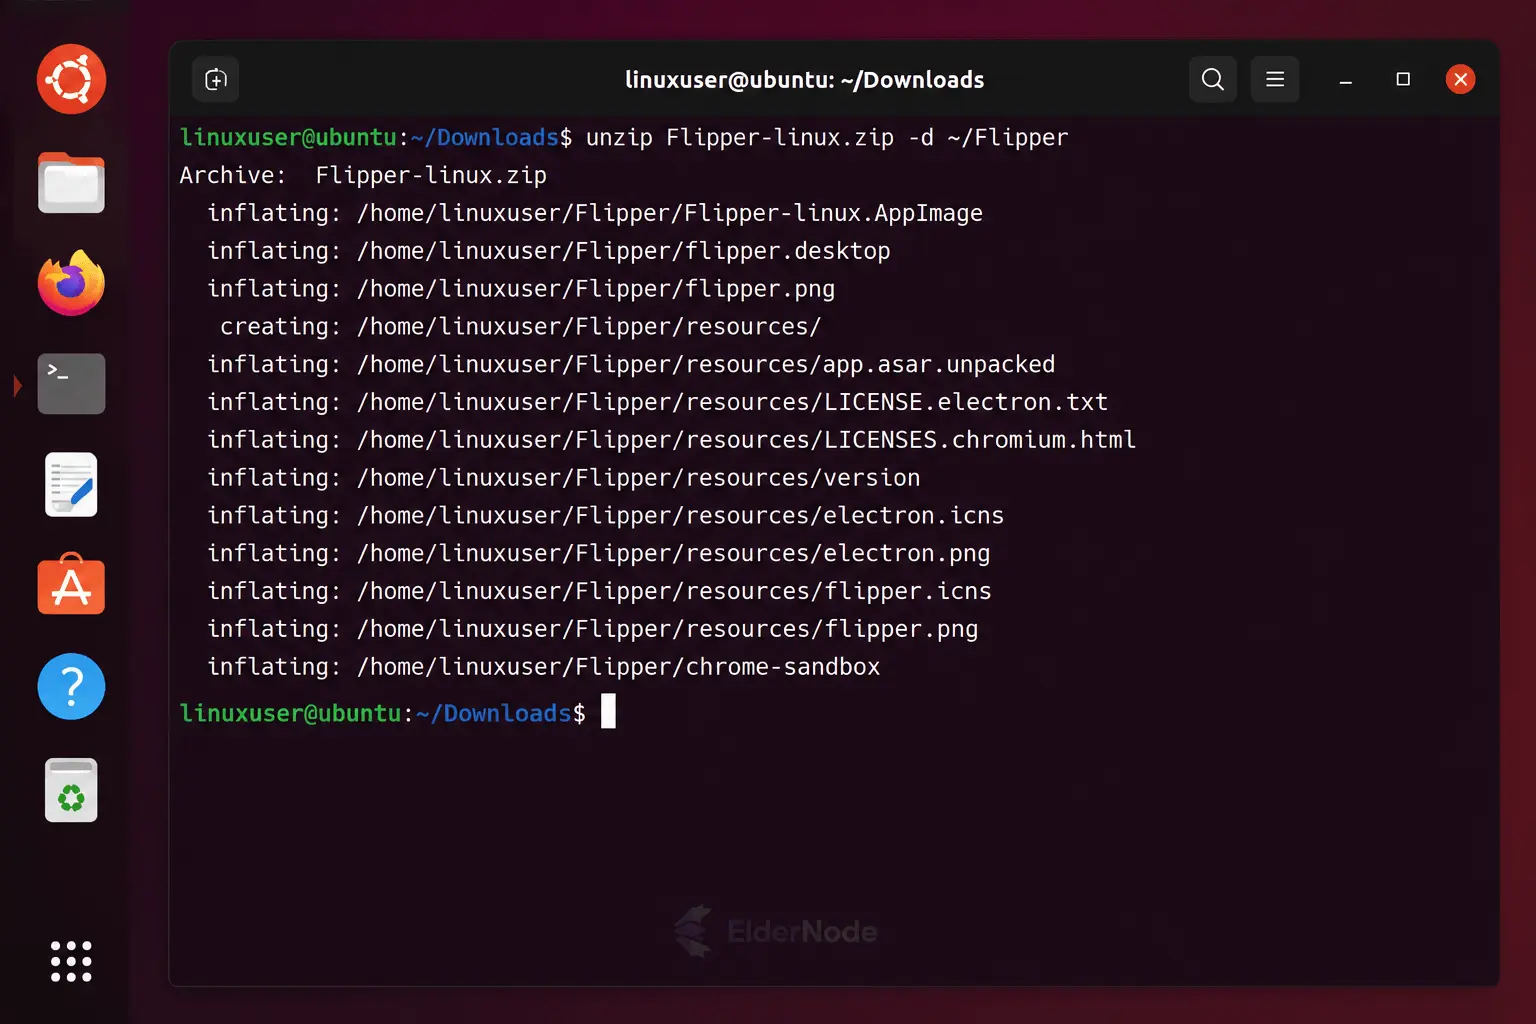
Download the latest release from the GitHub releases page and extract it wherever you’d like to keep the application.
unzip Flipper-linux.zip -d ~/Flipper
One thing that catches some people off guard is that the AppImage may not have permission to run straight away. If you run into a permissions error, give it execute rights and try again.
chmod +x Flipper-linux.AppImage
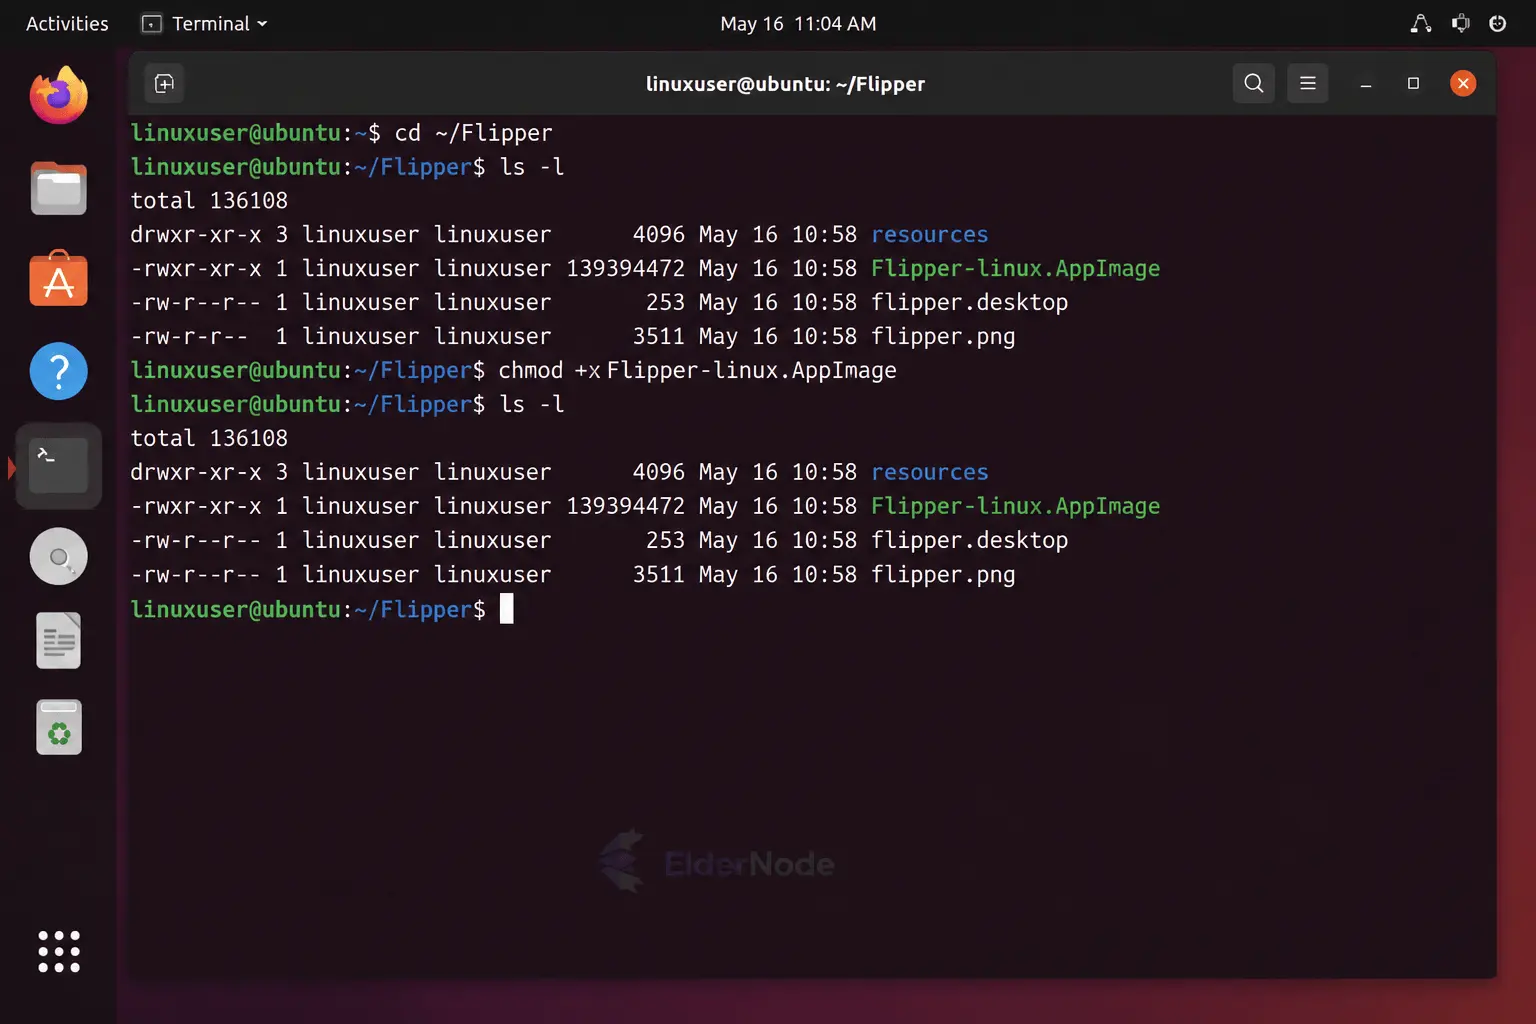
After that, the AppImage should launch normally.
Launching Flipper
At this point, Flipper should be ready to run.
Open a terminal, move to the directory where you extracted the files, and start the AppImage:
./Flipper-linux.AppImage
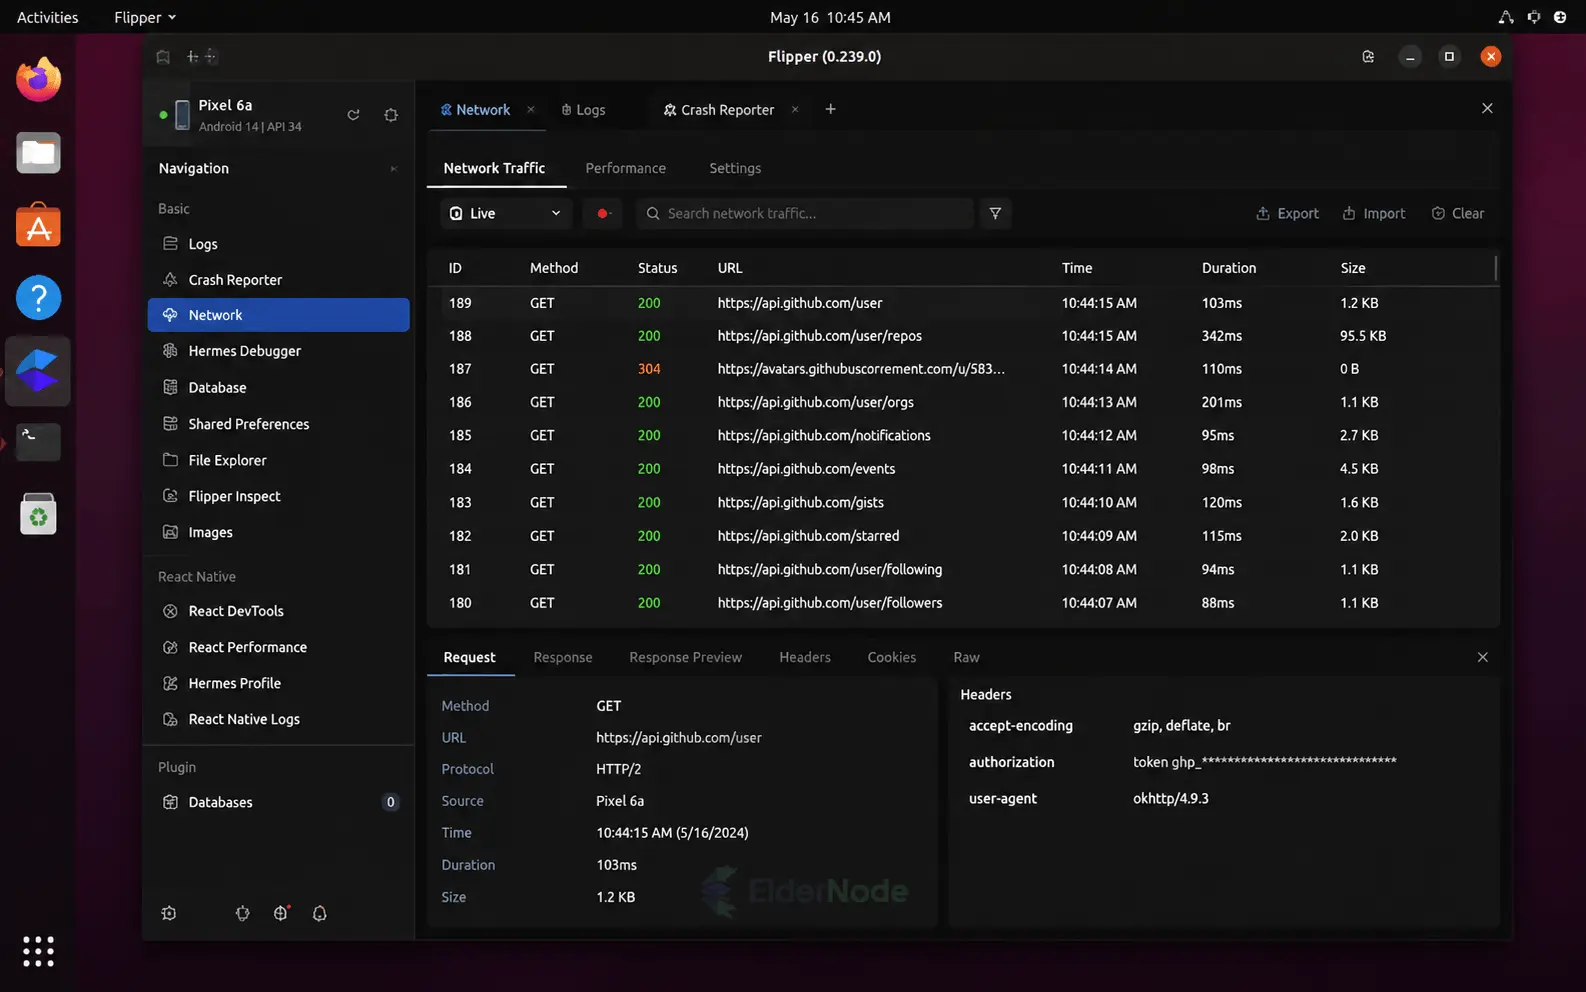
On my system, Flipper opened within 10–12 seconds. Flipper didn’t list any devices for me at first. On my setup, starting the emulator made the device show up instantly. As soon as it launched, the device appeared in Flipper automatically.
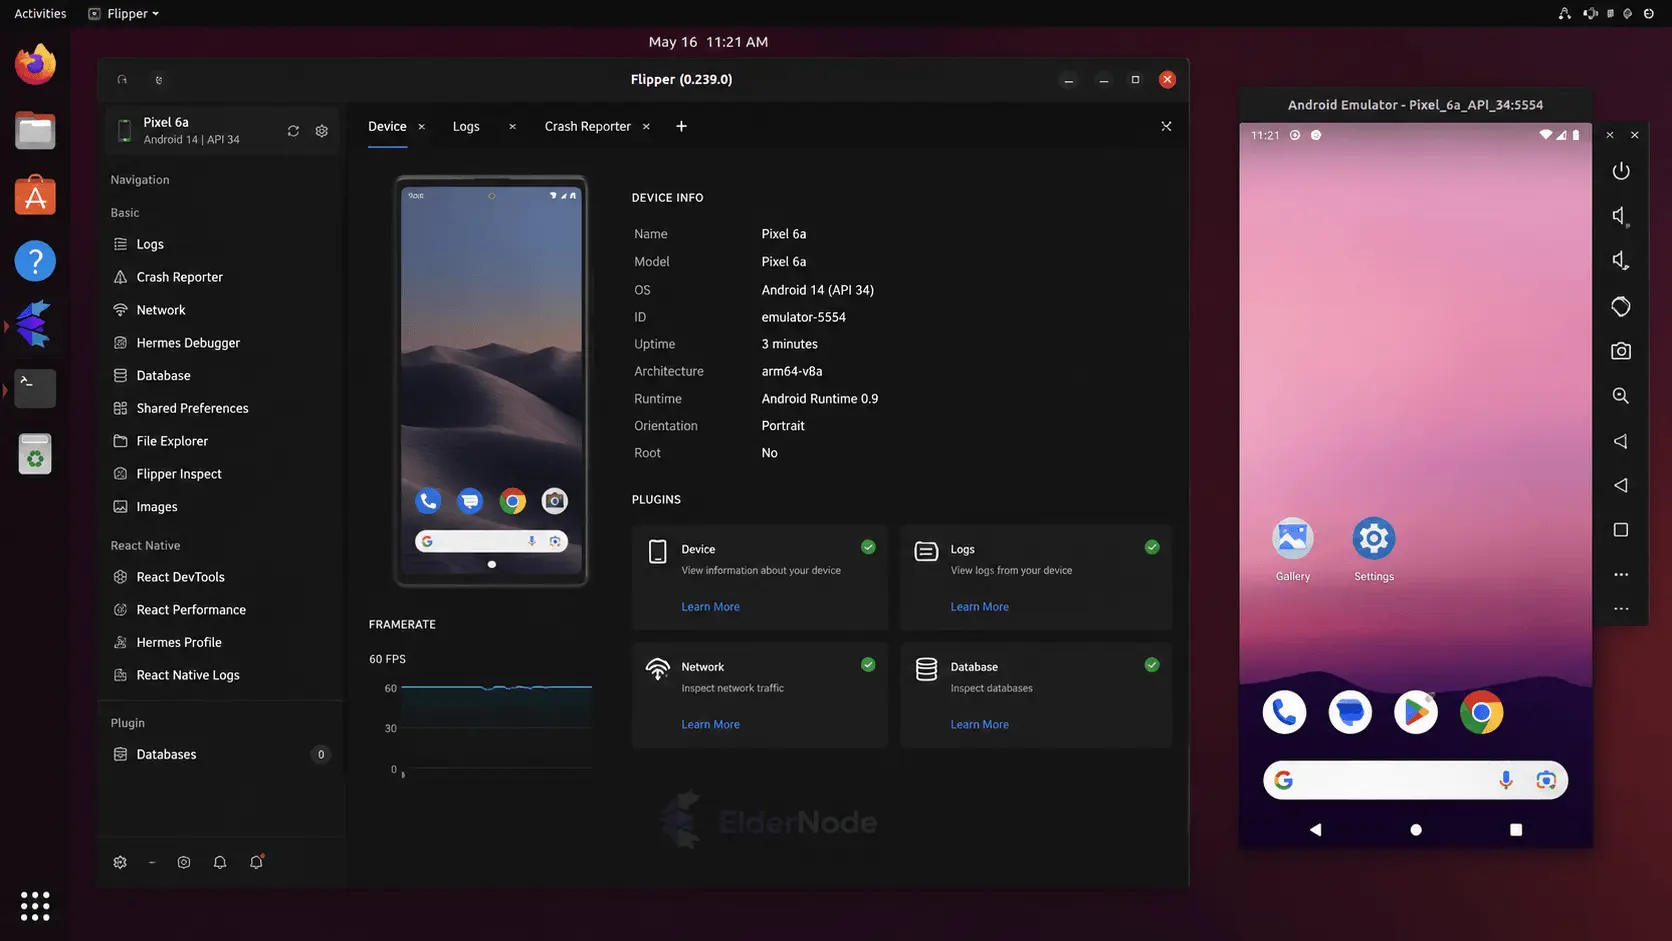
If everything went well, the Flipper window should appear after a few seconds.
You can keep launching it this way, but most people eventually add a desktop shortcut so it shows up alongside the rest of their applications. Overall, to your workflow, it’s definitely worth it to install Flipper app on Ubuntu and make use of shortcuts for quicker access.
Ubuntu looks for application launchers in ~/.local/share/applications/, so creating a small .desktop file there is usually enough. You should now be able to find Flipper from the Activities menu. If you use it a lot, pinning it to the dock makes things a bit more convenient.
After that, you can launch Flipper directly from the application menu instead of starting it from a terminal.
Using Flipper in Daily Development
After spending some time with Flipper, it’s easy to see why it has become a common part of many mobile development workflows.
Instead of opening separate tools for network requests, logs, databases, and device information, you can usually find everything in one window. That alone saves a surprising amount of time during debugging sessions.
It’s also not tied to a single framework. Whether you’re working on a React Native project or dealing with native Android code, the overall experience stays pretty much the same.
When something breaks, the logs are often enough to tell you where to start looking. Sometimes the issue is obvious. Other times you still need to dig deeper, but at least you’re not hunting for information across multiple terminals and debugging tools.
Troubleshooting Tips
If Flipper doesn’t detect your device, check that adb devices lists it.
On some Ubuntu setups, FUSE isn’t installed by default, which prevents the AppImage from launching. That fixed the issue for me.
Conclusion
Getting your mobile dev setup on Linux doesn’t have to be a pain. Once Flipper is unpacked and the AppImage is executable, it’s ready to go.
From there, you can open it anytime, check logs, inspect network requests, or poke at databases while you work. It keeps a lot of the usual debugging clutter in one place, so you can spend more time actually building your app instead of chasing errors across multiple tools.
That’s it, Flipper is now part of your workflow, and you can dive into development on Ubuntu without constantly switching between apps.