Special Offer
 How to Install WireGuard on MacOS: Step-by-Step Guide


WireGuard on MacOS makes setting up a VPN surprisingly simple and fast. If you want to install WireGuard on MacOS, the process is accessible even for beginners. I started using it a few months ago, and what struck me immediately was how quickly it connects and how smooth everything feels compared to older VPNs like OpenVPN. Even tech folks like Linus Torvalds have called it a “work of art,” which is pretty rare praise for software.
In this guide, I’ll walk you through two ways to get WireGuard running on your Mac, with clear steps so you don’t get stuck, even if you haven’t used a VPN before.
Features of WireGuard
Honestly, WireGuard is kind of amazing. I started messing around with it on my Mac, and the first thing I noticed was how fast it connects, no waiting around like with other VPNs. It basically just makes your Mac talk to a VPN server, but in a super smooth way. It only uses UDP, which sounds nerdy, but all you need to know is it helps keep things quick and steady.
Here’s what I really like about it:
It actually stays connected. I’ve switched Wi-Fi networks mid-session and it didn’t drop. Other VPNs? Forget it.
Security without headaches. You don’t have to dig through a million settings to feel safe. It just works.
It’s fast. Way faster than some old VPNs I’ve tried. On Linux or Mac, it’s noticeably snappy.
Setup isn’t scary. Getting it on your Mac takes a few clicks, and even setting it up on a server isn’t too painful, basically like configuring SSH.
Next, I’ll show you two ways to get WireGuard running on MacOS, step by step, so you can start using it without pulling your hair out.
1) Installing WireGuard on MacOS using HomeBrew
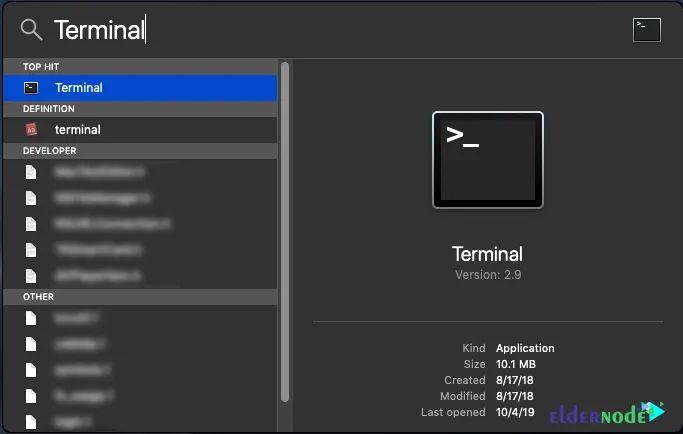
To install WireGuard with this method, first step is to install HomeBrew. To do this, just open the terminal and run the following command:
/usr/bin/ruby -e "$(curl -fsSL https://raw.githubusercontent.com/Homebrew/install/master/install)"
Note that these steps may take up to 20 minutes.
Now you can install WireGuard using the following command:
brew install wireguard-tools; sudo mkdir -p /etc/wireguard/;
You can view configuration and connection information via the following command:
sudo wg show
You can also use the following command to disconnect:
sudo wg-quick down <configuration name>
To reconnect, you can run the following command:
sudo wg-quick up <configuration name>
2) Installing WireGuard on MacOS
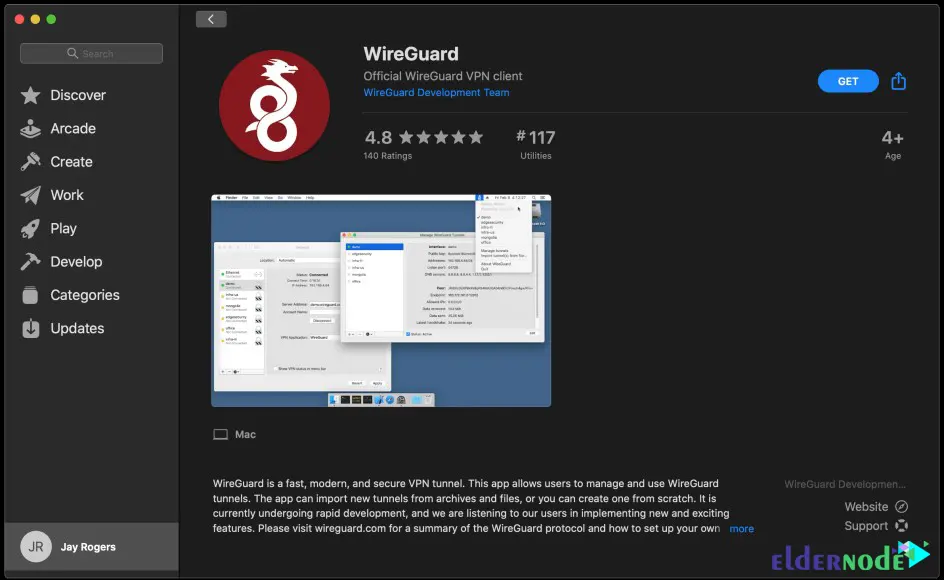
To install WireGuard using this method, you must follow the steps below. In the first step, it is necessary to download WireGuard by visiting the App Store:
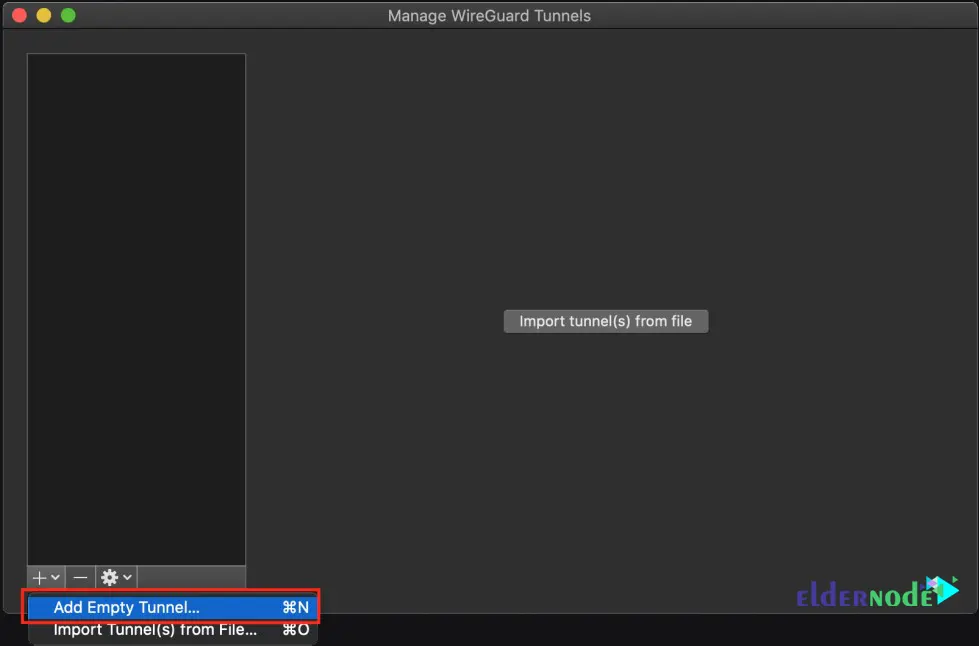
After downloading and installing WireGuard, you need to create a tunnel as shown below. Click on Add Empty Tunnel:
By clicking on the above option, you will see that keys will be generated for you. If you want to always be connected to your VPN, you need to enable the On-Demand option for “Ethernet” and “Wi-Fi”:
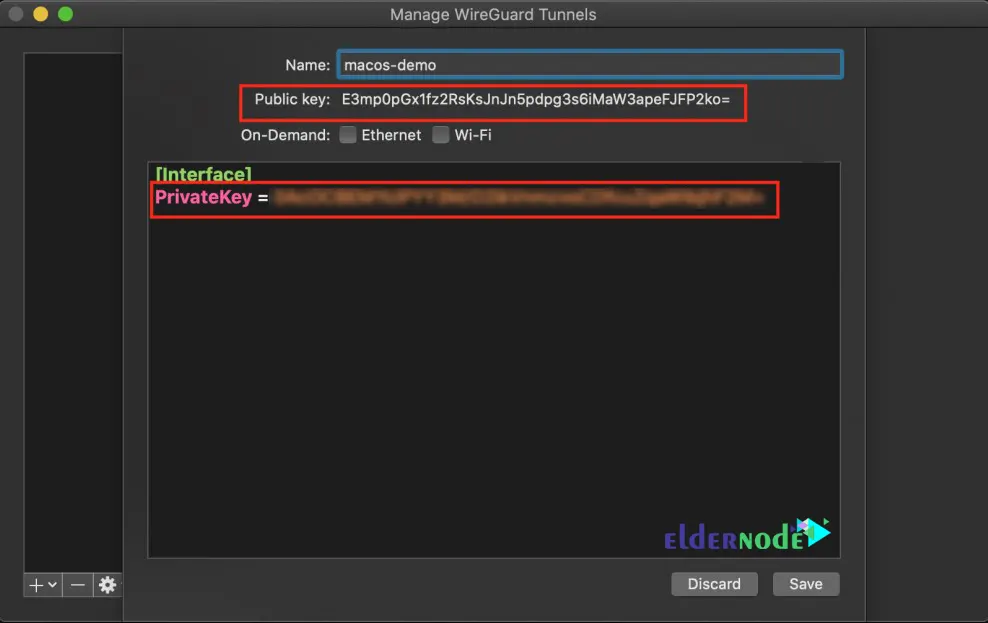
In the next step, you need to add your server as a “peer”. In this step you will configure your IP address and DNS for the remote network:
[Interface]
PrivateKey = abcdefghijklmnopqrstuvwxyz1234567890=+
Address = 10.0.0.3/24
DNS = 1.1.1.1, 1.0.0.1
[Peer]
PublicKey = YOUR_SERVER_PUBLIC_KEY
AllowedIPs = 0.0.0.0/0
Endpoint = YOUR_SERVER_WAN_IP:51820
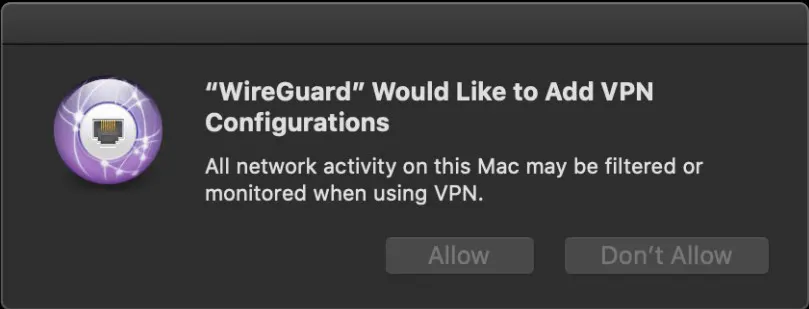
Save after entering your information. Now you may encounter a message like the image below. So you have to click on Allow:
Finally, to add your client to the server, you must run the following command:
sudo wg set wg0 peer YOUR_CLIENT_PUBLIC_KEY allowed-ips YOUR_CLIENT_VPN_IP
Conclusion
Alright, that’s pretty much my take on WireGuard. I’ve been using it on my Mac for a while now, and honestly, it’s been smooth, fast connections, solid encryption, no weird hiccups like some older VPNs.
Setting it up isn’t a headache either; if you followed along, you should be good to go. If something weird pops up or you just want to share how it worked for you, drop a comment below. I’m always curious to hear how it’s working for other people too.